
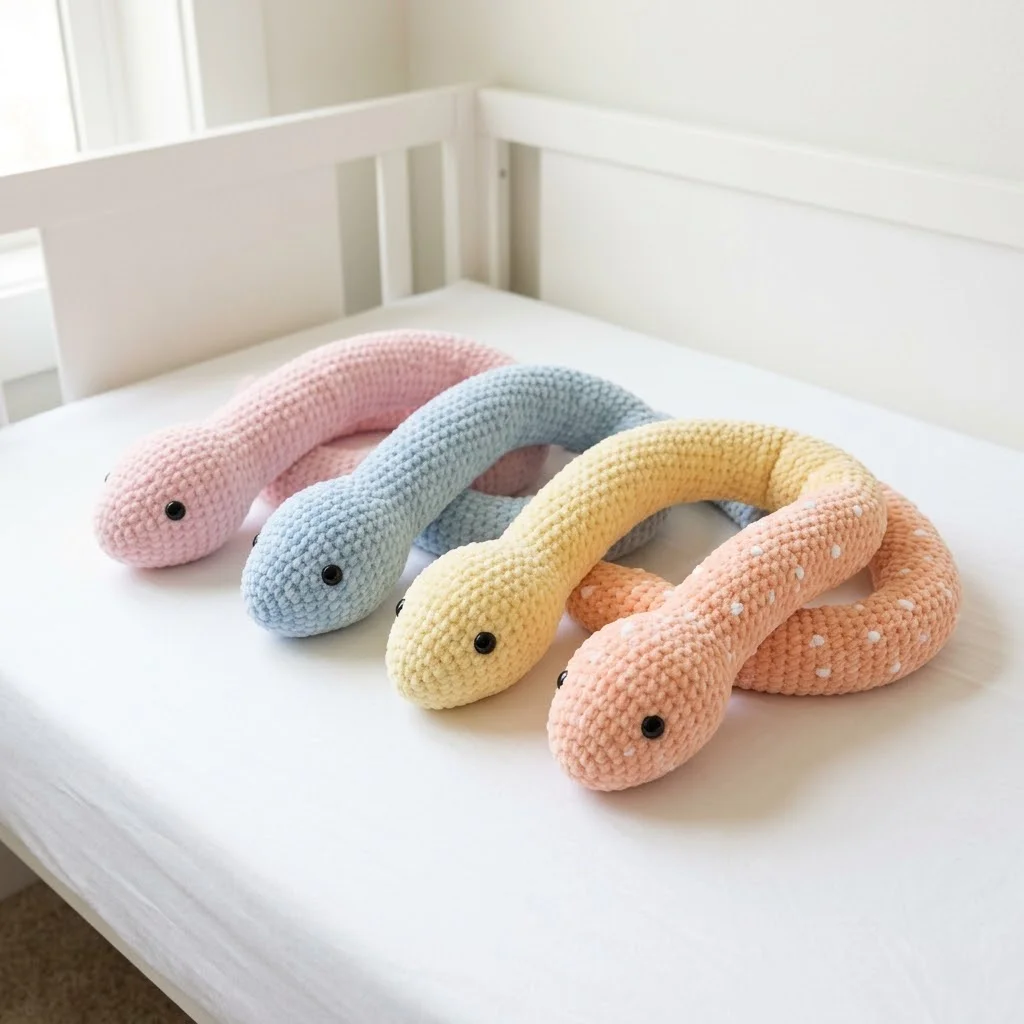
These sweet little snakes might just be the cutest thing I have ever made for a nursery. Soft pastel colors, simple rounded shapes, and those tiny black eyes create an adorable stuffed toy that babies love to grab and toddlers love to cuddle. If you can crochet in the round and know how to increase and decrease, you can absolutely make this snuggly nursery snake amigurumi.
The design is beginner friendly with no complicated shaping or color changes. You will work in a continuous spiral from head to tail using basic single crochet stitches. The whole snake comes together in one piece, so there is minimal sewing at the end. I will walk you through every single round so you can confidently recreate these cuddly creatures for your own little ones or as a handmade baby gift.
Why This Crochet Snake Pattern Works So Well for Nurseries
Looking at the finished snakes, you can see they have a wonderfully squishy quality. The tight amigurumi stitches hold the stuffing firmly while still allowing the body to bend and curve naturally. Babies can grab them, chew on them, and drag them around without the stuffing shifting or lumping.
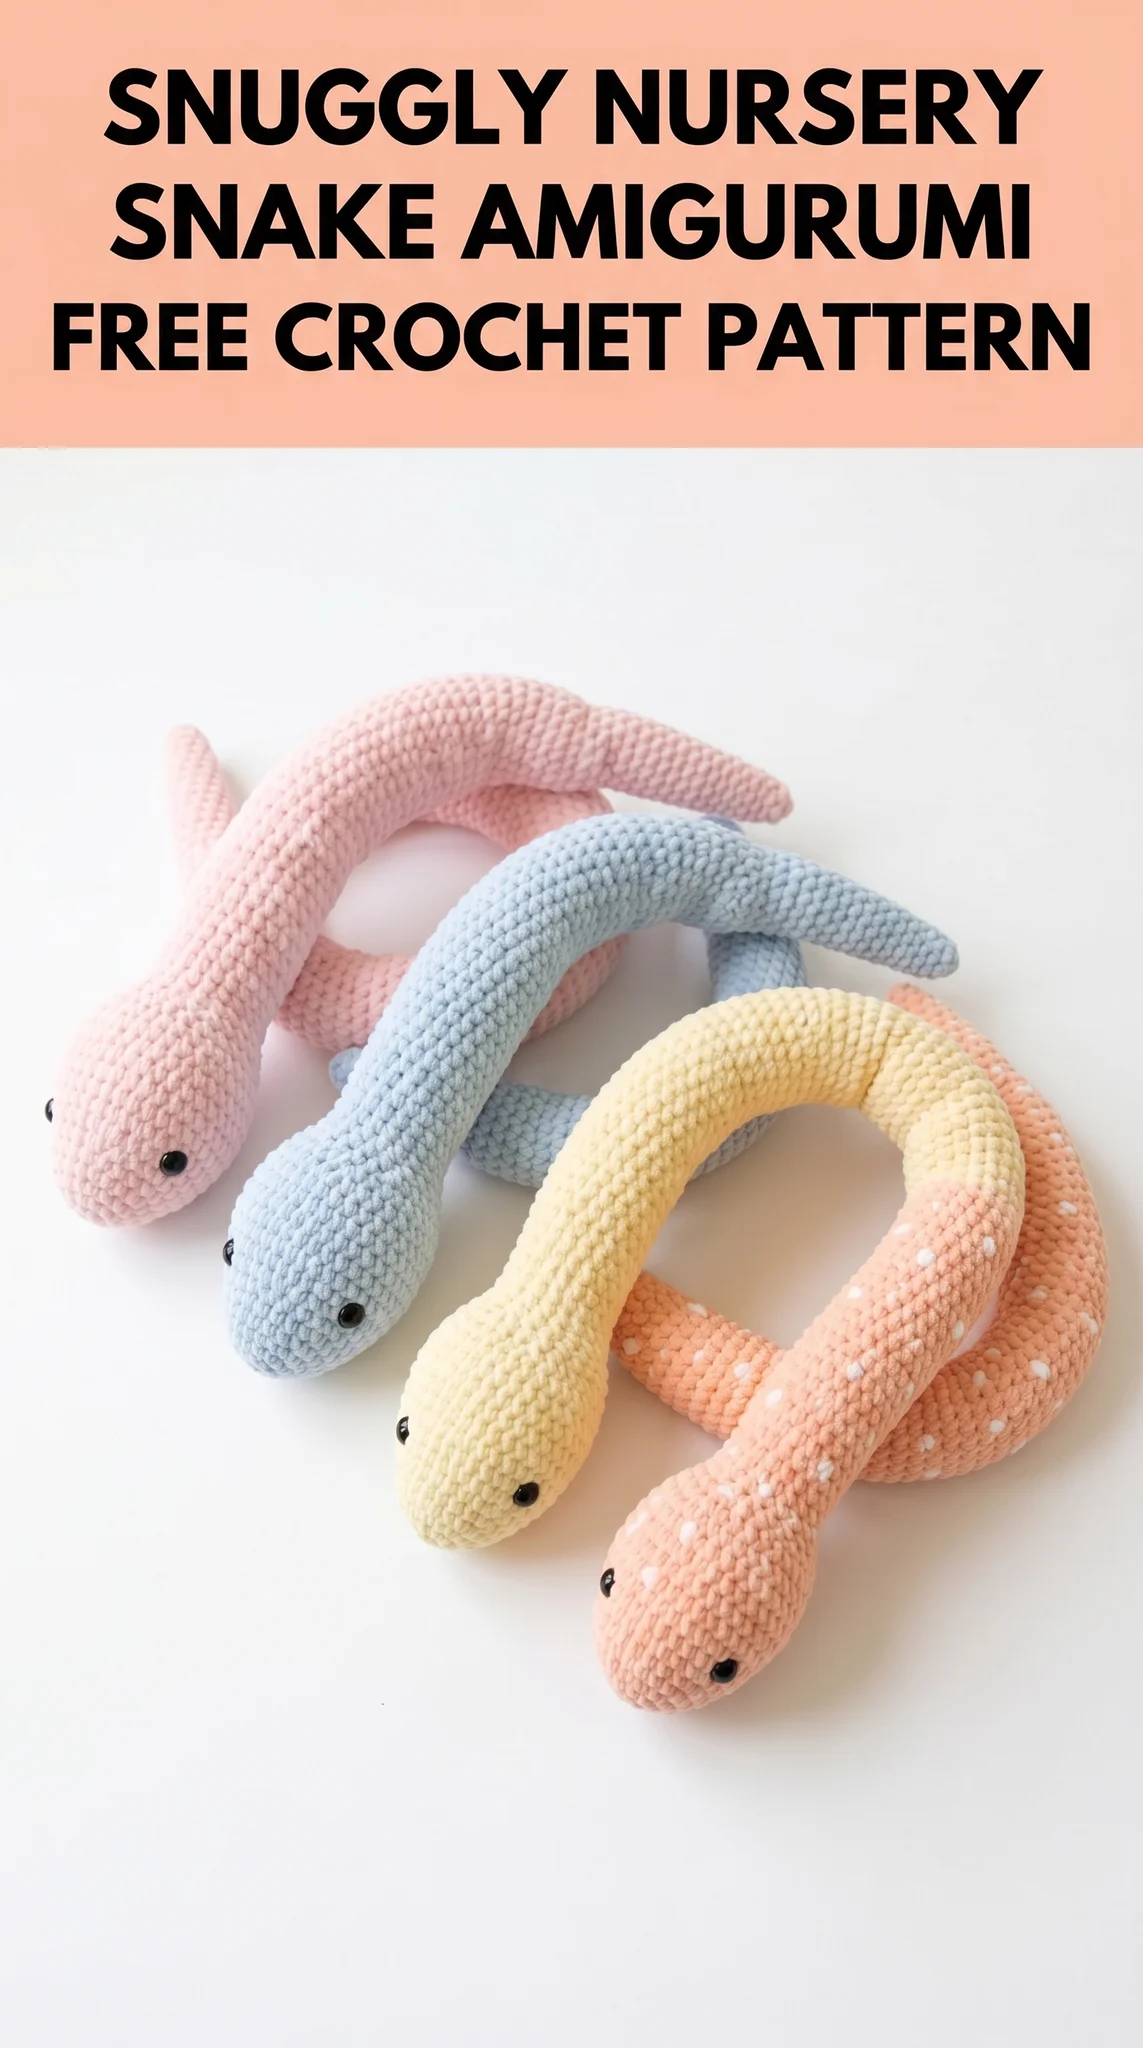
The pastel color palette shown here includes soft pink, powder blue, butter yellow, and peachy coral. These gentle tones fit perfectly into modern nursery decor. You could easily customize with any color that matches your nursery theme.
One snake in the image features sweet little white polka dots embroidered onto the body. This is completely optional but adds such a charming touch. I will explain how to add those details in the finishing section.
The finished snakes measure approximately 14 to 16 inches long depending on your tension and how firmly you stuff them. This makes them the perfect size for little hands to hold onto without being overwhelming or too small to enjoy.
Materials You Will Need
Yarn:
Worsted weight cotton or acrylic yarn in your chosen color. You will need approximately 80 to 100 yards per snake. Cotton yarn like Lily Sugar’n Cream or Paintbox Cotton works beautifully for baby items because it is machine washable and gets softer with each wash. Acrylic options like Red Heart Soft or Caron Simply Soft also work well.
Hook:
3.5mm (US E/4) crochet hook. For amigurumi, you want a hook one or two sizes smaller than recommended for your yarn. This creates a tighter fabric that holds stuffing without gaps showing through.
Safety Eyes:
6mm black safety eyes, one pair per snake. These snap securely into place and cannot be pulled out by curious little fingers. Always attach safety eyes before stuffing and closing up the head.
Stuffing:
Polyester fiberfill stuffing. You will need a generous handful per snake. Stuff firmly for a nice plump result.
Optional for Polka Dots:
Small amount of white yarn and a yarn needle for embroidering spots onto the body.
Other Tools:
Yarn needle for weaving in ends, stitch marker to track your rounds, scissors.
Stitch Abbreviations and Definitions
Let me explain every stitch you will use in this crochet pattern so there is no confusion as you work.
Magic Ring (MR): An adjustable loop that allows you to pull the center completely closed. You will work your first stitches into this ring, then pull the tail to tighten. This eliminates any hole at the start of your work.
Chain (ch): The foundation loop. Yarn over and pull through the loop on your hook.
Single Crochet (sc): Insert hook into stitch, yarn over and pull up a loop (2 loops on hook), yarn over and pull through both loops. This is the most basic stitch and the only one you need for this entire project.
Increase (inc): Work 2 single crochet stitches into the same stitch. This adds one stitch to your round. If a round says “inc” you are placing two sc into one stitch.
Decrease (dec): Also called invisible decrease or sc2tog. Insert hook through front loops only of next 2 stitches, yarn over and pull through both (3 loops on hook), yarn over and pull through all 3 loops. This removes one stitch and creates a nearly invisible join.
Slip Stitch (sl st): Insert hook into stitch, yarn over and pull through both the stitch and the loop on your hook in one motion. Used only at the very end to finish off.
Understanding the Pattern Format
This crochet tutorial is written in continuous spiral rounds. You will not join at the end of each round or chain to begin the next. Instead, you simply keep crocheting around and around like a spiral staircase.
Important: Use a stitch marker to track the first stitch of each round. Move it up as you complete each round. Without a marker, it becomes very easy to lose your place in amigurumi.
Each round instruction shows the stitch pattern followed by the total stitch count in parentheses. For example: “Round 5: sc in each st around (18 sts)” means you work one single crochet into each of the 18 stitches, ending with 18 stitches total.
Step by Step Crochet Pattern for the Snuggly Snake
Head Section
Round 1: Make a magic ring, work 6 sc into the ring, pull tight. (6 sts)
Round 2: Inc in each st around. (12 sts)
Round 3: *Sc 1, inc* repeat around. (18 sts)
Round 4: *Sc 2, inc* repeat around. (24 sts)
Round 5: *Sc 3, inc* repeat around. (30 sts)
Rounds 6 through 10: Sc in each st around. (30 sts) Work these 5 rounds even with no increases or decreases.
This creates a nice rounded head shape. At this point, pause to attach your safety eyes. Place them between rounds 7 and 8, spaced about 8 stitches apart. Push the post through the fabric from outside, then snap the washer onto the back firmly. Give them a tug to make sure they are secure.
Neck Shaping
Round 11: *Sc 3, dec* repeat around. (24 sts)
Round 12: *Sc 2, dec* repeat around. (18 sts)
Round 13: Sc in each st around. (18 sts)
Begin stuffing the head now. Pack the fiberfill in firmly so the head feels plump and the eyes are nicely supported.
Body Section
This is the longest section and the easiest. You will simply work even rounds to create the snake’s tubular body.
Rounds 14 through 60: Sc in each st around. (18 sts)
That is 47 rounds of straight single crochet. This sounds like a lot, but it goes quickly once you find your rhythm. Put on a podcast or your favorite show and enjoy the repetitive stitching.
Tip: Add small amounts of stuffing every 10 to 15 rounds as you go. It is much easier to stuff as you work rather than trying to push fiberfill through a long narrow tube at the end.
Continue stuffing lightly but evenly throughout the body. You want it firm enough to hold its shape but soft enough to bend and curve.
Tail Shaping
Round 61: *Sc 4, dec* repeat around. (15 sts)
Round 62: Sc in each st around. (15 sts)
Round 63: *Sc 3, dec* repeat around. (12 sts)
Round 64: Sc in each st around. (12 sts)
Round 65: *Sc 2, dec* repeat around. (9 sts)
Round 66: Sc in each st around. (9 sts)
Round 67: *Sc 1, dec* repeat around. (6 sts)
Add final stuffing to the tail section now. Do not overstuff or the tail will be stiff and poke straight out.
Round 68: Dec 3 times. (3 sts)
Fasten off, leaving a 6 inch tail. Thread your yarn needle and weave through the front loops of the remaining 3 stitches. Pull tight to close. Weave the tail back into the body to hide it completely.
Adding the Optional Polka Dot Details
One of the snakes in the image features adorable white embroidered dots scattered along the body. This is such a sweet customization and easier than it looks.
Thread your yarn needle with white yarn. Working from inside the body (you can do this before closing the tail), bring the needle out where you want a dot. Make 2 or 3 small satin stitches in the same spot, layering them to create a raised dot about 3 to 4mm across. Secure on the inside and move to the next dot location.
Scatter the dots randomly along the body, spacing them roughly 1 to 2 inches apart. There is no exact placement required. Random looks more natural and charming.
Finishing Touches and Tips
Shaping the Snake: Once complete, you can gently bend and curve the body into a pleasing S shape or coil. The stuffed amigurumi will hold whatever position you set it in.
Washing Instructions: If you used cotton yarn, these snakes can be machine washed on gentle and tumble dried low. Acrylic can also be machine washed. The safety eyes are waterproof and will not be affected.
Safety Note: While safety eyes are secure when properly attached, if you are making this for a baby under 12 months, consider embroidering the eyes instead using black yarn and French knots. This eliminates any small parts entirely.
Skill Level and Time Estimate
I would rate this snuggly nursery snake amigurumi crochet pattern as easy to intermediate beginner. If you have made a few amigurumi projects before, this will feel straightforward. If this is your first amigurumi, take your time with the magic ring and decreases. They get easier with practice.
Expect each snake to take approximately 2 to 3 hours depending on your speed. The body section works up quickly since it is just repetitive single crochet rounds.
Make It Your Own
This crochet pattern is wonderfully adaptable. Consider these variations:
Make a rainbow snake by changing colors every 10 rounds for striped sections. Make a longer snake by adding more body rounds before the tail decreases. Create a mini version using fingering weight yarn and a 2.5mm hook for a smaller toy.
You could also add a tiny forked tongue by crocheting a small red chain and stitching it under the head at the front. Cute but optional.
Thank You for Being Here
I really hope you enjoy making this snuggly nursery snake amigurumi crochet pattern. There is something so satisfying about creating handmade toys for the little ones in our lives. Every stitch holds a bit of love.
If you make one of these sweet snakes, I would absolutely love to see it. Tag me on Instagram or share your finished project in my Facebook group. Seeing your creations genuinely makes my day and inspires other crafters in our community.
Happy crocheting, friend. You have got this.