
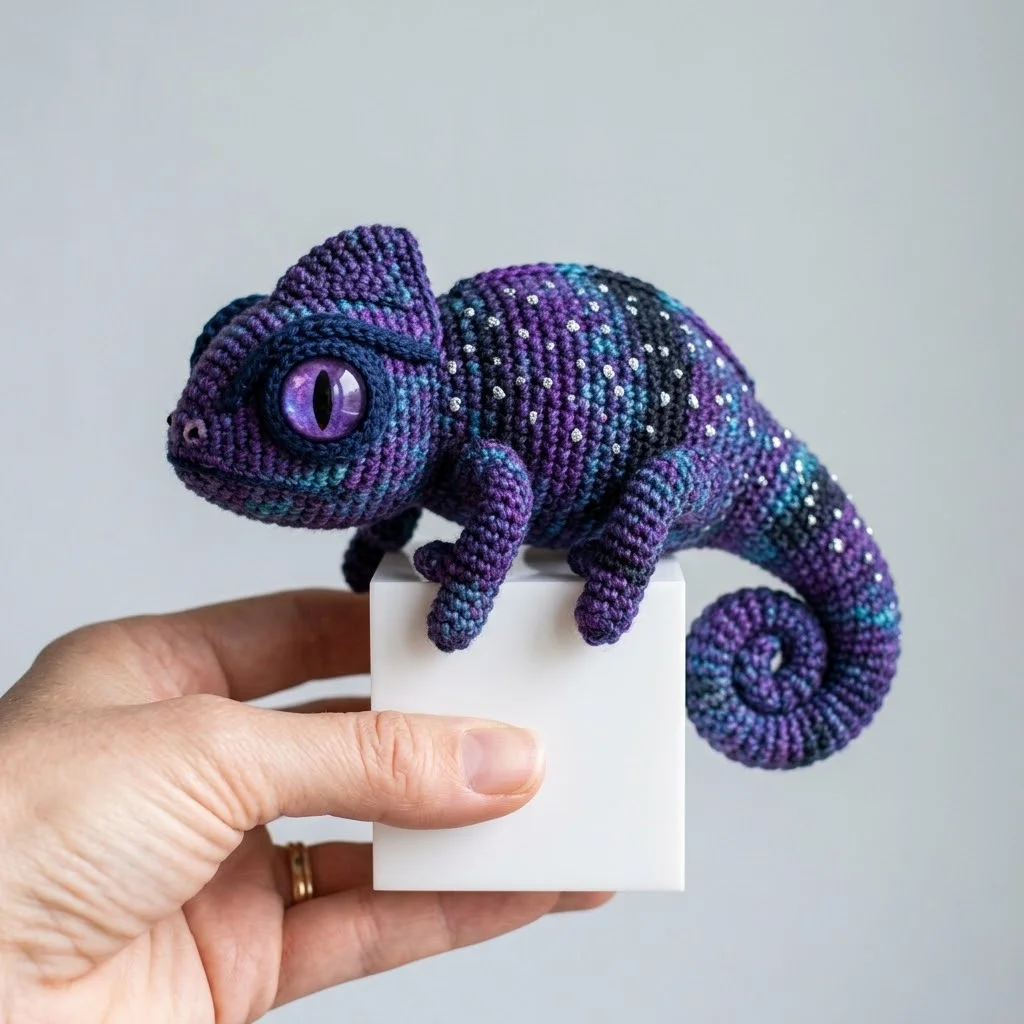
Oh, this little guy is going to steal your heart. This galaxy purple chameleon amigurumi is one of those projects that looks incredibly impressive but breaks down into manageable pieces once you understand the construction. The stunning cosmic colorway with deep purples, teals, and sparkling silver accents creates a magical creature that seems to have crawled straight out of a nebula.
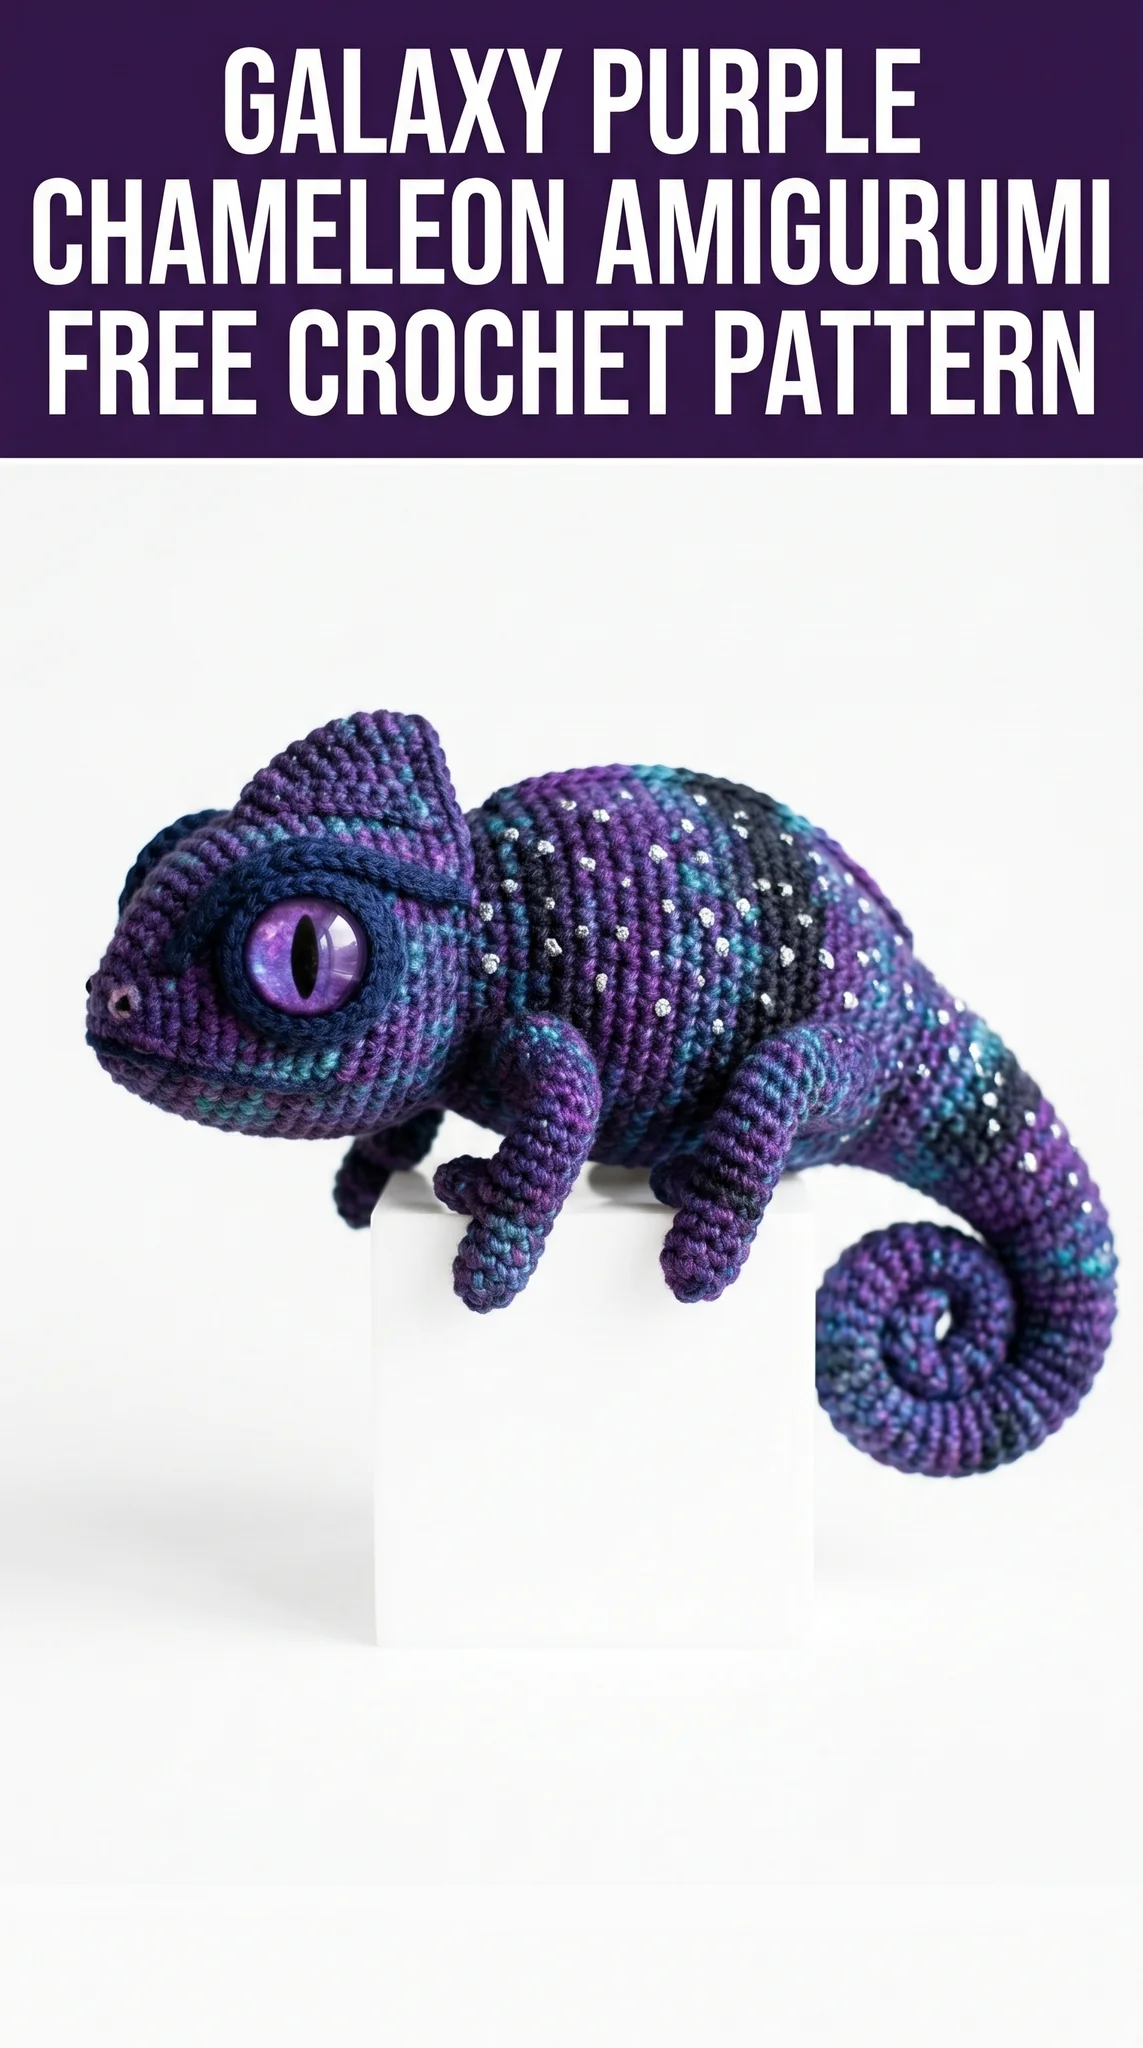
I designed this crochet pattern for adventurous beginners and intermediate crocheters who want to level up their amigurumi skills. If you can work in continuous rounds and know how to increase and decrease, you can absolutely make this chameleon. The color changes happen naturally when you use a variegated yarn, so you get that gorgeous gradient effect without complicated colorwork.
Let me walk you through everything you need to recreate this galaxy chameleon from scratch.
What Makes This Chameleon Amigurumi Special
This is not your average stuffed animal. The galaxy chameleon crochet pattern features several realistic details that bring the little reptile to life.
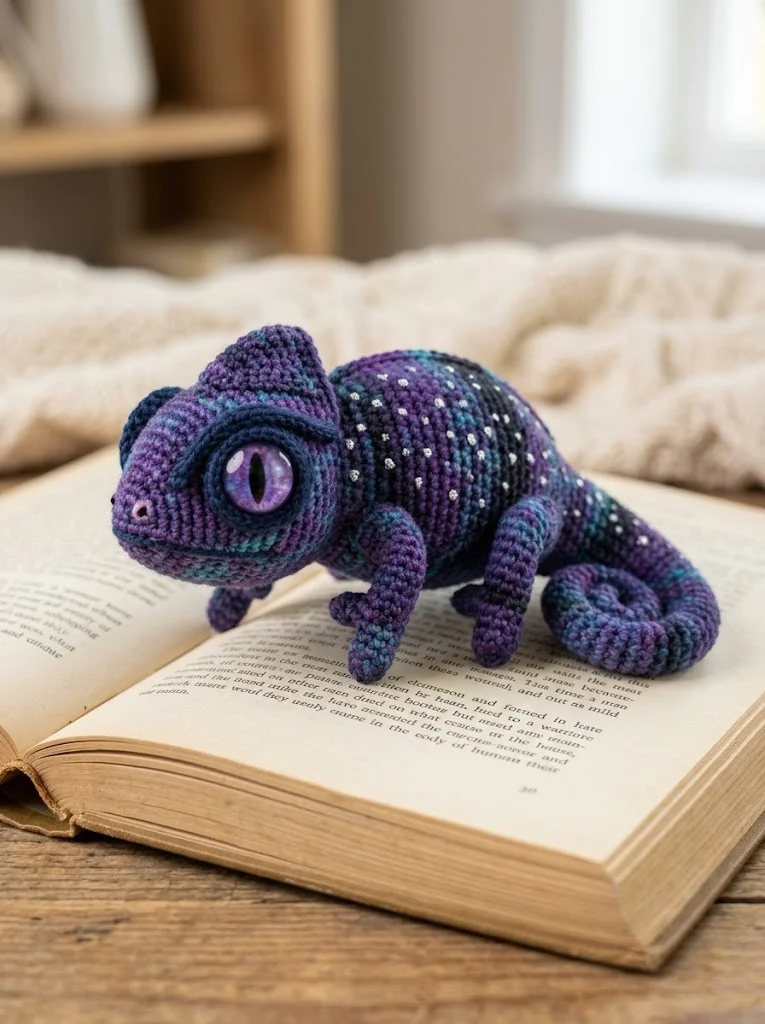
The signature chameleon casque (that fancy head crest) gives immediate recognition. Those bulging eyes with the purple dragon eye cabochons create an almost mystical appearance. The curled prehensile tail is fully poseable because of how we construct and stuff it. And those tiny zygodactyl feet (two toes pointing forward, two pointing back) actually grip onto things.
The silver bead accents scattered across the body mimic stars in a night sky. This is optional but adds so much magic to the finished piece.
Finished size: Approximately 5 inches long from nose to tail base, with the curled tail adding another 3 inches. Perfect palm size.
Materials You Will Need
Gather these supplies before starting your chameleon amigurumi crochet tutorial.
Yarn:
Hook:
Notions:
Skill level: Intermediate beginner. You should be comfortable working in continuous rounds.
Abbreviations and Stitch Definitions
Let me define every stitch before we begin. Read through this section even if you are experienced because I want us speaking the same language.
MR = Magic Ring. An adjustable starting loop that pulls closed completely. You will work your first round of stitches into this ring, then pull the tail to close the center hole.
ch = Chain. Yarn over, pull through loop on hook. Creates one chain stitch.
sc = Single Crochet. Insert hook into stitch, yarn over and pull up a loop (two loops on hook), yarn over and pull through both loops.
inc = Invisible Increase. Work 2 single crochet stitches into the same stitch. This turns 1 stitch into 2 stitches.
dec = Invisible Decrease. Insert hook through front loops only of the next 2 stitches, yarn over and pull through both front loops, yarn over and pull through both loops on hook. This turns 2 stitches into 1 stitch.
sl st = Slip Stitch. Insert hook, yarn over, pull through stitch and loop on hook in one motion. Used for joining or creating a flat surface.
FLO = Front Loop Only. Work into just the front loop of the stitch instead of both loops.
BLO = Back Loop Only. Work into just the back loop of the stitch.
(XX sts) = Total stitch count at the end of that round.
Understanding the Construction
Before you dive into the step by step instructions, here is how this amigurumi chameleon comes together.
The body and head are worked as one continuous piece from nose to rear. The casque (head crest) is worked separately and sewn on. Each eye socket is a separate cup piece. The four legs are identical tubes. The tail starts wide and gradually tapers to a tight spiral.
We work in continuous spiral rounds for most pieces. This means you do not join at the end of each round. Just keep going. Use a stitch marker to track your round beginnings.
Stuff pieces firmly as you go. Amigurumi should feel solid, not squishy.
The Pattern: Body and Head
This is the main piece of your galaxy chameleon crochet pattern.
Round 1: 6 sc in MR (6 sts)
Round 2: inc in each st around (12 sts)
Round 3: *sc 1, inc* repeat 6 times (18 sts)
Round 4: *sc 2, inc* repeat 6 times (24 sts)
Round 5: *sc 3, inc* repeat 6 times (30 sts)
Round 6: sc in each st around (30 sts)
Round 7: *sc 4, inc* repeat 6 times (36 sts)
Rounds 8 to 10: sc in each st around (36 sts) — three rounds total
This forms the snout. It should look like a rounded cone.
Round 11: *sc 5, inc* repeat 6 times (42 sts)
Rounds 12 to 14: sc in each st around (42 sts)
Round 15: *sc 6, inc* repeat 6 times (48 sts)
Rounds 16 to 20: sc in each st around (48 sts) — five rounds total
This is where the head reaches maximum width. Position your eye sockets here at rounds 16 to 17, placed on the sides of the head. Mark the placement now but do not attach yet.
Round 21: *sc 6, dec* repeat 6 times (42 sts)
Round 22: sc in each st around (42 sts)
Round 23: *sc 5, dec* repeat 6 times (36 sts)
Rounds 24 to 26: sc in each st around (36 sts)
Stuff the head firmly now.
Round 27: *sc 4, dec* repeat 6 times (30 sts)
Rounds 28 to 35: sc in each st around (30 sts) — eight rounds for the body length
Round 36: *sc 3, dec* repeat 6 times (24 sts)
Rounds 37 to 38: sc in each st around (24 sts)
Round 39: *sc 2, dec* repeat 6 times (18 sts)
Round 40: sc in each st around (18 sts)
Stuff the body firmly. Continue stuffing as you decrease.
Round 41: *sc 1, dec* repeat 6 times (12 sts)
Round 42: dec 6 times (6 sts)
Fasten off, leaving a long tail. Thread through remaining stitches and pull closed. Weave in end.
Eye Sockets (Make 2)
These cup shapes cradle the eye cabochons and create that bulging chameleon look.
Round 1: 6 sc in MR (6 sts)
Round 2: inc in each st around (12 sts)
Round 3: *sc 1, inc* repeat 6 times (18 sts)
Round 4: *sc 2, inc* repeat 6 times (24 sts)
Rounds 5 to 7: sc in each st around (24 sts)
Round 8: Working in BLO only, sc in each st around (24 sts)
This back loop round creates a ridge that helps the socket sit flush against the head.
Fasten off, leaving a long tail for sewing. Insert eye cabochon before sewing closed. Add a small amount of stuffing behind the eye for firmness.
Position on head at rounds 16 to 17, angled slightly outward. Sew securely all around.
Casque (Head Crest)
This gives your chameleon that distinctive silhouette.
Round 1: 4 sc in MR (4 sts)
Round 2: inc in each st around (8 sts)
Round 3: *sc 1, inc* repeat 4 times (12 sts)
Round 4: *sc 2, inc* repeat 4 times (16 sts)
Round 5: *sc 3, inc* repeat 4 times (20 sts)
Round 6: sc in each st around (20 sts)
Round 7: *sc 4, inc* repeat 4 times (24 sts)
Rounds 8 to 9: sc in each st around (24 sts)
Fasten off with long tail. Stuff lightly to maintain shape. Pinch the base slightly to create a ridge shape rather than a dome.
Position on top of head between and slightly behind the eyes. Sew securely.
Legs (Make 4)
All four legs are identical. The unique chameleon foot shape is created during finishing.
Round 1: 5 sc in MR (5 sts)
Round 2: inc in each st around (10 sts)
Rounds 3 to 4: sc in each st around (10 sts)
Round 5: dec, sc 8 (9 sts)
Rounds 6 to 10: sc in each st around (9 sts) — five rounds
Fasten off with long tail. Stuff lower portion only (the foot area). Leave upper leg lightly stuffed or empty so it bends naturally.
Creating the toes: Using your yarn needle, pinch and stitch through the foot tip to create the split between front and back toe groups. Make 2 to 3 gathering stitches to define the toe separation.
Attach front legs at round 26 of body, positioned on sides. Attach back legs at round 37, angled slightly back.
Tail
The tail is my favorite part of this chameleon amigurumi pattern. It curls naturally and can grip things.
Round 1: 6 sc in MR (6 sts)
Round 2: inc in each st around (12 sts)
Rounds 3 to 4: sc in each st around (12 sts)
Round 5: *sc 1, dec* repeat 4 times (8 sts)
Rounds 6 to 15: sc in each st around (8 sts) — ten rounds
Round 16: *sc 2, dec* repeat 2 times (6 sts)
Rounds 17 to 30: sc in each st around (6 sts) — fourteen rounds
Round 31: dec, sc 4 (5 sts)
Rounds 32 to 40: sc in each st around (5 sts) — nine rounds
Fasten off and close.
Pro tip: Insert a piece of floral wire before stuffing if you want the tail to hold a curl or grip position. Fold over the wire ends to prevent poking through. Stuff lightly around the wire.
Attach wide end of tail to body back, centered at round 40 to 42.
Adding the Galaxy Star Details
This optional step elevates your chameleon from cute to magical.
Using a beading needle and matching thread, scatter silver seed beads across the body and tail. Stitch each bead individually, going through the bead twice for security.
Focus beads on:
Avoid the face, underbelly, and leg areas. Random placement looks more natural than organized patterns.
Finishing Your Chameleon
With all pieces attached, take time to:
1. Weave in all remaining yarn tails securely
2. Shape and pose the tail into its signature curl
3. Adjust leg positioning so your chameleon sits or grips properly
4. Fluff any fiberfill visible between stitches by pushing it inward with your needle
Your galaxy purple chameleon amigurumi is complete.
Troubleshooting Tips
Stuffing shows through stitches: Your tension may be too loose. Try going down a hook size, or use darker colored stuffing.
Eyes look crooked: Position both eye sockets before sewing either one. Step back and look from different angles.
Tail will not hold shape: Add floral wire during construction, or try understuffing so the tail is more flexible.
Color changes look choppy: This is the nature of variegated yarn. Embrace the organic galaxy effect rather than fighting it.
Thank You for Making Along With Me
I absolutely love seeing your finished chameleons. Each one turns out so unique depending on your yarn choice and personal touches. If you make this galaxy chameleon crochet pattern, please share your photos on Instagram or Facebook and tag me. I save every single one.
You did something wonderful by creating this little cosmic creature with your own hands. Whether it lives on your shelf, becomes a gift, or perches on someone’s computer monitor, this chameleon carries your time and care in every stitch.
Happy crocheting, friend. Now go show off that gorgeous galaxy chameleon.