
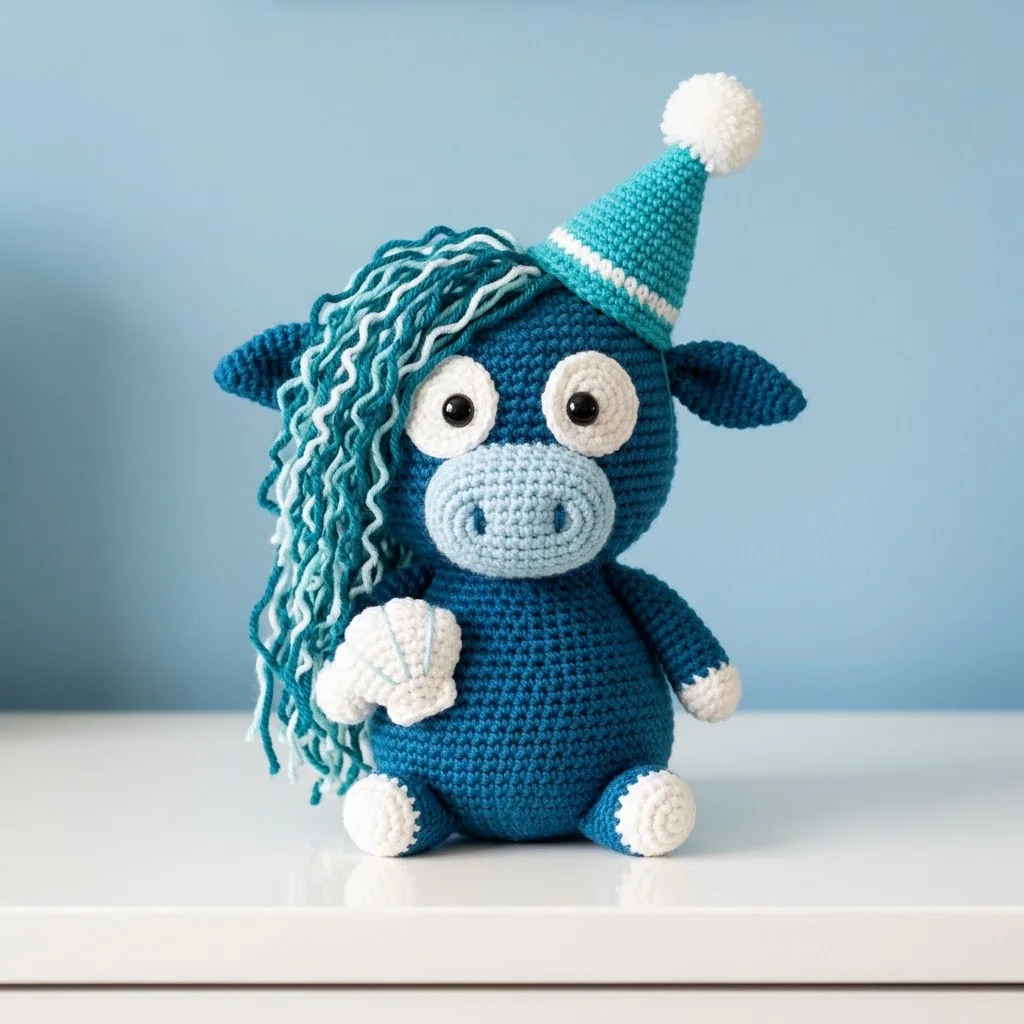
There is something absolutely magical about this little guy sitting on my desk right now. This ocean blue highland cow amigurumi combines the charm of a shaggy Scottish Highland cow with a whimsical seaside party theme. He has got wavy teal and cream hair cascading over one eye, a pointy party hat with a fluffy pompom, and he is clutching the sweetest little seashell. If you have basic amigurumi experience and want a project that feels special without being overwhelming, this crochet pattern is perfect for you.
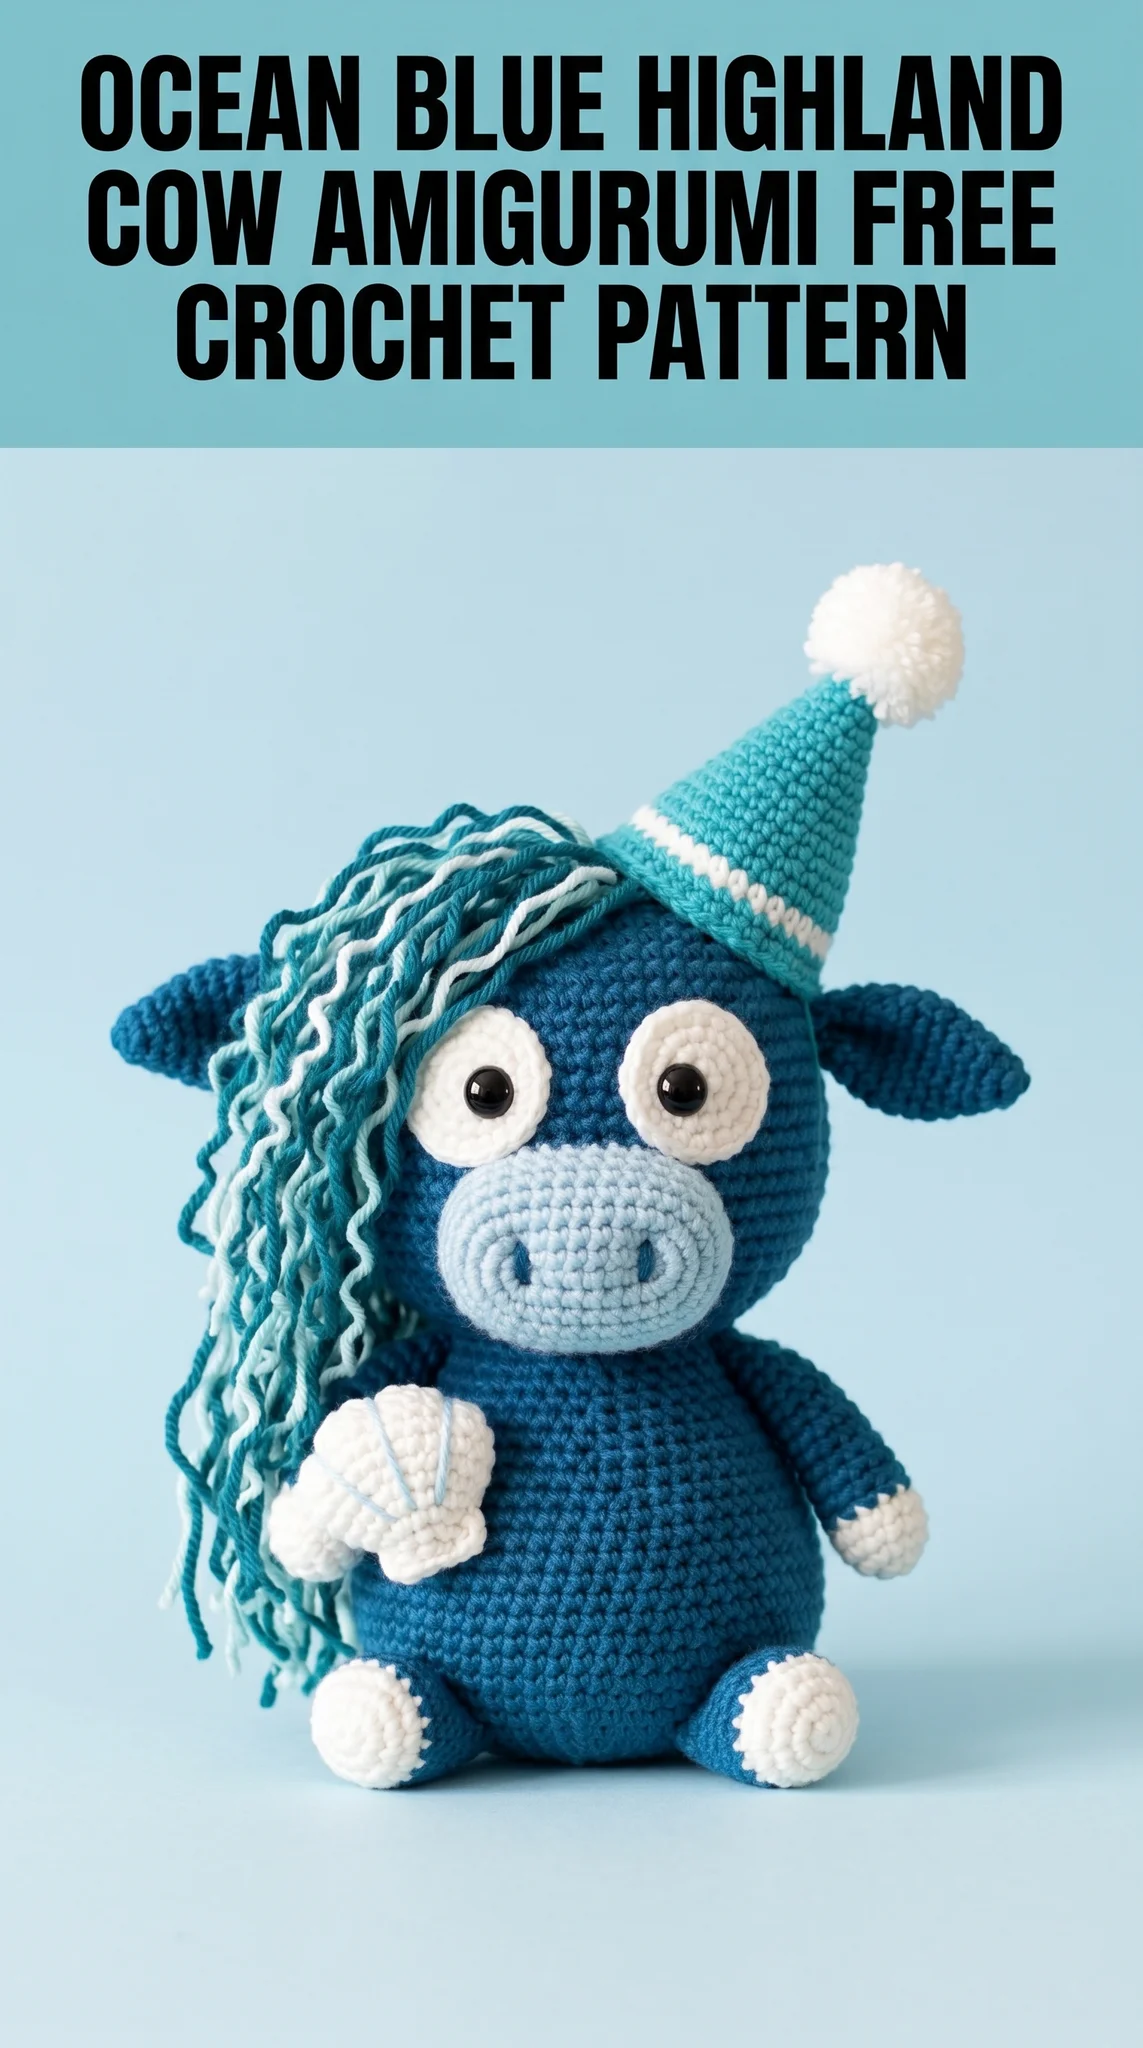
The finished cow stands approximately 7 to 8 inches tall when seated and uses worsted weight yarn in gorgeous ocean tones. I designed every element to work together harmoniously. The deep teal body, the lighter blue muzzle, the cream accents, and that playful striped party hat create a cohesive look that feels both cozy and celebratory.
Let me walk you through everything you need to bring this adorable highland cow to life.
Why You Will Love This Highland Cow Crochet Pattern
Highland cows have become incredibly popular in the crochet community, and honestly, I understand why. Those shaggy bangs and sweet faces translate beautifully into amigurumi form. But I wanted to create something a little different. Something that felt like summer vacation and birthday parties rolled into one cuddly package.
This step by step crochet tutorial breaks down each component into manageable pieces. You will make the body and head as one continuous piece, then add the muzzle, ears, eyes, arms, legs, party hat, hair, and that darling seashell separately. It sounds like a lot, but each piece works up quickly. Most crocheters finish this project in a weekend.
The construction method uses continuous rounds throughout, which means no joining at the end of each round. This creates a seamless, professional look that really elevates your finished amigurumi.
Materials Needed for Your Ocean Blue Highland Cow
Gathering your supplies before starting makes the whole process smoother. Here is everything you need:
Yarn:
I used a 100% acrylic worsted weight yarn for this project. Acrylic holds its shape beautifully for amigurumi and comes in an incredible range of colors. Red Heart Super Saver, Caron Simply Soft, or Paintbox Yarns Cotton Aran all work wonderfully.
Tools:
Skill level: Intermediate beginner. You should be comfortable with basic crochet stitches and working in the round. If you have made a simple amigurumi ball before, you can absolutely tackle this project.
Abbreviations and Stitch Definitions
Let me define every stitch before we begin. Reference this section anytime you need a refresher.
Magic ring (MR): An adjustable starting loop that closes completely, leaving no hole in the center. You wrap yarn around your fingers, insert your hook, pull up a loop, and work your first round of stitches into that loop. Then you pull the tail to close it tight.
Chain (ch): The foundation stitch. Yarn over, pull through the loop on your hook. One chain made.
Single crochet (sc): Insert hook into the stitch, yarn over, pull up a loop (two loops on hook), yarn over, pull through both loops. One single crochet complete.
Increase (inc): Work two single crochet stitches into the same stitch. This adds one stitch to your count.
Invisible decrease (invdec): Insert your hook through the front loops only of the next two stitches, yarn over, pull through both front loops, yarn over, pull through both loops on hook. This creates a neater decrease than the standard method. Much less visible in your finished work.
Slip stitch (sl st): Insert hook, yarn over, pull through the stitch and the loop on your hook in one motion. Used for joining or creating a nearly invisible stitch.
Fasten off (FO): Cut your yarn, pull the tail through the last loop, and pull tight to secure.
How to Crochet the Highland Cow Body and Head
The body and head are worked as one continuous piece from bottom to top. This eliminates a seam and creates a smooth, rounded shape.
Using MC (deep ocean blue), begin:
Round 1: 6 sc in magic ring (6 sts)
Round 2: Inc in each st around (12 sts)
Round 3: *Sc 1, inc* repeat around (18 sts)
Round 4: *Sc 2, inc* repeat around (24 sts)
Round 5: *Sc 3, inc* repeat around (30 sts)
Round 6: *Sc 4, inc* repeat around (36 sts)
Round 7: *Sc 5, inc* repeat around (42 sts)
Rounds 8 through 14: Sc in each st around (42 sts) — 7 rounds total
This creates the rounded body. Now we begin shaping toward the head.
Round 15: *Sc 5, invdec* repeat around (36 sts)
Round 16: Sc in each st around (36 sts)
Round 17: *Sc 4, invdec* repeat around (30 sts)
Rounds 18 through 22: Sc in each st around (30 sts) — 5 rounds total
Round 23: *Sc 3, invdec* repeat around (24 sts)
Round 24: Sc in each st around (24 sts)
Begin stuffing firmly with polyester fiberfill. The body should feel plump but not stretched.
Round 25: *Sc 2, invdec* repeat around (18 sts)
Round 26: *Sc 1, invdec* repeat around (12 sts)
Add more stuffing to the head area. Insert safety eyes between rounds 20 and 21, approximately 8 stitches apart. Make sure they are secure before continuing.
Round 27: Invdec around (6 sts)
Fasten off and use your yarn needle to close the remaining hole. Weave in the end securely.
Crocheting the Muzzle
The muzzle gives our highland cow that characteristic sweet snout. We work it in light blue for contrast.
Using Color A (light blue):
Round 1: 6 sc in magic ring (6 sts)
Round 2: Inc in each st around (12 sts)
Round 3: *Sc 1, inc* repeat around (18 sts)
Round 4: *Sc 2, inc* repeat around (24 sts)
Rounds 5 through 7: Sc in each st around (24 sts) — 3 rounds total
Fasten off, leaving a long tail for sewing. Stuff lightly. Using black yarn or embroidery floss, stitch two small nostrils on the front. Pin the muzzle to the face, centered below the eyes, and sew in place using a whip stitch.
Creating the Ears
Highland cows have distinctive horizontal ears. Make two.
Using MC (deep ocean blue):
Round 1: 6 sc in magic ring (6 sts)
Round 2: Inc in each st around (12 sts)
Rounds 3 through 6: Sc in each st around (12 sts) — 4 rounds total
Round 7: *Sc 1, invdec* repeat around (8 sts)
Fasten off, leaving a long tail. Flatten the ear and pinch slightly at the base. Do not stuff. Sew to the sides of the head at a slight downward angle.
Making the Arms
The arms are simple tubes with cream hooves at the end. Make two.
Using Color B (cream):
Round 1: 6 sc in magic ring (6 sts)
Rounds 2 through 3: Sc in each st around (6 sts)
Change to MC (deep ocean blue):
Rounds 4 through 12: Sc in each st around (6 sts) — 9 rounds total
Fasten off, leaving a long tail. Stuff lightly, keeping the arms somewhat floppy. Sew to the sides of the body.
Crocheting the Legs
The legs are shorter and sturdier than the arms. Make two.
Using Color B (cream):
Round 1: 6 sc in magic ring (6 sts)
Round 2: Inc in each st around (12 sts)
Rounds 3 through 4: Sc in each st around (12 sts)
Change to MC (deep ocean blue):
Rounds 5 through 10: Sc in each st around (12 sts) — 6 rounds total
Fasten off, leaving a long tail. Stuff firmly. Sew to the bottom front of the body so the cow sits upright.
The Party Hat Pattern
This adorable party hat makes the highland cow extra special. The stripes and pompom add festive charm.
Using Color C (medium teal):
Round 1: 4 sc in magic ring (4 sts)
Round 2: *Sc 1, inc* repeat around (6 sts)
Round 3: Sc in each st around (6 sts)
Round 4: *Sc 2, inc* repeat around (8 sts)
Change to Color B (cream):
Round 5: Sc in each st around (8 sts)
Change back to Color C:
Rounds 6 through 7: Sc in each st around (8 sts)
Round 8: *Sc 3, inc* repeat around (10 sts)
Change to Color B:
Round 9: Sc in each st around (10 sts)
Change back to Color C:
Rounds 10 through 12: Sc in each st around (10 sts)
Fasten off, leaving a long tail. Stuff very lightly to help it hold its shape. Create a small pompom using cream yarn and attach to the tip. Sew the hat to the head at a jaunty angle.
Adding the Highland Hair
The signature shaggy hair makes this amigurumi instantly recognizable as a highland cow. Cut yarn strands approximately 6 to 8 inches long in varying shades of teal, cream, and blue.
Using your crochet hook, pull each strand through a stitch on the head and knot it securely. Concentrate the hair on one side of the head, covering the forehead and draping over one eye. Mix colors randomly for a natural, tousled look.
Once all strands are attached, trim lightly to create a wavy, uneven appearance. The messier, the better.
Crocheting the Seashell
This sweet detail ties the ocean theme together beautifully.
Using Color B (cream):
Row 1: Ch 8, sc in second ch from hook, sc across (7 sts)
Row 2: Ch 1, turn, inc, sc 5, inc (9 sts)
Row 3: Ch 1, turn, inc, sc 7, inc (11 sts)
Fasten off. Using light blue yarn, embroider lines radiating from the base to create the shell texture. Sew the seashell to one arm.
Assembly Tips for Beginners
Sewing amigurumi pieces together can feel intimidating. Here are my best tips:
Pin everything first. Before you sew a single stitch, pin each piece in place. Step back and look at your cow from multiple angles. Adjust until you are happy.
Use a yarn needle with a blunt tip. Sharp needles can split your yarn and create a messy look.
Sew through the back loops when possible. This hides your stitches more effectively.
Take breaks. Assembly requires patience. Rushing leads to crooked ears and regret.
Finishing Your Ocean Blue Highland Cow Amigurumi
Once all pieces are sewn on, weave in any remaining ends thoroughly. I weave each end through at least five stitches in different directions to ensure nothing comes loose.
Give your highland cow a final fluff. Adjust the hair, straighten the party hat, and make sure the seashell is positioned just right.
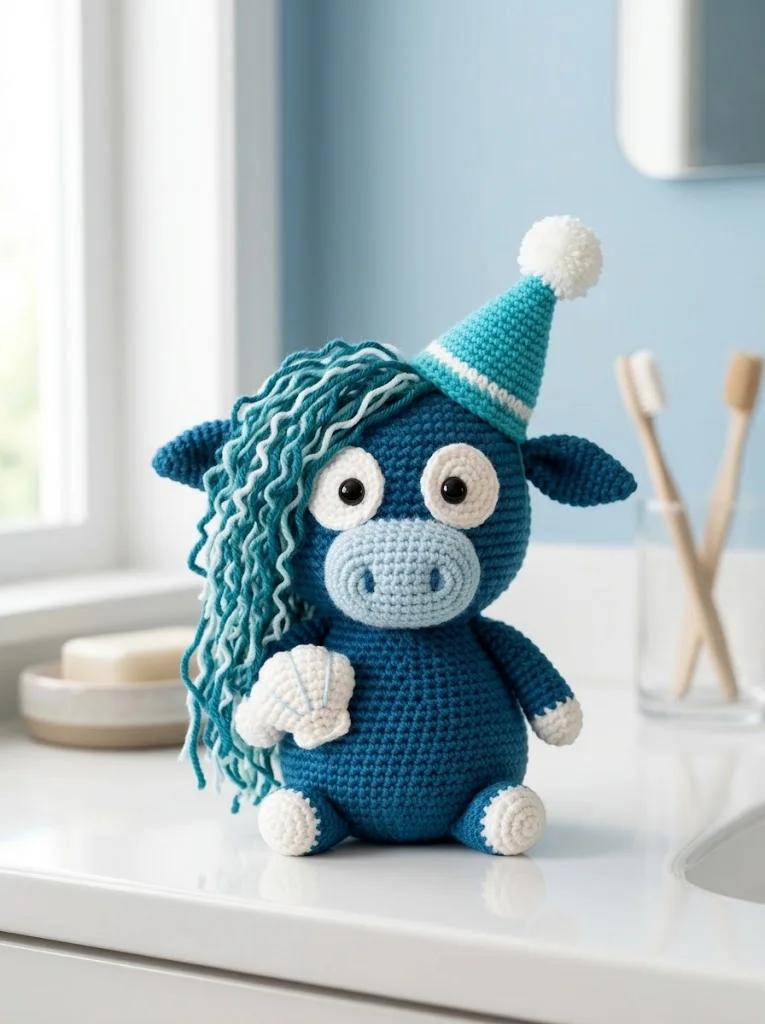
And there you have it. Your very own ocean blue highland cow amigurumi ready to brighten someone’s day.
Thank You for Making This Pattern
I genuinely appreciate you choosing this crochet pattern for your next project. Creating amigurumi brings me so much joy, and knowing that you are making this little cow somewhere in the world makes it even more special.
I would absolutely love to see your finished highland cow. Tag me on Instagram or share in my Facebook group. Seeing your creations honestly makes my entire week.
Happy crocheting, friend. You have got this.