
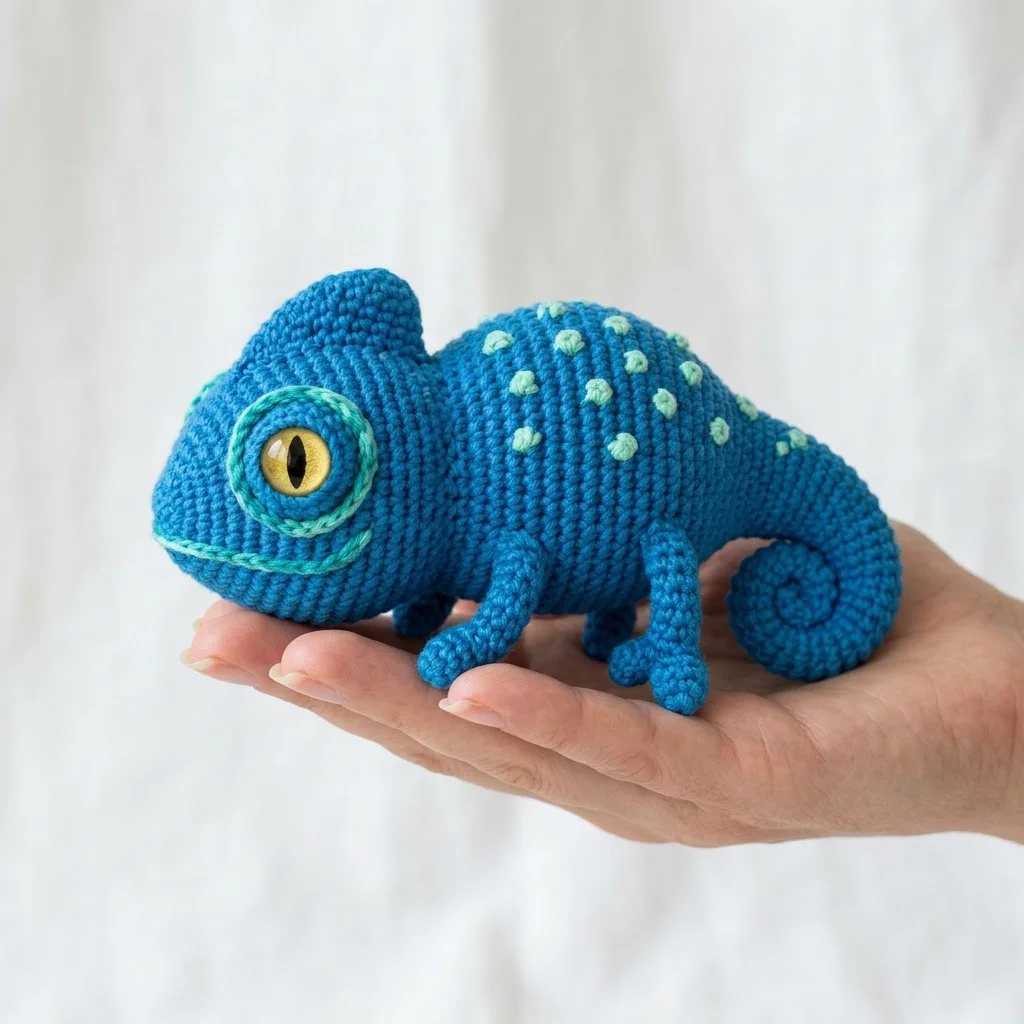
This little guy might just be my favorite project I have ever designed. Look at that curly tail! Those expressive eyes! If you have been wanting to try amigurumi but felt intimidated by animal patterns, this ocean blue chameleon crochet pattern is going to surprise you. The construction is simpler than it looks, and I will walk you through every single step.
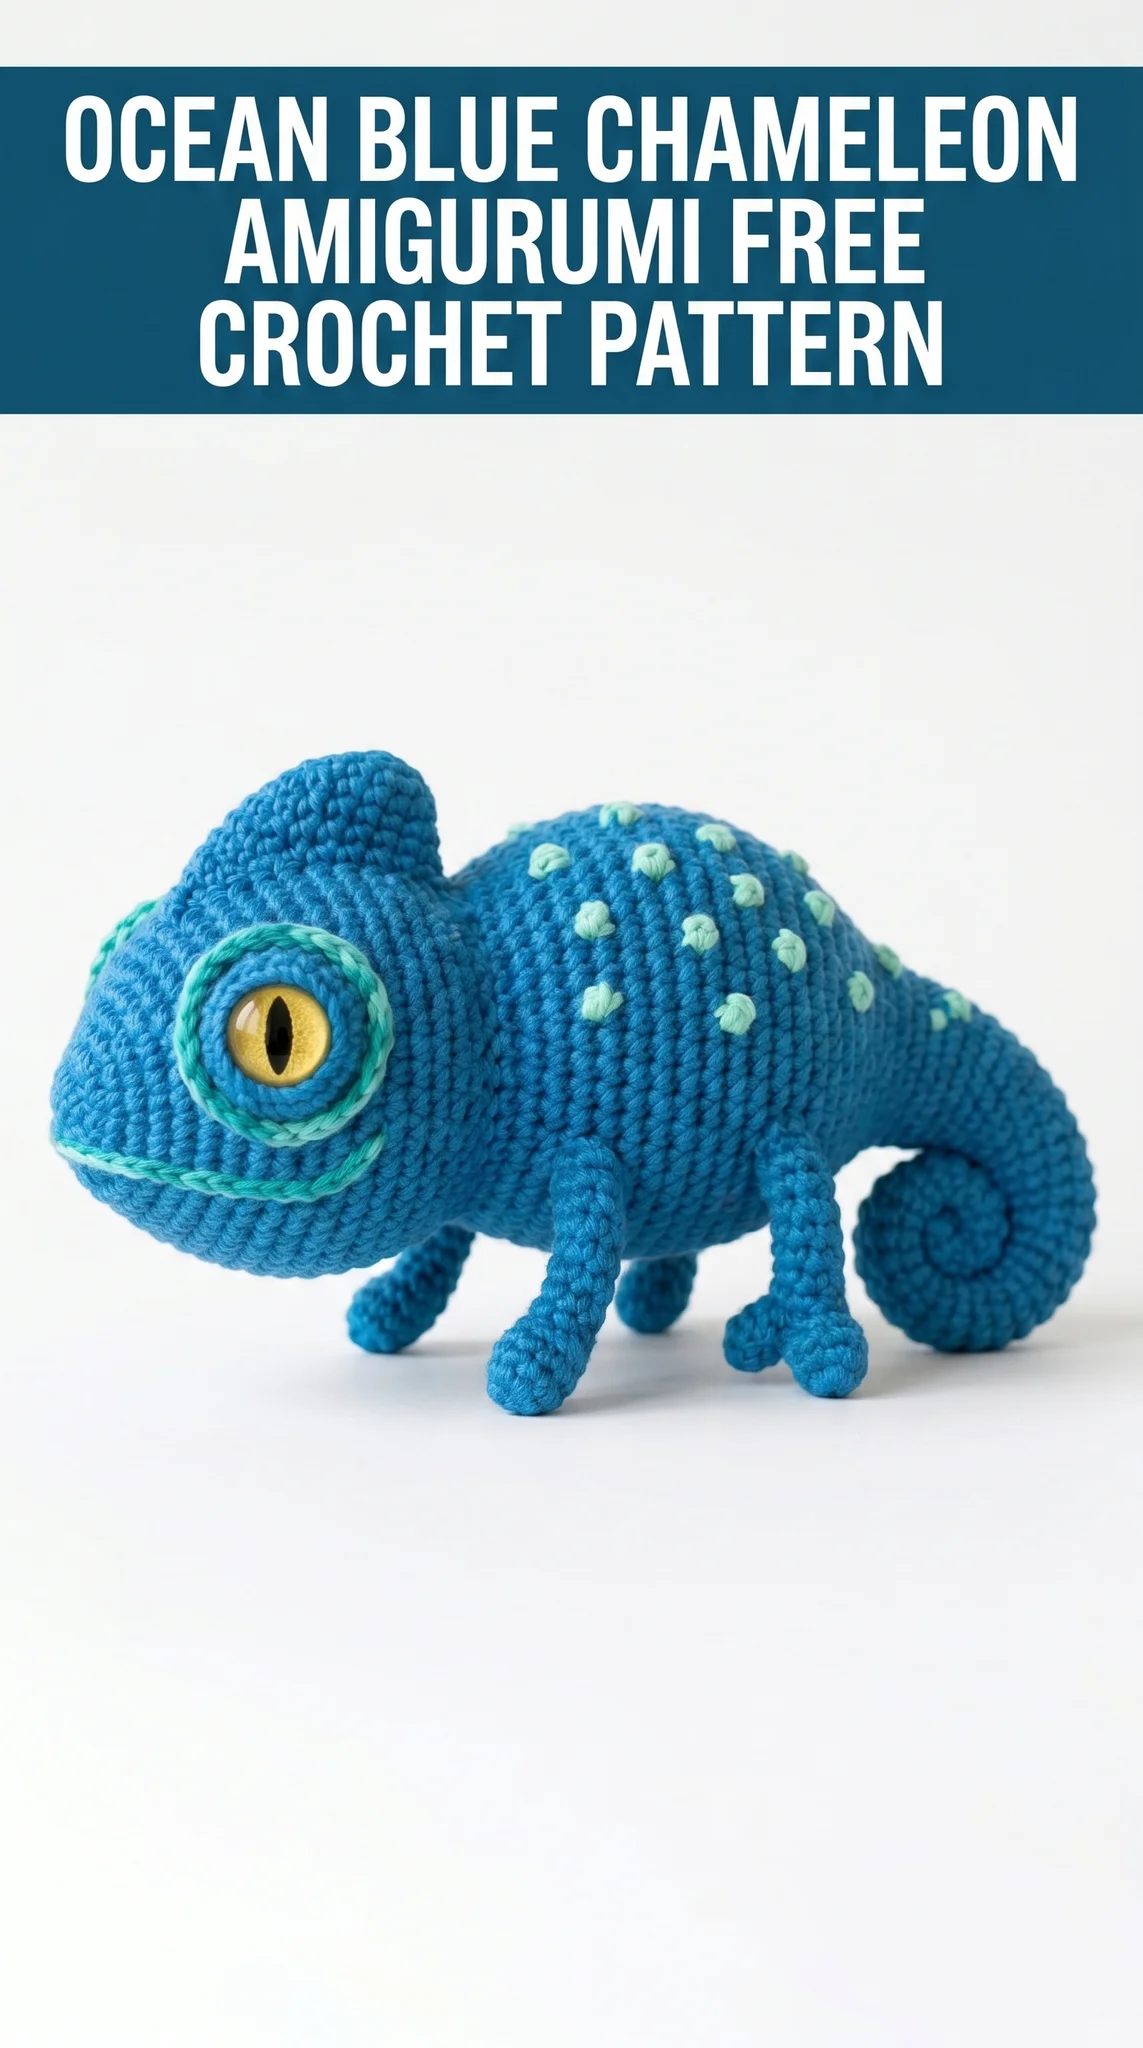
I designed this chameleon to fit comfortably in the palm of your hand. The finished size is approximately 5 to 6 inches long from nose to tail tip. The body uses basic increases and decreases worked in continuous rounds. The legs and tail are simple tubes. The impressive part? Those adorable spots and the eye detail are added after construction, so you can focus on one thing at a time.
Whether you are an amigurumi beginner or you have crocheted a whole zoo of stuffed animals, this step by step crochet tutorial will give you everything you need to bring your own chameleon to life.
Why You Will Love This Chameleon Amigurumi Pattern
This pattern hits that sweet spot between interesting and achievable. The chameleon shape is distinctive enough to be instantly recognizable, but the construction breaks down into manageable pieces. You will make the body, head crest, four legs, a tail, and two eye pieces. Then you assemble and add the decorative details.
The continuous round technique means no slip stitching and no turning chains to worry about. You just keep crocheting in a spiral. A stitch marker is your best friend here because it tracks where each round begins.
I chose this ocean blue colorway because it reminds me of those incredible blue iguanas you see in nature documentaries. But chameleons come in every color imaginable. Make yours purple, green, rainbow, or match it to someone’s favorite color for a personalized gift.
Materials You Will Need
Let me tell you exactly what to gather before you start. Having everything ready makes the process so much smoother.
Yarn:
I used a cotton blend yarn for this project. Cotton gives amigurumi a clean stitch definition and nice weight. Acrylic works beautifully too and comes in more color options. Just make sure whatever you choose is worsted weight, also called medium weight or size 4.
Hook:
For amigurumi, you want to go down a hook size or two from what the yarn label recommends. This creates a tighter fabric so the stuffing does not show through.
Notions:
Optional:
Skill Level and Techniques
I am rating this pattern as intermediate beginner. If you have made a basic amigurumi ball or simple stuffed animal before, you are ready for this chameleon.
Techniques you will use:
Do not worry if any of these sound unfamiliar. I will explain each one as we go.
Abbreviations and Stitch Definitions
Let me define every abbreviation before we begin. Refer back to this section anytime you need a refresher.
Magic Ring (MR): An adjustable starting loop that closes completely. You wrap yarn around your finger, insert your hook, pull up a loop, chain one, then work your stitches into the ring. Pull the tail to close the center hole.
Chain (ch): The foundation stitch. Yarn over, pull through the loop on your hook.
Single Crochet (sc): Insert hook into stitch, yarn over and pull up a loop (2 loops on hook), yarn over and pull through both loops. This is your main stitch for the entire project.
Increase (inc): Work 2 single crochet stitches into the same stitch. This adds one stitch to your count.
Invisible Decrease (dec): Insert hook through the front loops only of the next 2 stitches, yarn over and pull through both front loops (2 loops on hook), yarn over and pull through both loops. This creates a neater decrease than the standard method.
Slip Stitch (sl st): Insert hook, yarn over, pull through stitch and loop on hook in one motion. Used for joining and finishing.
Fasten Off (FO): Cut yarn, pull tail through final loop, tighten.
Stitch (st/sts): Individual stitch or stitches.
The Pattern: Ocean Blue Chameleon Amigurumi
Now for the good part. Grab your hook and yarn. Take a breath. You have got this.
Body
The body is worked from the nose toward the back. You will stuff as you go once the opening gets small.
Round 1: With MC, make a magic ring. Work 6 sc into the ring. Pull tight. (6 sts)
Round 2: Inc in each st around. (12 sts)
Round 3: *Sc 1, inc* repeat around. (18 sts)
Round 4: *Sc 2, inc* repeat around. (24 sts)
Round 5: *Sc 3, inc* repeat around. (30 sts)
Round 6: *Sc 4, inc* repeat around. (36 sts)
Rounds 7 to 9: Sc in each st around. (36 sts)
Round 10: *Sc 5, inc* repeat around. (42 sts)
Rounds 11 to 16: Sc in each st around. (42 sts)
This is the widest part of the body. Now we start shaping toward the back.
Round 17: *Sc 5, dec* repeat around. (36 sts)
Rounds 18 to 19: Sc in each st around. (36 sts)
Round 20: *Sc 4, dec* repeat around. (30 sts)
Rounds 21 to 22: Sc in each st around. (30 sts)
Install safety eyes between rounds 6 and 7, spacing them about 10 stitches apart. The eye placement is toward the front third of the body.
Round 23: *Sc 3, dec* repeat around. (24 sts)
Begin stuffing the body firmly. Add more stuffing as you continue.
Round 24: Sc in each st around. (24 sts)
Round 25: *Sc 2, dec* repeat around. (18 sts)
Round 26: Sc in each st around. (18 sts)
Round 27: *Sc 1, dec* repeat around. (12 sts)
Finish stuffing firmly.
Round 28: Dec 6 times. (6 sts)
Fasten off. Use your tapestry needle to weave through the front loops of the remaining 6 stitches. Pull tight to close. Weave in the tail.
Head Crest
That distinctive ridge on top of the chameleon’s head is worked flat and sewn on.
Row 1: With MC, ch 10. Starting in the 2nd ch from hook, sc 9. Ch 1, turn. (9 sts)
Row 2: Skip first st, sc 7, skip last st. Ch 1, turn. (7 sts)
Row 3: Skip first st, sc 5, skip last st. Ch 1, turn. (5 sts)
Row 4: Skip first st, sc 3, skip last st. Ch 1, turn. (3 sts)
Row 5: Skip first st, sc 1, skip last st. (1 st)
Fasten off, leaving a long tail for sewing.
Pin the crest to the top of the head, positioned between the eyes and curving back. The wide end sits at the nose area. Whip stitch in place using your tapestry needle.
Legs (Make 4)
All four legs are identical. They are simple tubes stuffed lightly.
Round 1: With MC, make a magic ring. Work 6 sc into the ring. (6 sts)
Round 2: Inc in each st around. (12 sts)
Rounds 3 to 4: Sc in each st around. (12 sts)
Round 5: *Sc 1, dec* repeat around. (8 sts)
Rounds 6 to 12: Sc in each st around. (8 sts)
Fasten off, leaving a long tail. Stuff the foot area lightly. If you want poseable legs, insert a piece of wire before stuffing the rest.
Curly Tail
The tail is my favorite part. It naturally wants to curl as you work it.
Round 1: With MC, make a magic ring. Work 4 sc into the ring. (4 sts)
Rounds 2 to 5: Sc in each st around. (4 sts)
Round 6: *Sc 1, inc* repeat around. (6 sts)
Rounds 7 to 12: Sc in each st around. (6 sts)
Round 13: *Sc 2, inc* repeat around. (8 sts)
Rounds 14 to 18: Sc in each st around. (8 sts)
Round 19: *Sc 3, inc* repeat around. (10 sts)
Rounds 20 to 22: Sc in each st around. (10 sts)
Fasten off, leaving a long tail. Stuff lightly. The tail should curl inward naturally. You can encourage the spiral shape by rolling it between your palms.
Eye Rings (Make 2)
These rings frame the safety eyes beautifully.
Round 1: With CC1 (mint green), make a magic ring. Work 6 sc into the ring. (6 sts)
Round 2: Inc in each st around. (12 sts)
Round 3: *Sc 1, inc* repeat around. (18 sts)
Sl st to first st. Fasten off, leaving a tail.
Position each ring around a safety eye. The ring should frame the eye socket area on the body. Whip stitch in place, tucking the outer edge against the body surface.
Assembly Instructions
Here is where your chameleon comes together. Take your time with placement. Pins are your best friends.
1. Attach the legs. Position the front legs about 4 rounds back from the nose, on either side of the body. The back legs sit about 6 rounds forward from the tail opening. Pin first, then sew securely using a whip stitch.
2. Attach the tail. The open end of the tail attaches to the back of the body. Make sure the curl faces inward or downward depending on your preference.
3. Position and sew the head crest. The crest runs along the top center of the head, from between the eyes toward the back.
4. Secure the eye rings. If they are not already attached, sew them now.
Adding the Spots
Those charming mint green spots are surface embroidery. This is much easier than colorwork and gives you control over placement.
Thread a length of CC1 onto your tapestry needle. Working from inside the body, bring the needle up through a stitch. Make 2 to 3 small stitches in the same spot to create a raised dot. Bring the needle back inside and travel to the next spot location.
I placed spots randomly across the back and sides, clustering more densely along the spine area. Look at the photos for reference. There is no wrong way to do this.
Finishing Touches
Weave in all remaining tails. If any spots feel loose, add a tiny dab of fabric glue on the inside.
Give your chameleon a good look. Adjust the tail curl. Fluff the stuffing if needed by gently squeezing and reshaping.
Tips for Success
Tension matters. Keep your stitches tight and consistent. Loose tension shows stuffing through the fabric.
Count your stitches. At the end of every round, count to make sure you have the right number. This prevents mystery shaping problems.
Use a stitch marker. Move it up at the start of every round. Continuous rounds can get confusing fast without one.
Stuff as you go. Once the opening gets smaller than your thumb, add stuffing before continuing. It is much harder to stuff through a tiny hole.
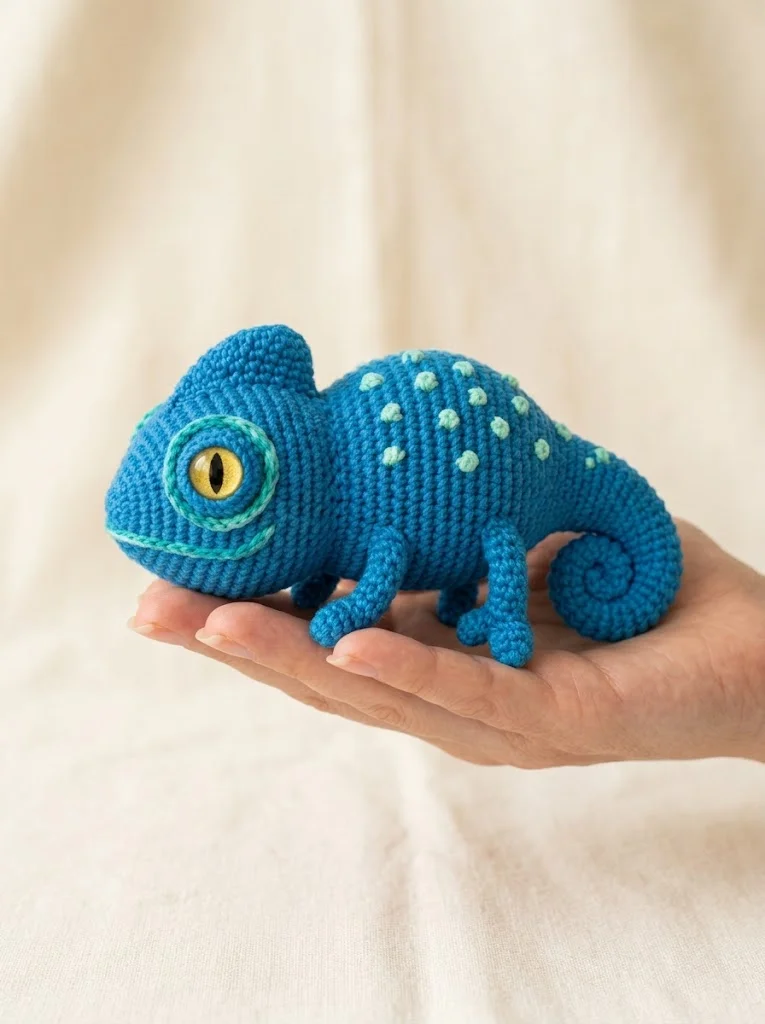
You Did It!
Look at your beautiful chameleon! I am so proud of you for making it through this pattern. Whether this is your first amigurumi or your fiftieth, completing a project like this deserves a moment of celebration.
Thank you so much for choosing this ocean blue chameleon amigurumi crochet pattern for your next project. It genuinely means the world to me that you trusted my instructions to guide you through.
I would absolutely love to see your finished chameleon. Please tag me on Instagram or share in my Facebook group. Seeing your creations in different colors and yarn choices is one of the best parts of designing patterns.
Now go cuddle that little lizard. You earned it.
Happy crocheting!