
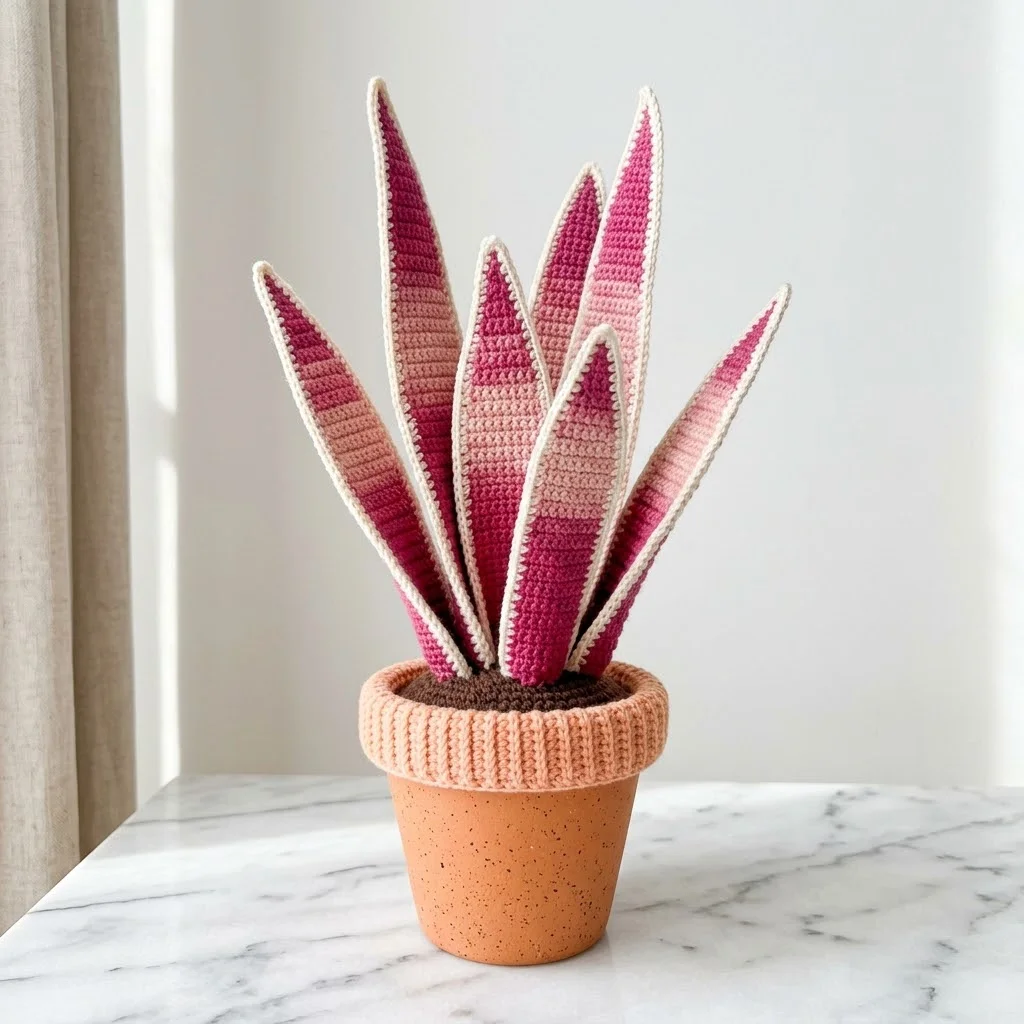
I set out to create a crochet succulent that would actually look impressive on a shelf. Not a tiny little thing that gets lost in the decor, but something bold and striking with real presence. I wanted those gorgeous pink ombre stripes you see on rare variegated snake plants, combined with pointed leaves that hold their shape beautifully. After playing with stripe sequences and leaf construction for longer than I care to admit, I am SO pleased with how this pink ombre snake plant turned out. It looks like an expensive houseplant from a trendy boutique, but you made it with your own hands.
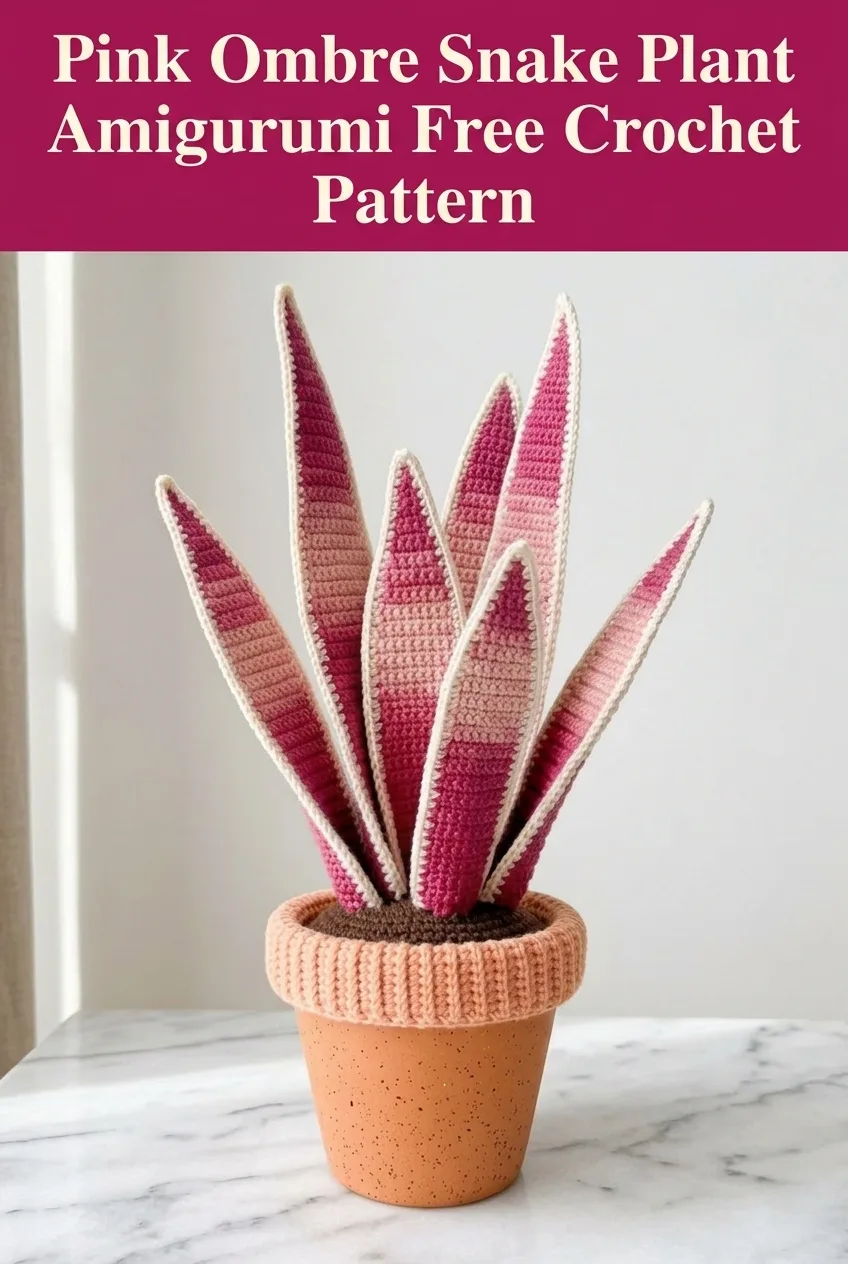
Why You’ll Love This Crochet Snake Plant Pattern
This amigurumi snake plant is the perfect project for anyone who loves plants but struggles to keep them alive. No watering, no sunlight requirements, no guilt when you forget about it for months. Just a beautiful handmade succulent that stays perfect forever.
The construction might look complicated with all those striped leaves, but I promise it breaks down into simple, repeatable steps. Each leaf is worked flat in rows, then finished with a clean border that gives it that crisp edge. The color changes create the ombre effect naturally as you work. Once you complete one leaf, you’ll have the rhythm down and the rest will fly by.
This pattern fits into a standard 4 to 5 inch terracotta pot, making it incredibly giftable. Pair it with a cute pot and you have a housewarming present, birthday gift, or “just because” surprise that people will absolutely treasure.
Skill Level
Intermediate beginner. You should be comfortable with basic stitches and color changes. If you’ve never changed colors mid-row before, this is actually a great project to learn on since the stripe pattern is forgiving and any small inconsistencies blend into the overall design.
Finished Dimensions
The completed snake plant stands approximately 12 to 14 inches tall from the base of the pot to the tallest leaf tip. Each leaf measures between 6 and 10 inches depending on the size variation. The crocheted “soil” cover fits a pot with a 4 to 5 inch diameter opening.
Materials Needed
Yarn:
– Deep magenta/raspberry, approximately 80 yards
– Medium pink, approximately 60 yards
– Light pink/blush, approximately 50 yards
– Cream or off-white, approximately 40 yards
– Dark brown (for soil), approximately 25 yards
– Peachy tan (for pot rim, optional), approximately 20 yards
I recommend a cotton or cotton blend yarn for this project. Cotton holds its shape better than acrylic for structured pieces like these leaves. The slight stiffness helps the leaves stand upright without additional support.
Hook:
Notions:
Abbreviations and Stitch Definitions
Before we dive in, let me explain every stitch you’ll encounter:
Chain (ch): The foundation stitch. Yarn over, pull through the loop on your hook. This creates a chain that looks like a braid.
Single crochet (sc): Insert hook into stitch, yarn over and pull up a loop (two loops on hook), yarn over and pull through both loops. This creates a short, tight stitch.
Single crochet decrease (sc2tog): Insert hook into first stitch and pull up a loop, insert hook into next stitch and pull up a loop (three loops on hook), yarn over and pull through all three loops. This turns two stitches into one.
Slip stitch (sl st): Insert hook into stitch, yarn over and pull through both the stitch and the loop on your hook in one motion. Used for joining and creating smooth edges.
Fasten off (FO): Cut yarn leaving a tail, pull the tail through the final loop to secure.
Understanding the Leaf Construction
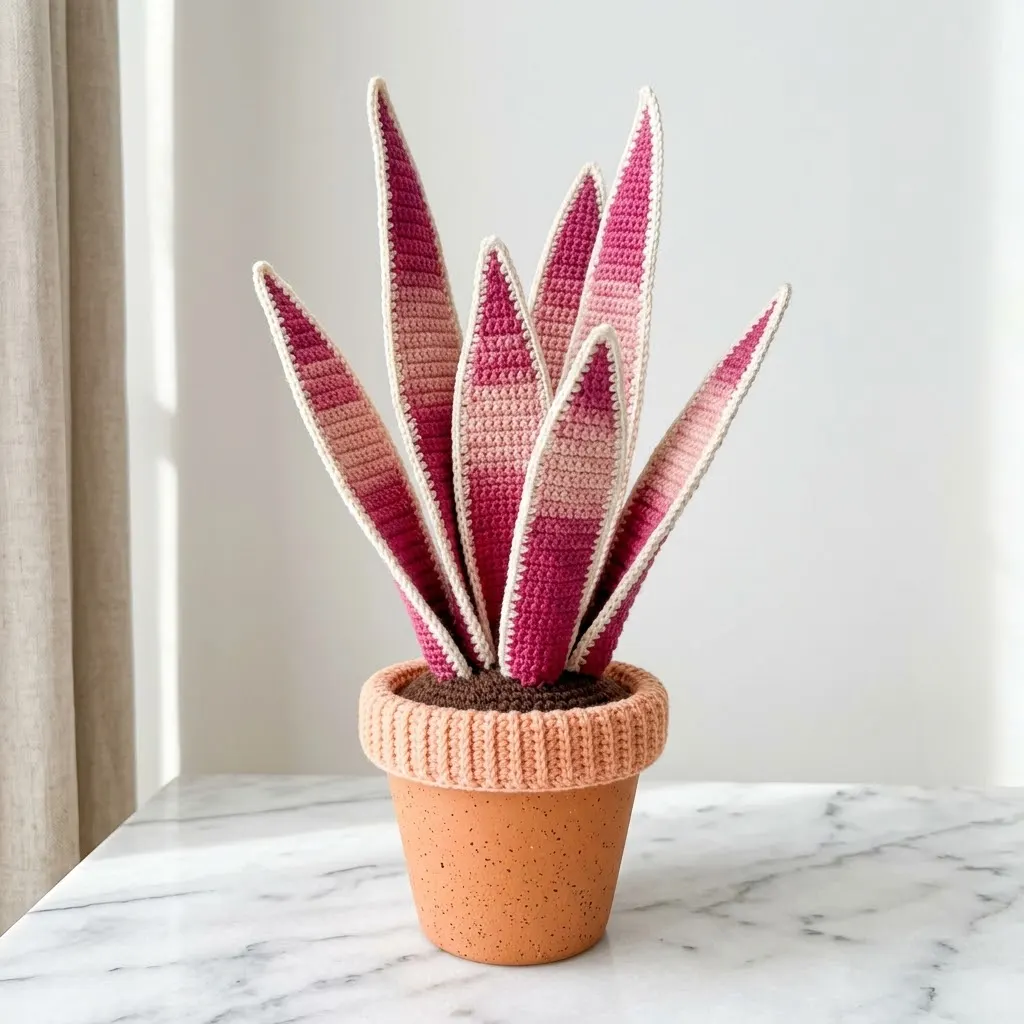
Each leaf is made from two identical panels that get joined together with a cream border. The stripe pattern creates the beautiful ombre effect you see in the photos. You’ll make leaves in three different sizes to create natural variation, just like a real plant.
The stripes follow a specific sequence that shifts the colors from the base to the tip. Don’t worry about memorizing it. I’ll walk you through exactly which color to use for each row.
Pink Ombre Snake Plant Pattern Instructions
Large Leaves (Make 3)
Panel (Make 2 per leaf, so 6 total for large leaves)
With deep magenta, ch 5.
Row 1: Sc in 2nd ch from hook and in each ch across. (4 sc)
Row 2: Ch 1, turn. 2 sc in first st, sc in next 2 sts, 2 sc in last st. (6 sc)
Row 3: Ch 1, turn. Sc in each st across. (6 sc)
Row 4: Ch 1, turn. 2 sc in first st, sc across to last st, 2 sc in last st. (8 sc)
Rows 5 through 8: Ch 1, turn. Sc in each st across. (8 sc)
Change to medium pink.
Rows 9 through 12: Ch 1, turn. Sc in each st across. (8 sc)
Change to light pink.
Rows 13 through 16: Ch 1, turn. Sc in each st across. (8 sc)
Change to deep magenta.
Rows 17 through 20: Ch 1, turn. Sc in each st across. (8 sc)
Change to medium pink.
Rows 21 through 24: Ch 1, turn. Sc in each st across. (8 sc)
Now begin decreasing for the leaf tip.
Row 25: Ch 1, turn. Sc2tog, sc across to last 2 sts, sc2tog. (6 sc)
Change to light pink.
Rows 26 through 28: Ch 1, turn. Sc in each st across. (6 sc)
Row 29: Ch 1, turn. Sc2tog, sc in next 2 sts, sc2tog. (4 sc)
Change to deep magenta.
Rows 30 through 32: Ch 1, turn. Sc in each st across. (4 sc)
Row 33: Ch 1, turn. Sc2tog twice. (2 sc)
Row 34: Ch 1, turn. Sc2tog. (1 sc)
Fasten off, leaving a long tail for assembly.
Medium Leaves (Make 3)
Panel (Make 2 per leaf, so 6 total)
Follow the same construction as the large leaves, but begin decreasing at Row 21 instead of Row 25. This creates a shorter leaf while maintaining the same stripe pattern at the base.
Small Leaves (Make 2)
Panel (Make 2 per leaf, so 4 total)
With deep magenta, ch 4.
Row 1: Sc in 2nd ch from hook and in each ch across. (3 sc)
Row 2: Ch 1, turn. 2 sc in first st, sc in next st, 2 sc in last st. (5 sc)
Rows 3 through 6: Ch 1, turn. Sc in each st across. (5 sc)
Change to medium pink.
Rows 7 through 10: Ch 1, turn. Sc in each st across. (5 sc)
Change to light pink.
Row 11: Ch 1, turn. Sc2tog, sc in next st, sc2tog. (3 sc)
Rows 12 through 14: Ch 1, turn. Sc in each st across. (3 sc)
Row 15: Ch 1, turn. Sc2tog, sc in last st. (2 sc)
Row 16: Ch 1, turn. Sc2tog. (1 sc)
Fasten off.
Joining the Leaf Panels
Hold two matching panels together with wrong sides facing each other. The right sides should be visible on both the front and back of the finished leaf.
Using cream yarn, join with a slip stitch at the base of the leaf.
Border Round: Ch 1, sc evenly around the entire leaf edge, working through both layers to join them. Work 3 sc in the tip stitch to create a smooth point. When you reach the base, leave a 2-inch opening.
Lightly stuff the leaf with fiberfill. Don’t overstuff. You want it slightly puffy but still able to curve naturally. If using floral wire for extra structure, insert it now before closing.
Continue sc around to close the opening. Sl st to first sc, fasten off.
Repeat for all 8 leaves.
Soil Cover
The soil cover sits inside your terracotta pot and hides the stuffing or foam that anchors your leaves.
With dark brown yarn, make a magic ring.
Round 1: 6 sc into ring, pull tight. (6 sc)
Round 2: 2 sc in each st around. (12 sc)
Round 3: *Sc in next st, 2 sc in next st* repeat around. (18 sc)
Round 4: *Sc in next 2 sts, 2 sc in next st* repeat around. (24 sc)
Round 5: *Sc in next 3 sts, 2 sc in next st* repeat around. (30 sc)
Continue increasing in this pattern until the circle is slightly larger than your pot opening. For a 4-inch pot, you’ll likely need 7 to 8 rounds.
Final Rounds: Sc in each st around for 2 to 3 rounds without increasing. This creates a slight lip that holds the soil cover in place.
Fasten off, leaving a long tail.
Pot Rim Cover (Optional)
This peachy ribbed band wraps around the rim of your terracotta pot for a polished look. It’s completely optional if you prefer the natural terracotta.
With peachy tan yarn, ch 8.
Row 1: Sc in 2nd ch from hook and in each ch across. (7 sc)
Row 2: Ch 1, turn. Working in back loops only (BLO), sc in each st across. (7 sc)
Repeat Row 2 until the band stretches around your pot rim. Sl st the short ends together to form a loop.
Assembly Instructions
Now comes the fun part. Assembling your snake plant brings everything together.
Step 1: Fill the bottom of your terracotta pot with crumpled newspaper, foam, or fiberfill to create a base. Leave room at the top for your soil cover.
Step 2: Place your crocheted soil cover into the pot, pressing down slightly to create a stable surface.
Step 3: Arrange your leaves by size. Position the tallest leaves in the center and back. Place medium leaves around them at slight angles. Tuck the smallest leaves toward the front and sides.
Step 4: Use the long yarn tails from each leaf base to sew them securely to the soil cover. Take your time with this step. You want the leaves firmly attached so they stand upright.
Step 5: If using the pot rim cover, slip it over the rim of your terracotta pot and adjust until snug.
Tips for Success
Color placement matters. The random-looking stripe pattern actually follows a deliberate sequence. Trust the pattern and your plant will have that organic, natural variation.
Tension consistency is key. Try to maintain even tension throughout each panel so your leaves match when joined. If one panel is looser than the other, the leaf will curl.
Don’t skip the wire. For leaves that stay perfectly upright over time, insert floral wire before closing each leaf. Without it, the leaves may droop slightly, which actually looks quite natural and charming.
Block if needed. If your panels curl, a quick steam block before joining will make assembly much easier.
Customization Ideas
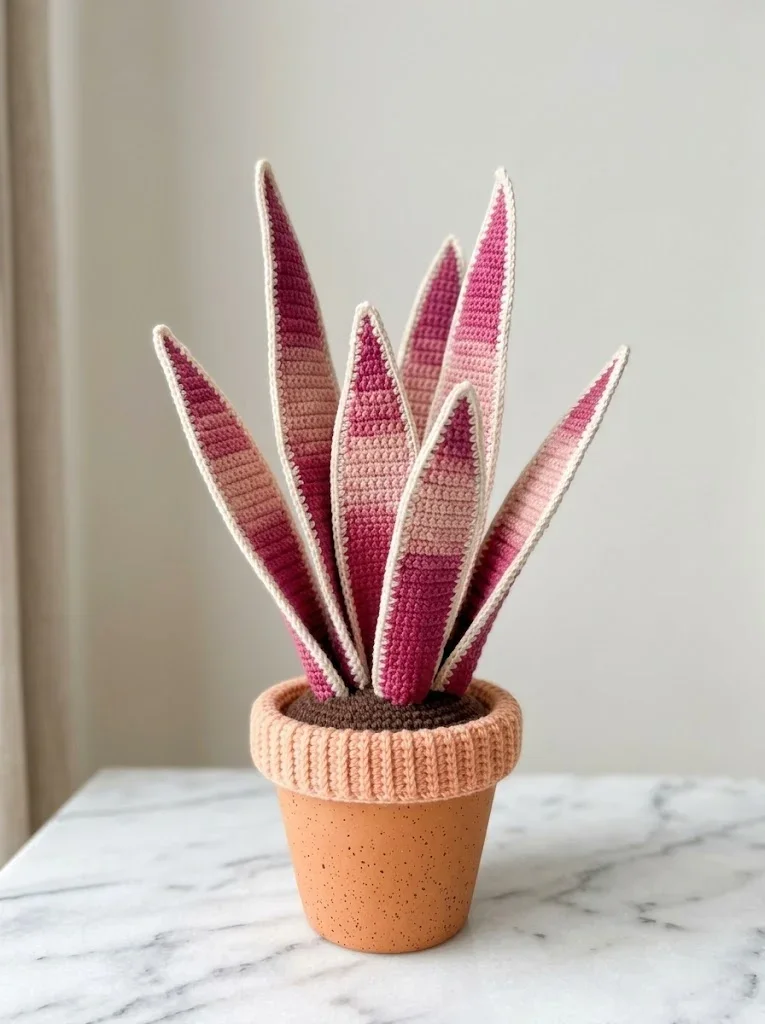
This crochet snake plant pattern works beautifully with different color schemes. Try green ombre for a realistic look, or go bold with rainbow stripes. You could create a whole collection of colorful succulents using the same construction method.
For a larger plant, simply add more rounds to each leaf panel and make additional leaves. For a miniature version, use fingering weight yarn and a smaller hook.
I really hope you enjoy making this pink ombre snake plant as much as I enjoyed designing it. These crochet succulents make such thoughtful handmade gifts, and they’re the only houseplants that truly thrive on neglect. Thank you for trusting me with your crafting time. If you make one, I would absolutely love to see it. Tag me on Instagram or share a photo in my Facebook group.
If you loved this crochet pattern, save it to your Pinterest boards so you can find it when you’re ready to start. And please drop a comment below if you make your own pink ombre snake plant. I read every single one and your photos make my whole day.
You Might Also Like
- Ocean Blue Daisy Granny Square Blanket Free Crochet Pattern
- Lavender Dream Ankle Socks Free Crochet Pattern
- Lavender Purple Dreamy Peplum Crochet Top Pattern
- Mint Green Popcorn Stitch Baby Jumpsuit Free Crochet Pattern