
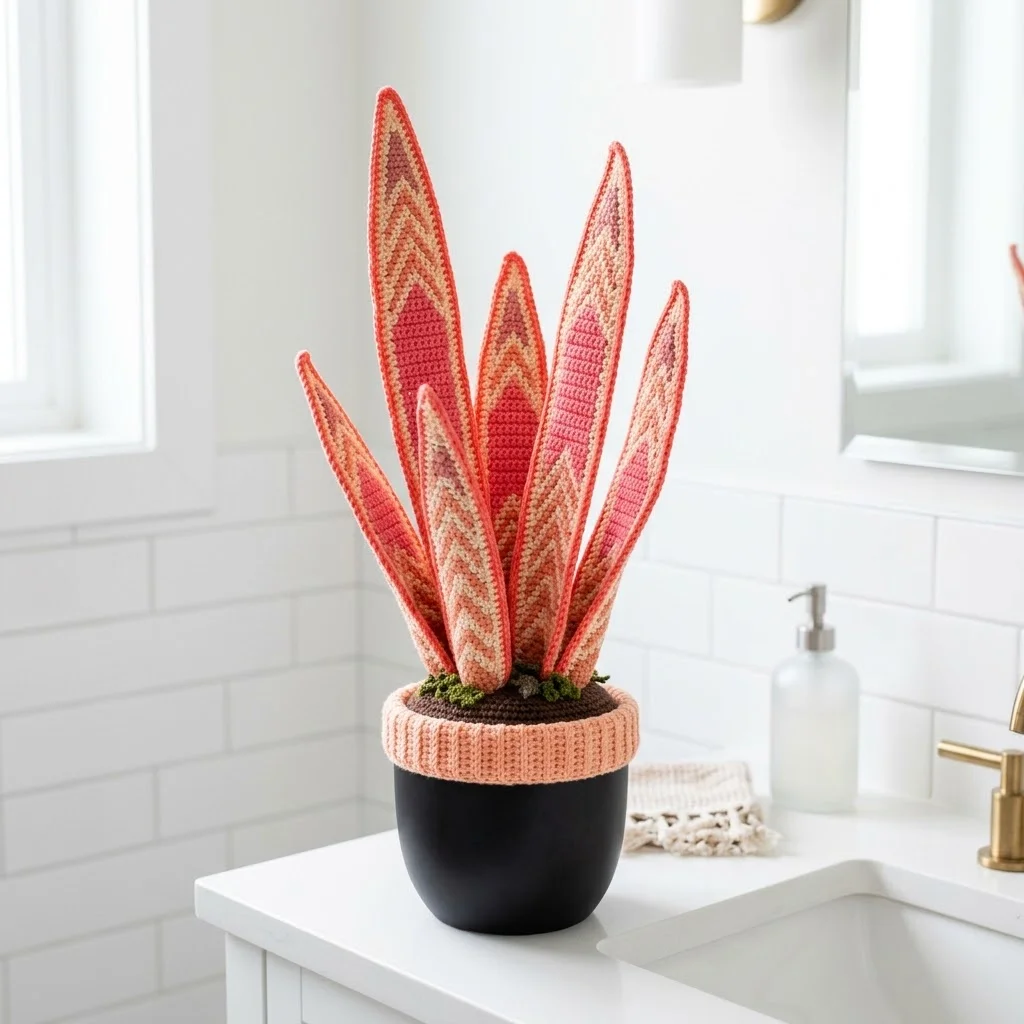
SUPER QUICK heads up: this coral reef snake plant might be the most impressive home decor project you tackle this year, and it is SO much easier than it looks! I am talking gorgeous chevron leaves that look like they took weeks but actually work up in a weekend. This amigurumi snake plant makes the PERFECT housewarming gift for that friend who cannot keep real plants alive. Trust me when I say you will want to make several of these beauties once you finish your first one.
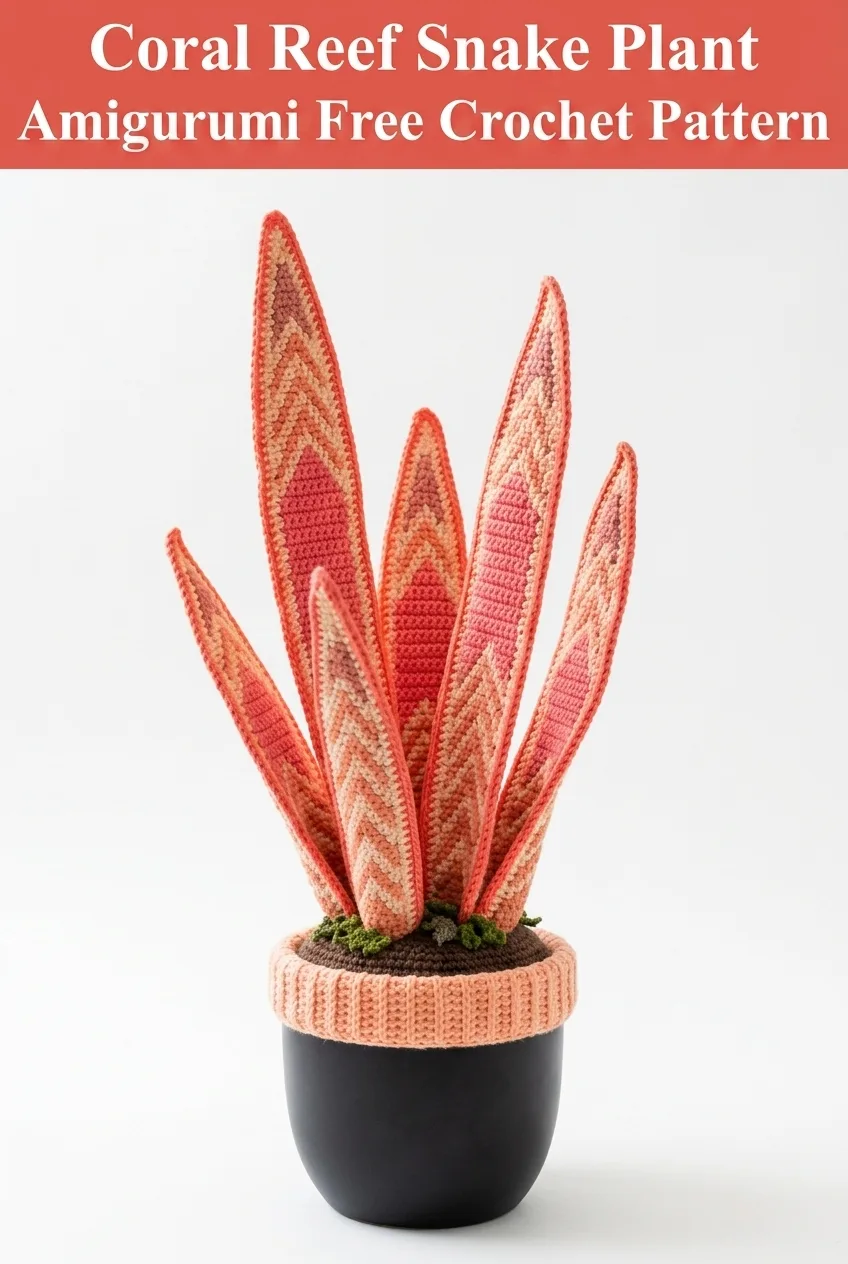
Why You Will Love This Crochet Snake Plant Pattern
This coral reef snake plant amigurumi brings all the trendy houseplant vibes without any of the watering, sunlight requirements, or guilt when you forget about it for three months. The stunning chevron colorwork creates those signature pointed leaves that snake plants are known for, and the warm coral, pink, and cream palette gives it a modern boho feel.
What makes this crochet pattern particularly satisfying is how the leaves come together. Each one is worked flat in rows, then seamed and lightly stuffed to create that dimensional pointed shape. The chevron stripes happen naturally as you work, so you get that gorgeous zigzag effect without any complicated colorwork techniques.
Best of all? You can customize the colors to match any room. Swap the corals for greens and you have a more traditional snake plant. Use blues and teals for a coastal vibe. The construction stays exactly the same.
Materials Needed for Your Crochet Snake Plant
Before you dive in, gather these supplies. Having everything ready makes the whole project flow smoothly.
Yarn:
– Main color A: Coral or salmon (approximately 150 yards)
– Color B: Deep rose or raspberry (approximately 100 yards)
– Color C: Light peach or cream (approximately 75 yards)
– Color D: Dark brown for soil top (approximately 30 yards)
– Color E: Peach for pot rim (approximately 40 yards)
I recommend a cotton or cotton blend yarn for this project. Cotton holds its shape beautifully and gives the leaves that crisp, structured look you see in the photos. Acrylic works too, but your leaves may be slightly floppier.
Hook:
Notions:
Gauge and Finished Dimensions
Gauge: 18 stitches and 20 rows = 4 inches in single crochet
Finished size: Each large leaf measures approximately 12 inches tall. Medium leaves measure approximately 9 inches tall. Small leaves measure approximately 6 inches tall. The completed plant in its pot stands roughly 14 to 16 inches tall.
Gauge matters here because it affects how stiff your leaves stand. Too loose and they will flop over. Too tight and the fabric becomes difficult to work with.
Skill Level
This amigurumi snake plant pattern is intermediate level. You should be comfortable with:
If you have never done colorwork before, do not panic. The chevron stripes use simple color changes at specific stitch counts. I walk you through it step by step.
Abbreviations and Stitch Definitions
Let me break down every stitch and term you will encounter:
Ch = Chain: Wrap yarn over hook, pull through loop on hook. This creates your foundation.
Sc = Single crochet: Insert hook into stitch, yarn over and pull up a loop (2 loops on hook), yarn over and pull through both loops.
Inc = Increase: Work 2 single crochet stitches into the same stitch. This adds one stitch to your row.
Dec = Decrease (also called sc2tog): Insert hook into first stitch, pull up a loop, insert hook into next stitch, pull up a loop (3 loops on hook), yarn over and pull through all 3 loops. This removes one stitch.
Sl st = Slip stitch: Insert hook, yarn over, pull through stitch and loop on hook in one motion. Used for joining and creating invisible seams.
FO = Fasten off: Cut yarn, pull tail through final loop, and pull tight.
RS = Right side (the pretty side that faces out)
WS = Wrong side
Pattern Notes Before You Begin
A few things that will make your life easier:
1. Each leaf is made of two identical panels that get seamed together and stuffed. Work both panels before seaming.
2. Color changes happen on the last yarn over of the previous stitch. When you are about to complete a stitch and need to switch colors, use the new color to finish pulling through.
3. Carry unused colors loosely along the side edge. This prevents having to cut and rejoin constantly.
4. Stuff leaves lightly. You want just enough fiberfill to give dimension, not so much that they become round and lose their flat leaf shape.
5. Make varying sizes for a natural look. I recommend 2 large leaves, 3 medium leaves, and 2 small leaves for a full plant.
Crochet Pattern Instructions
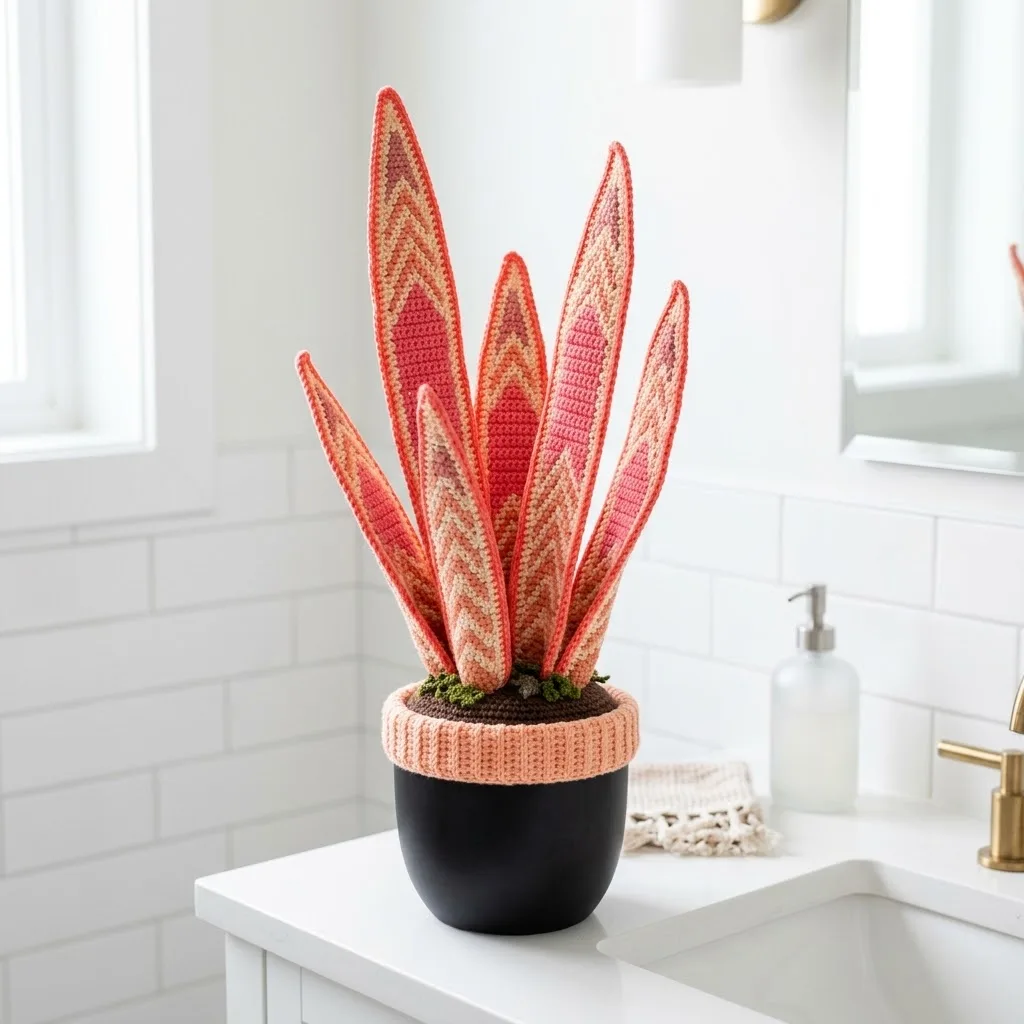
Large Leaf Panel (Make 4 for 2 complete leaves)
Foundation Row: With Color A (coral), ch 25.
Row 1 (RS): Sc in 2nd ch from hook and in each ch across. (24 sts)
Row 2: Ch 1, turn. Sc in each st across. (24 sts)
Row 3: Ch 1, turn. Sc in first 8 sts with Color A, change to Color B (rose), sc in next 8 sts, change to Color C (cream), sc in last 8 sts. (24 sts)
Row 4: Ch 1, turn. Following established color pattern, sc across. (24 sts)
Rows 5 to 8: Continue in established colors, sc across each row. (24 sts)
Row 9 (Begin Chevron Shift): Ch 1, turn. With Color C, sc in first 4 sts, change to Color A, sc in next 8 sts, change to Color B, sc in next 8 sts, change to Color C, sc in last 4 sts. (24 sts)
Rows 10 to 14: Continue in new color pattern. (24 sts)
Row 15 (Begin Shaping): Ch 1, turn. Dec over first 2 sts, sc to last 2 sts, dec. (22 sts)
Row 16: Ch 1, turn. Sc across. (22 sts)
Rows 17 to 30: Repeat Rows 15 and 16, continuing chevron color shifts every 6 rows. Continue decreasing on odd rows until you have 8 sts remaining.
Rows 31 to 38: Continue decreasing every other row. (8 sts, then 6 sts, then 4 sts, then 2 sts)
Final Row: Dec over remaining 2 sts. FO, leaving a long tail for seaming. (1 st)
Medium Leaf Panel (Make 6 for 3 complete leaves)
Foundation Row: With Color A, ch 21.
Row 1 (RS): Sc in 2nd ch from hook and across. (20 sts)
Follow the same colorwork and shaping pattern as the large leaf, but begin decreases at Row 11 instead of Row 15. Work until only 1 stitch remains.
Small Leaf Panel (Make 4 for 2 complete leaves)
Foundation Row: With Color B, ch 17.
Row 1 (RS): Sc in 2nd ch from hook and across. (16 sts)
For small leaves, use only two colors (Color B and Color C) to create a simpler chevron. Begin decreases at Row 7. Work until only 1 stitch remains.
Pot Rim Cover
This decorative ribbed band wraps around the top of your pot and hides the leaf assembly.
Foundation Row: With Color E (peach), ch 9.
Row 1: Sc in 2nd ch from hook and across. (8 sts)
Row 2: Ch 1, turn. Working in back loops only (BLO), sc across. (8 sts)
Rows 3 to 60: Repeat Row 2 until piece wraps around your pot rim with slight stretch. Adjust row count based on your pot size.
Joining: Sl st short ends together to form a loop. FO and weave in ends.
Soil Top Circle
Round 1: With Color D (brown), make a magic ring. Ch 1, work 6 sc into ring. Pull ring closed. (6 sts)
Round 2: Inc in each st around. (12 sts)
Round 3: *Sc in first st, inc in next st* repeat around. (18 sts)
Round 4: *Sc in first 2 sts, inc in next st* repeat around. (24 sts)
Continue increasing in this manner until circle fits snugly inside your pot opening. FO and weave in ends.
Assembly Instructions
Now comes the fun part where everything comes together!
Step 1: Seam the Leaf Panels
Place two matching panels with wrong sides together. Using a yarn needle and matching yarn, whip stitch around the edges, leaving the bottom open. Before closing completely, stuff lightly with fiberfill. The leaf should feel slightly padded but still relatively flat. Finish seaming the bottom edge.
Repeat for all leaves.
Step 2: Prepare the Pot
If using floral foam, cut a piece to fit snugly inside your pot about 2 inches below the rim. This gives you something to anchor the leaves into. Alternatively, crumple newspaper or use a cardboard circle.
Step 3: Arrange the Leaves
Push the bottom of each leaf into the pot, arranging them in a natural fanned pattern. Place the largest leaves toward the center back, medium leaves around them, and small leaves at the front edges. Secure with hot glue if needed for permanence.
Step 4: Add the Soil Top
Place the brown circle over the leaf bases inside the pot. If desired, add preserved moss or chunky brown yarn scraps on top for texture.
Step 5: Attach the Pot Rim
Stretch the ribbed band over the pot rim, positioning it to cover any visible edges. The ribbing creates a cozy knitted look that contrasts beautifully with the sleek pot.
Tips for Perfect Results
Blocking helps. Steam blocking each leaf panel before seaming makes the edges lie flat and the colorwork pop.
Wire optional. For extra stiff leaves that stay positioned, insert floral wire into each leaf before seaming closed.
Mix up your chevrons. Vary the starting point of color changes on different leaves so they do not all look identical.
Take breaks. This project involves repetitive rows. Set it down between leaves to keep your tension consistent.
Customization Ideas for Your Crochet Snake Plant
This amigurumi pattern is incredibly versatile. Here are some ways to make it your own:
Wrapping Up Your Coral Reef Snake Plant
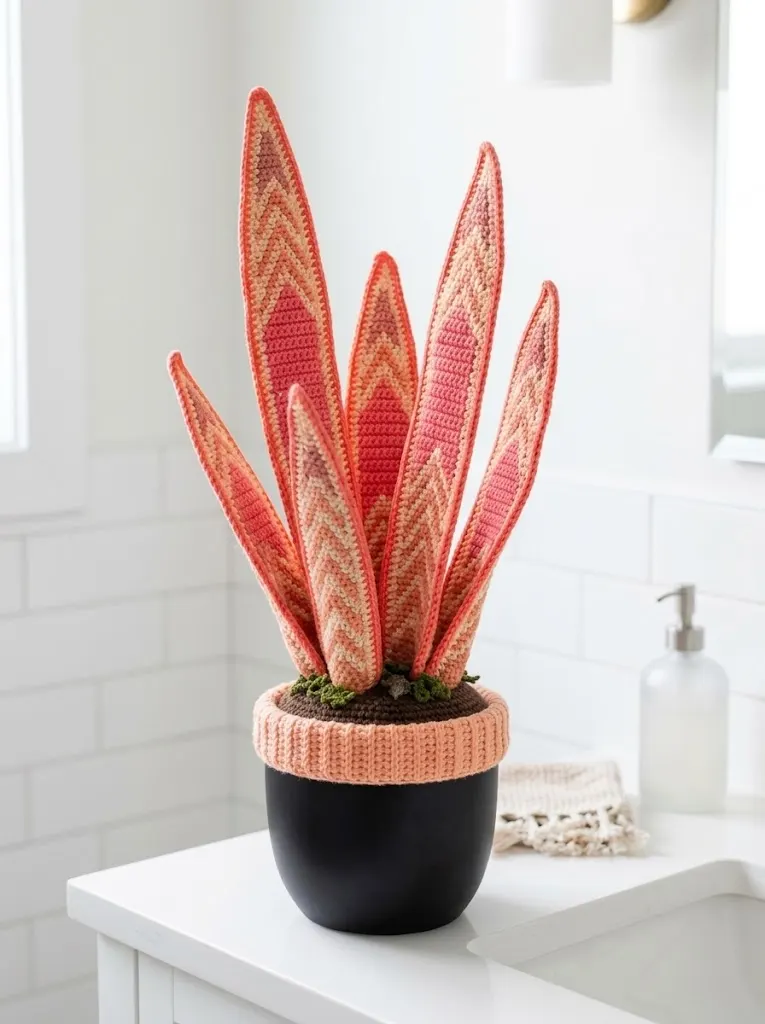
You did it! Your coral reef snake plant amigurumi is complete and ready to brighten up any space. This crochet pattern creates a stunning piece of home decor that sparks conversation and never needs watering.
Whether you made this for yourself or as a thoughtful handmade gift, you should feel proud of this beautiful work. The chevron leaves, the warm coral tones, the cozy pot rim. Every detail came together because of your patience and skill.
Thank you so much for choosing this pattern and trusting me to guide you through it. I genuinely love seeing what you create! If you share your finished snake plant on Instagram or Facebook, please tag me so I can admire your work. Seeing your versions absolutely makes my day.
I hope you loved making this coral reef snake plant as much as I loved designing it. If this pattern is calling out to you later, go ahead and pin it to your Pinterest boards so you can find it whenever inspiration strikes. And please drop a comment below if you give this one a try. I would love to hear how it turned out for you!
You Might Also Like
- Pastel Pink Dragon Amigurumi Plush Free Crochet Pattern
- Lavender Butterfly Baby Dress Free Crochet Pattern
- Mint and Lavender Bunny Baby Blanket Free Crochet Pattern
- Charcoal Gray Modern Lace Maxi Skirt Free Crochet Pattern