
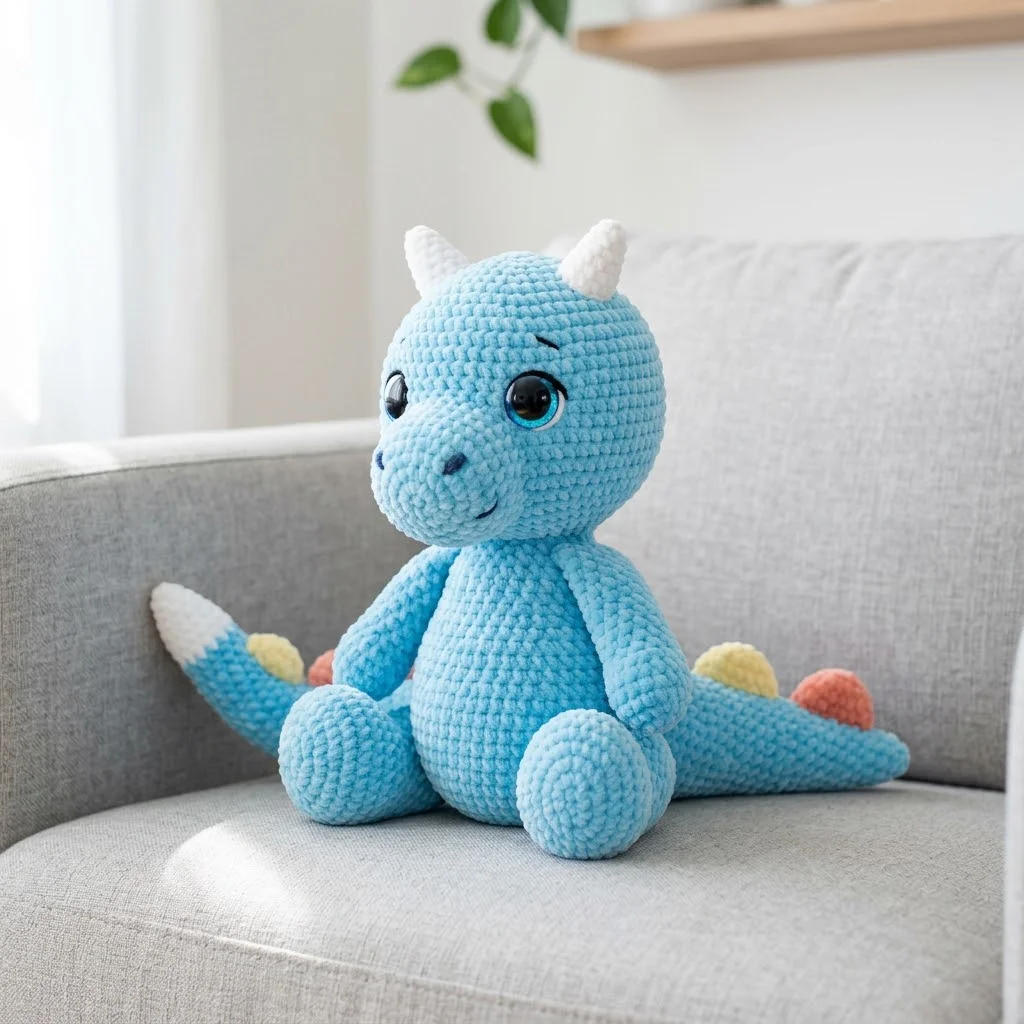
I absolutely fell in love with this little guy the moment I finished stuffing his chubby body. This sky blue dragon amigurumi sits about 12 inches tall and has the sweetest expression. Those big safety eyes and tiny embroidered smile give him so much personality. If you have basic amigurumi experience and want to level up to a larger plush project, this crochet pattern is perfect for you.
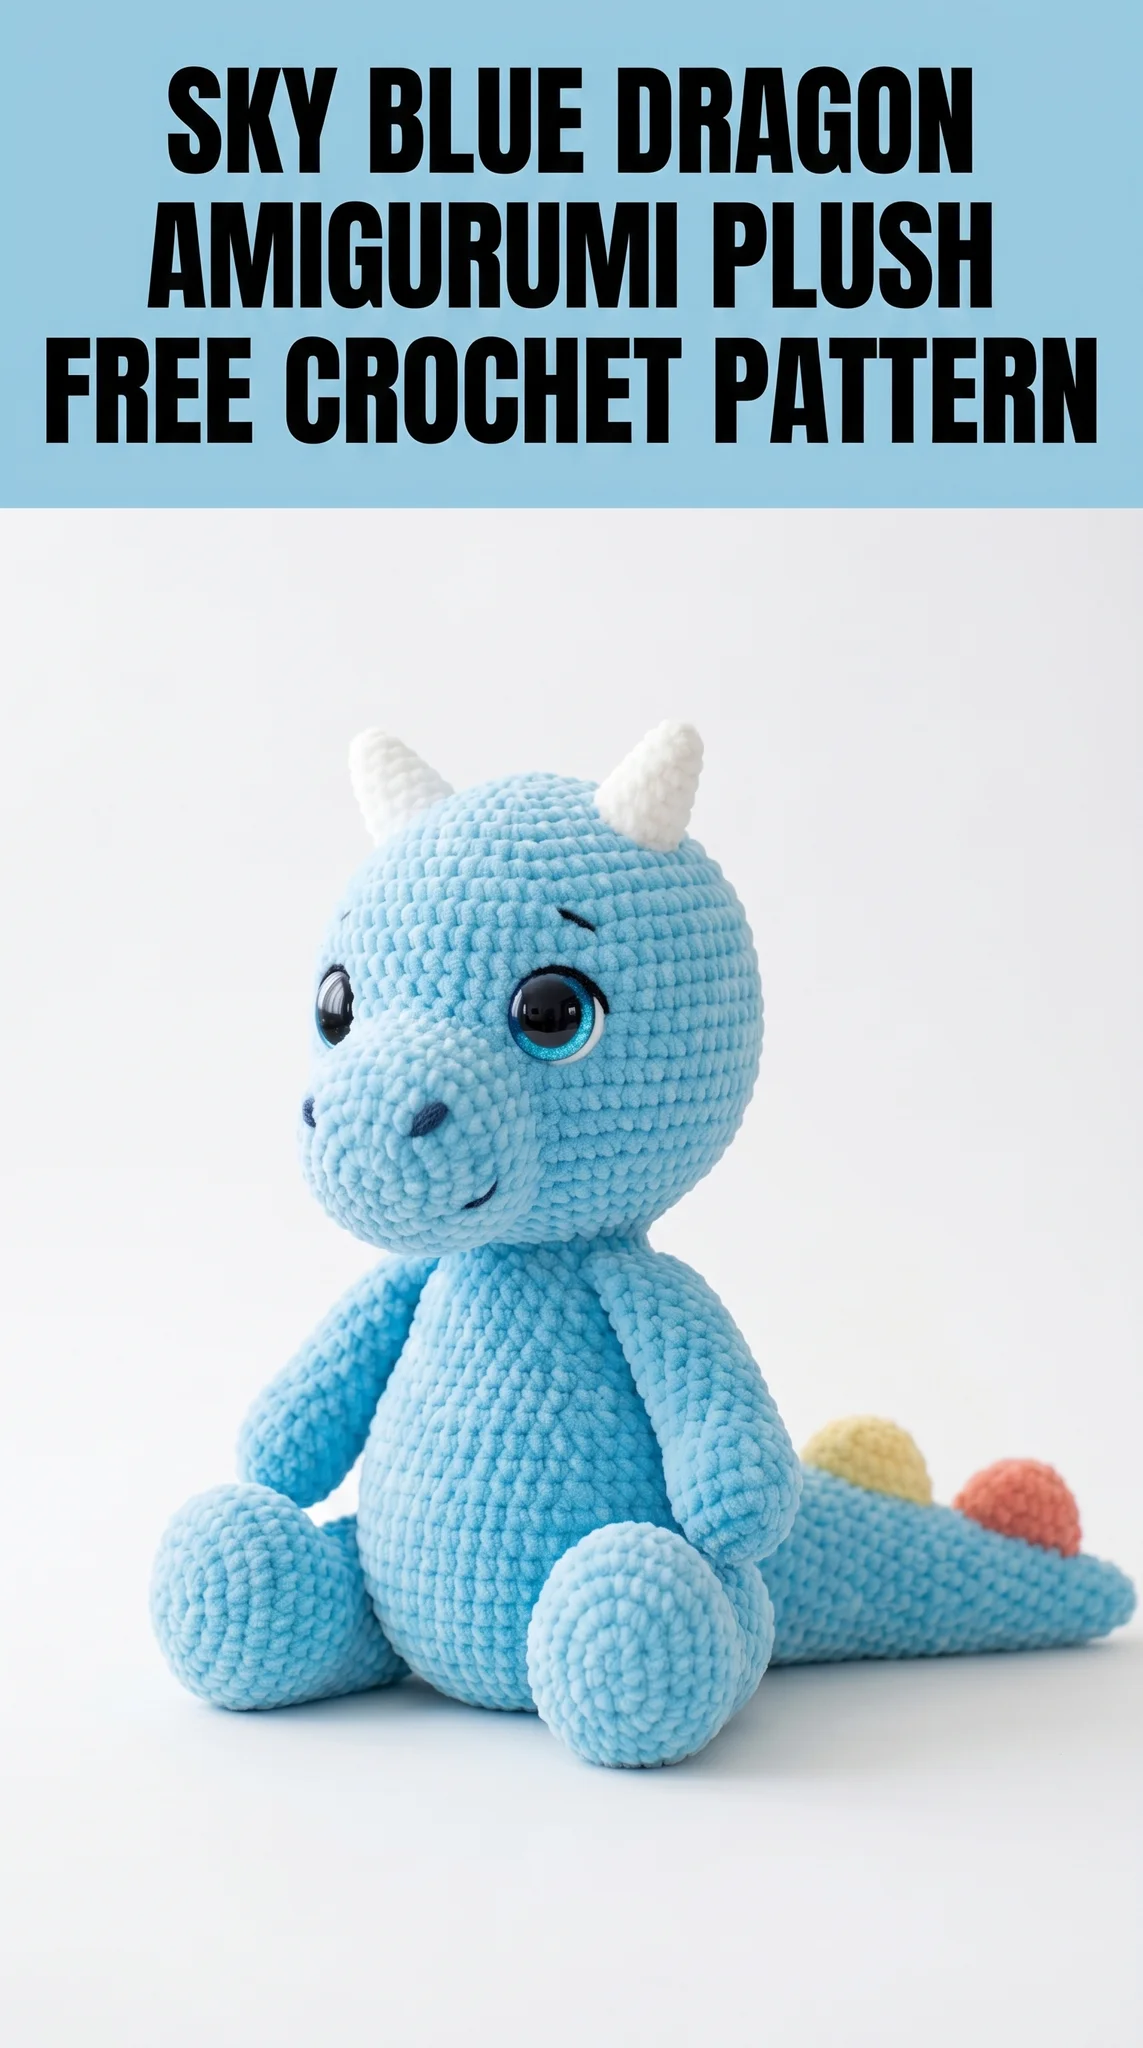
The construction is straightforward. You will work each piece separately in continuous rounds, then sew everything together at the end. The colorful spikes down his back and tail add whimsy without complicated color work. I promise it looks harder than it actually is.
Let me walk you through everything you need to bring this cuddly dragon to life.
Why You Will Love This Dragon Amigurumi Crochet Pattern
This dragon plush makes an incredible gift for kids and adults alike. The chunky chenille yarn creates that irresistibly soft, squishy texture you see in the photo. He sits upright on his own, which makes him perfect for nursery decor or displaying on a shelf.
The pattern uses only basic stitches. If you can single crochet and know how to increase and decrease, you have all the skills you need. I wrote this crochet tutorial with clear round by round instructions so you always know exactly where you are.
Materials You Will Need
Gather these supplies before you start. Having everything ready makes the process so much smoother.
Yarn:
Hook:
Notions:
Gauge: Gauge is not critical for amigurumi, but your stitches should be tight enough that stuffing does not show through.
Stitch Abbreviations and Definitions
Let me explain every stitch you will use. I define each one so beginners feel confident.
Magic Ring (MR): An adjustable starting loop that closes completely with no hole. You work your first round of stitches into this ring, then pull the tail tight.
Chain (ch): The foundation stitch. Yarn over, pull through the loop on your hook. One chain made.
Single Crochet (sc): Insert hook into stitch, yarn over and pull up a loop (two loops on hook), yarn over and pull through both loops. One single crochet made.
Increase (inc): Work two single crochet stitches into the same stitch. This adds one stitch to your count.
Invisible Decrease (invdec): Insert hook through front loops only of the next two stitches, yarn over and pull through both front loops, yarn over and pull through both loops on hook. This creates a neater decrease than the standard method.
Slip Stitch (sl st): Insert hook, yarn over, pull through stitch and loop on hook in one motion. Used for joining or invisible finishing.
Fasten Off (FO): Cut yarn leaving a tail, pull through last loop, tighten.
Skill Level
Intermediate beginner. You should be comfortable with:
If this is your first amigurumi, consider practicing with a simple ball shape first. But honestly, do not let fear stop you. Take it one round at a time.
Finished Size
Approximately 12 inches tall when seated, using the recommended yarn and hook size. Your dragon may vary slightly based on tension and stuffing firmness.
Step by Step Crochet Pattern Instructions
Work all pieces in continuous rounds unless noted. Do not join rounds. Use a stitch marker to track the first stitch of each round and move it up as you go.
Head (Make 1 in Sky Blue)
Rnd 1: MR, 6 sc into ring. (6 sts)
Rnd 2: Inc in each st around. (12 sts)
Rnd 3: *Sc 1, inc* repeat around. (18 sts)
Rnd 4: *Sc 2, inc* repeat around. (24 sts)
Rnd 5: *Sc 3, inc* repeat around. (30 sts)
Rnd 6: *Sc 4, inc* repeat around. (36 sts)
Rnd 7: *Sc 5, inc* repeat around. (42 sts)
Rnd 8: *Sc 6, inc* repeat around. (48 sts)
Rnds 9 to 16: Sc in each st around. (48 sts) Work 8 rounds even.
Rnd 17: *Sc 6, invdec* repeat around. (42 sts)
Rnd 18: *Sc 5, invdec* repeat around. (36 sts)
Insert safety eyes between rounds 12 and 13, approximately 8 stitches apart. The placement shown has them slightly toward the front of the face for that sweet look.
Rnd 19: *Sc 4, invdec* repeat around. (30 sts)
Rnd 20: *Sc 3, invdec* repeat around. (24 sts)
Begin stuffing the head firmly.
Rnd 21: *Sc 2, invdec* repeat around. (18 sts)
Rnd 22: *Sc 1, invdec* repeat around. (12 sts)
Add more stuffing to achieve a nice round shape.
Rnd 23: Invdec around. (6 sts)
FO, leaving a long tail. Sew the hole closed and weave in the end.
Snout (Make 1 in Sky Blue)
The snout creates that adorable rounded muzzle.
Rnd 1: MR, 6 sc into ring. (6 sts)
Rnd 2: Inc in each st around. (12 sts)
Rnd 3: *Sc 1, inc* repeat around. (18 sts)
Rnds 4 to 6: Sc in each st around. (18 sts) Work 3 rounds even.
FO, leaving a long tail for sewing. Stuff lightly. Pin to the lower front of the head below the eyes and sew in place.
Body (Make 1 in Sky Blue)
Rnd 1: MR, 6 sc into ring. (6 sts)
Rnd 2: Inc in each st around. (12 sts)
Rnd 3: *Sc 1, inc* repeat around. (18 sts)
Rnd 4: *Sc 2, inc* repeat around. (24 sts)
Rnd 5: *Sc 3, inc* repeat around. (30 sts)
Rnd 6: *Sc 4, inc* repeat around. (36 sts)
Rnd 7: *Sc 5, inc* repeat around. (42 sts)
Rnds 8 to 18: Sc in each st around. (42 sts) Work 11 rounds even.
Rnd 19: *Sc 5, invdec* repeat around. (36 sts)
Rnd 20: Sc in each st around. (36 sts)
Rnd 21: *Sc 4, invdec* repeat around. (30 sts)
Rnd 22: Sc in each st around. (30 sts)
Rnd 23: *Sc 3, invdec* repeat around. (24 sts)
Begin stuffing the body firmly. You want him nice and plump.
Rnd 24: *Sc 2, invdec* repeat around. (18 sts)
FO, leaving a long tail. Do not close the opening yet. You will attach the head here.
Arms (Make 2 in Sky Blue)
Rnd 1: MR, 6 sc into ring. (6 sts)
Rnd 2: Inc in each st around. (12 sts)
Rnd 3: *Sc 1, inc* repeat around. (18 sts)
Rnds 4 to 6: Sc in each st around. (18 sts) Work 3 rounds even.
Rnd 7: *Sc 1, invdec* repeat around. (12 sts)
Rnds 8 to 14: Sc in each st around. (12 sts) Work 7 rounds even.
FO, leaving a long tail. Stuff the hand portion firmly, leave the arm portion lightly stuffed so it bends naturally.
Legs (Make 2 in Sky Blue)
Rnd 1: MR, 6 sc into ring. (6 sts)
Rnd 2: Inc in each st around. (12 sts)
Rnd 3: *Sc 1, inc* repeat around. (18 sts)
Rnd 4: *Sc 2, inc* repeat around. (24 sts)
Rnds 5 to 8: Sc in each st around. (24 sts) Work 4 rounds even.
Rnd 9: *Sc 2, invdec* repeat around. (18 sts)
Rnds 10 to 16: Sc in each st around. (18 sts) Work 7 rounds even.
FO, leaving a long tail. Stuff the foot firmly, upper leg medium stuffed.
Tail (Make 1)
Start with the tail tip in white, then transition to sky blue.
In White:
Rnd 1: MR, 4 sc into ring. (4 sts)
Rnd 2: *Sc 1, inc* repeat around. (6 sts)
Rnd 3: Sc in each st around. (6 sts)
Rnd 4: *Sc 1, inc* repeat around. (9 sts)
Change to sky blue.
In Sky Blue:
Rnd 5: Sc in each st around. (9 sts)
Rnd 6: *Sc 2, inc* repeat around. (12 sts)
Rnds 7 to 9: Sc in each st around. (12 sts)
Rnd 10: *Sc 3, inc* repeat around. (15 sts)
Rnds 11 to 13: Sc in each st around. (15 sts)
Rnd 14: *Sc 4, inc* repeat around. (18 sts)
Rnds 15 to 18: Sc in each st around. (18 sts)
FO, leaving a long tail. Stuff lightly so the tail drapes naturally.
Horns (Make 2 in White)
Rnd 1: MR, 4 sc into ring. (4 sts)
Rnd 2: *Sc 1, inc* repeat around. (6 sts)
Rnds 3 to 5: Sc in each st around. (6 sts)
FO, leaving a tail. Stuff very lightly or leave unstuffed.
Back and Tail Spikes (Make 5 Total)
Make spikes in assorted colors: pale yellow, coral, and light green. Vary the colors as shown.
Rnd 1: MR, 4 sc into ring. (4 sts)
Rnd 2: Inc in each st around. (8 sts)
Rnds 3 to 4: Sc in each st around. (8 sts)
Sl st to next st, FO leaving a tail. Flatten the opening and do not stuff.
Assembly Instructions
Take your time with assembly. This is where your dragon comes to life.
1. Attach snout to head. Pin centered below the eyes. Sew securely using a yarn needle and the long tail.
2. Embroider face. Use navy embroidery thread to create the smile line and small nostrils. The smile shown is a simple curved line. Add small eyebrow lines above each eye for expression.
3. Attach horns. Position on top of the head, angled slightly back and outward. Sew firmly.
4. Attach head to body. Pin the head to the open top of the body. Sew around the entire opening, adding extra stuffing to the neck area if needed.
5. Attach arms. Position on either side of the body, about 2 rounds below where the head meets the body. Sew securely.
6. Attach legs. Position at the front bottom of the body so the dragon sits upright. The legs should angle forward and outward. Take time to ensure he balances well.
7. Attach tail. Sew to the back bottom of the body. The tail should rest along the surface when sitting.
8. Attach spikes. Space the spikes evenly down the center back, starting just below the head and continuing onto the tail. Sew the flattened edge to the body. The photo shows approximately 5 spikes total.
Helpful Tips for Success
Tension matters. With chenille yarn, your stitches might feel looser than usual. Go down a hook size if you see stuffing peeking through.
Stuffing tips. Add stuffing gradually. For the head and body, you want firm stuffing so he holds his shape. For arms and tail, lighter stuffing allows natural movement.
Eye placement. If you are unsure about safety eye placement, attach them temporarily with pins first. Step back and look before committing.
Color variations. This dragon looks adorable in any color. Try mint green, lavender, or soft pink for different personalities.
Wrapping Up This Dragon Amigurumi Crochet Pattern
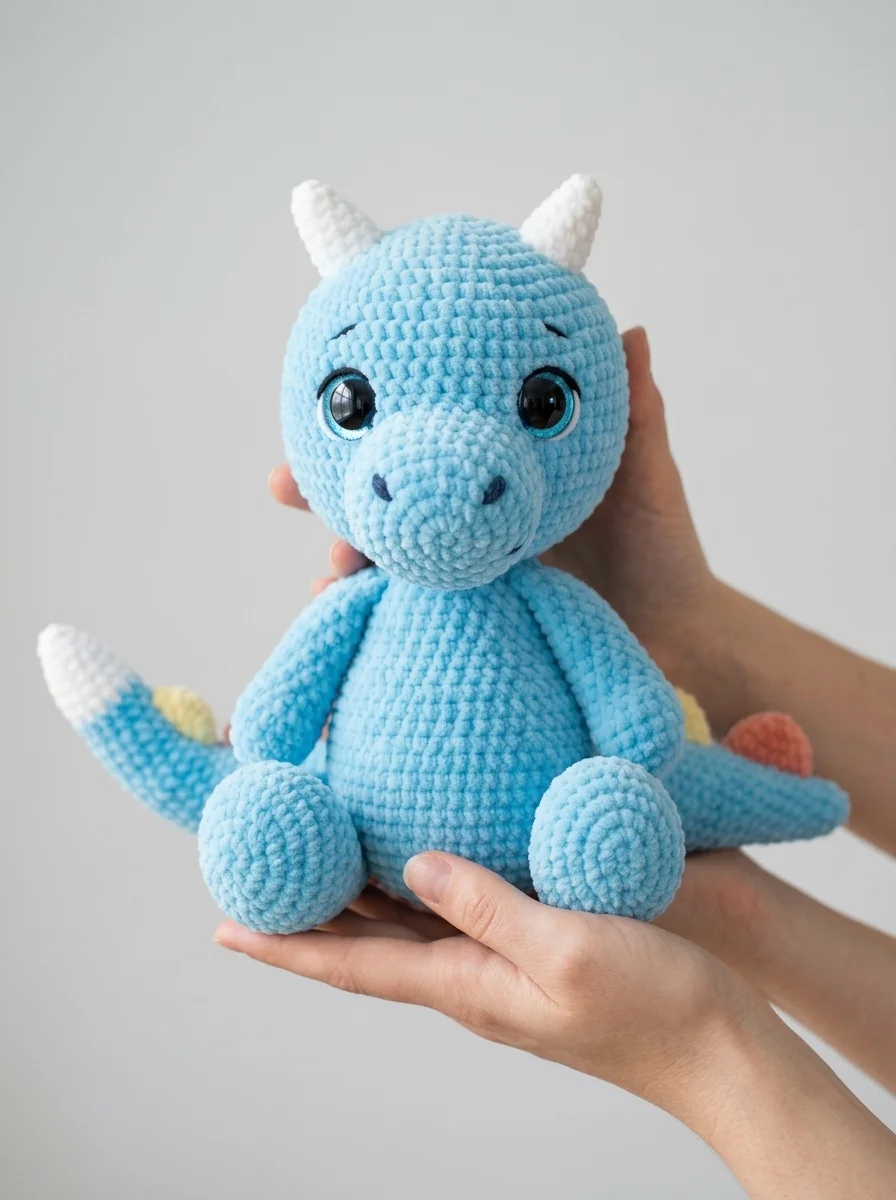
I hope this step by step crochet tutorial gives you everything you need to create your own sky blue dragon amigurumi plush. He really is such a joy to make, and the finished result is huggably soft. This crochet pattern works beautifully as a baby shower gift, birthday present, or just because you deserve a cute dragon on your couch.
Thank you so much for choosing this pattern. It means the world to me that you are here.
I would absolutely love to see your finished dragon. Tag me on Instagram or share in my Facebook group. Seeing your creations is honestly my favorite part of this whole thing.
Happy crocheting, friend. You have got this.