
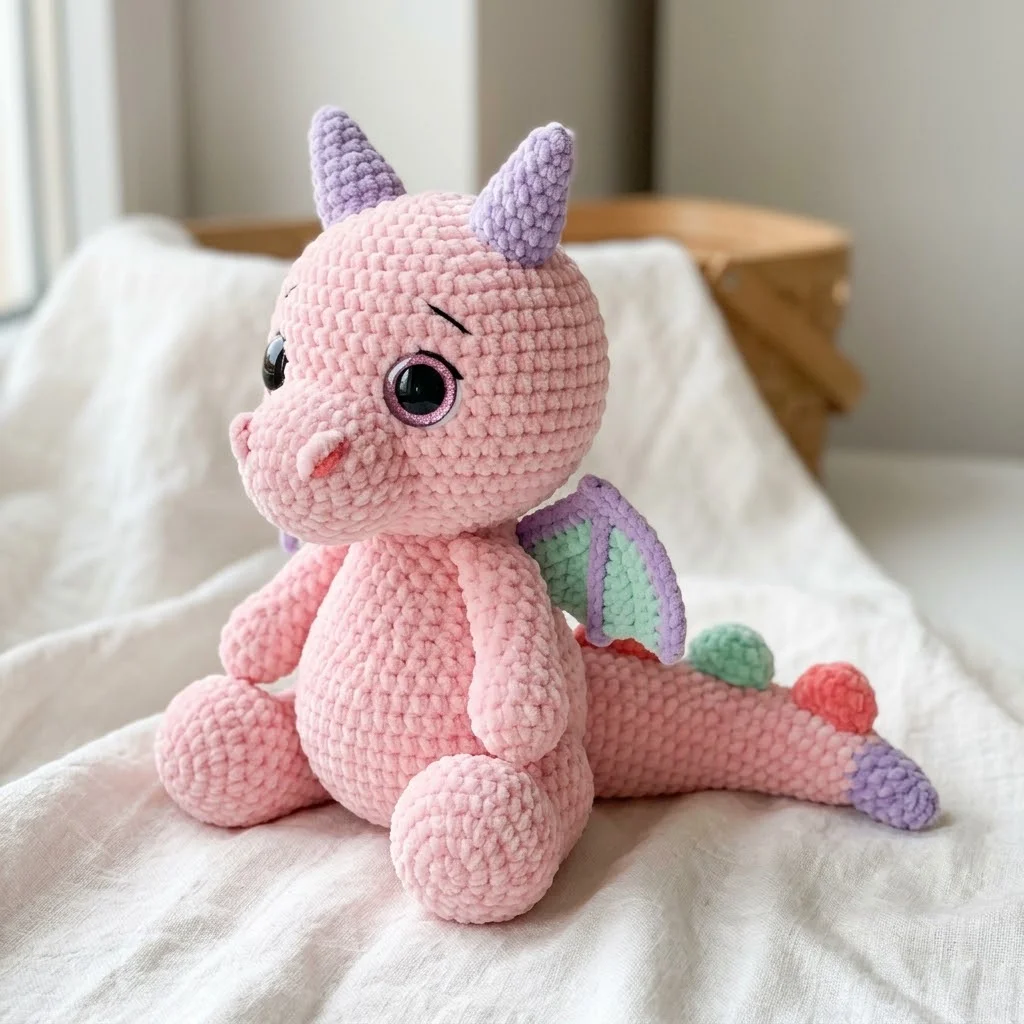
Oh, this little one is going to steal your heart. This pastel pink dragon amigurumi plush sits about 10 inches tall and has the sweetest expression with those big sparkly safety eyes. The chunky velvet yarn gives it that irresistibly squishy, huggable quality that makes you want to squeeze it immediately.
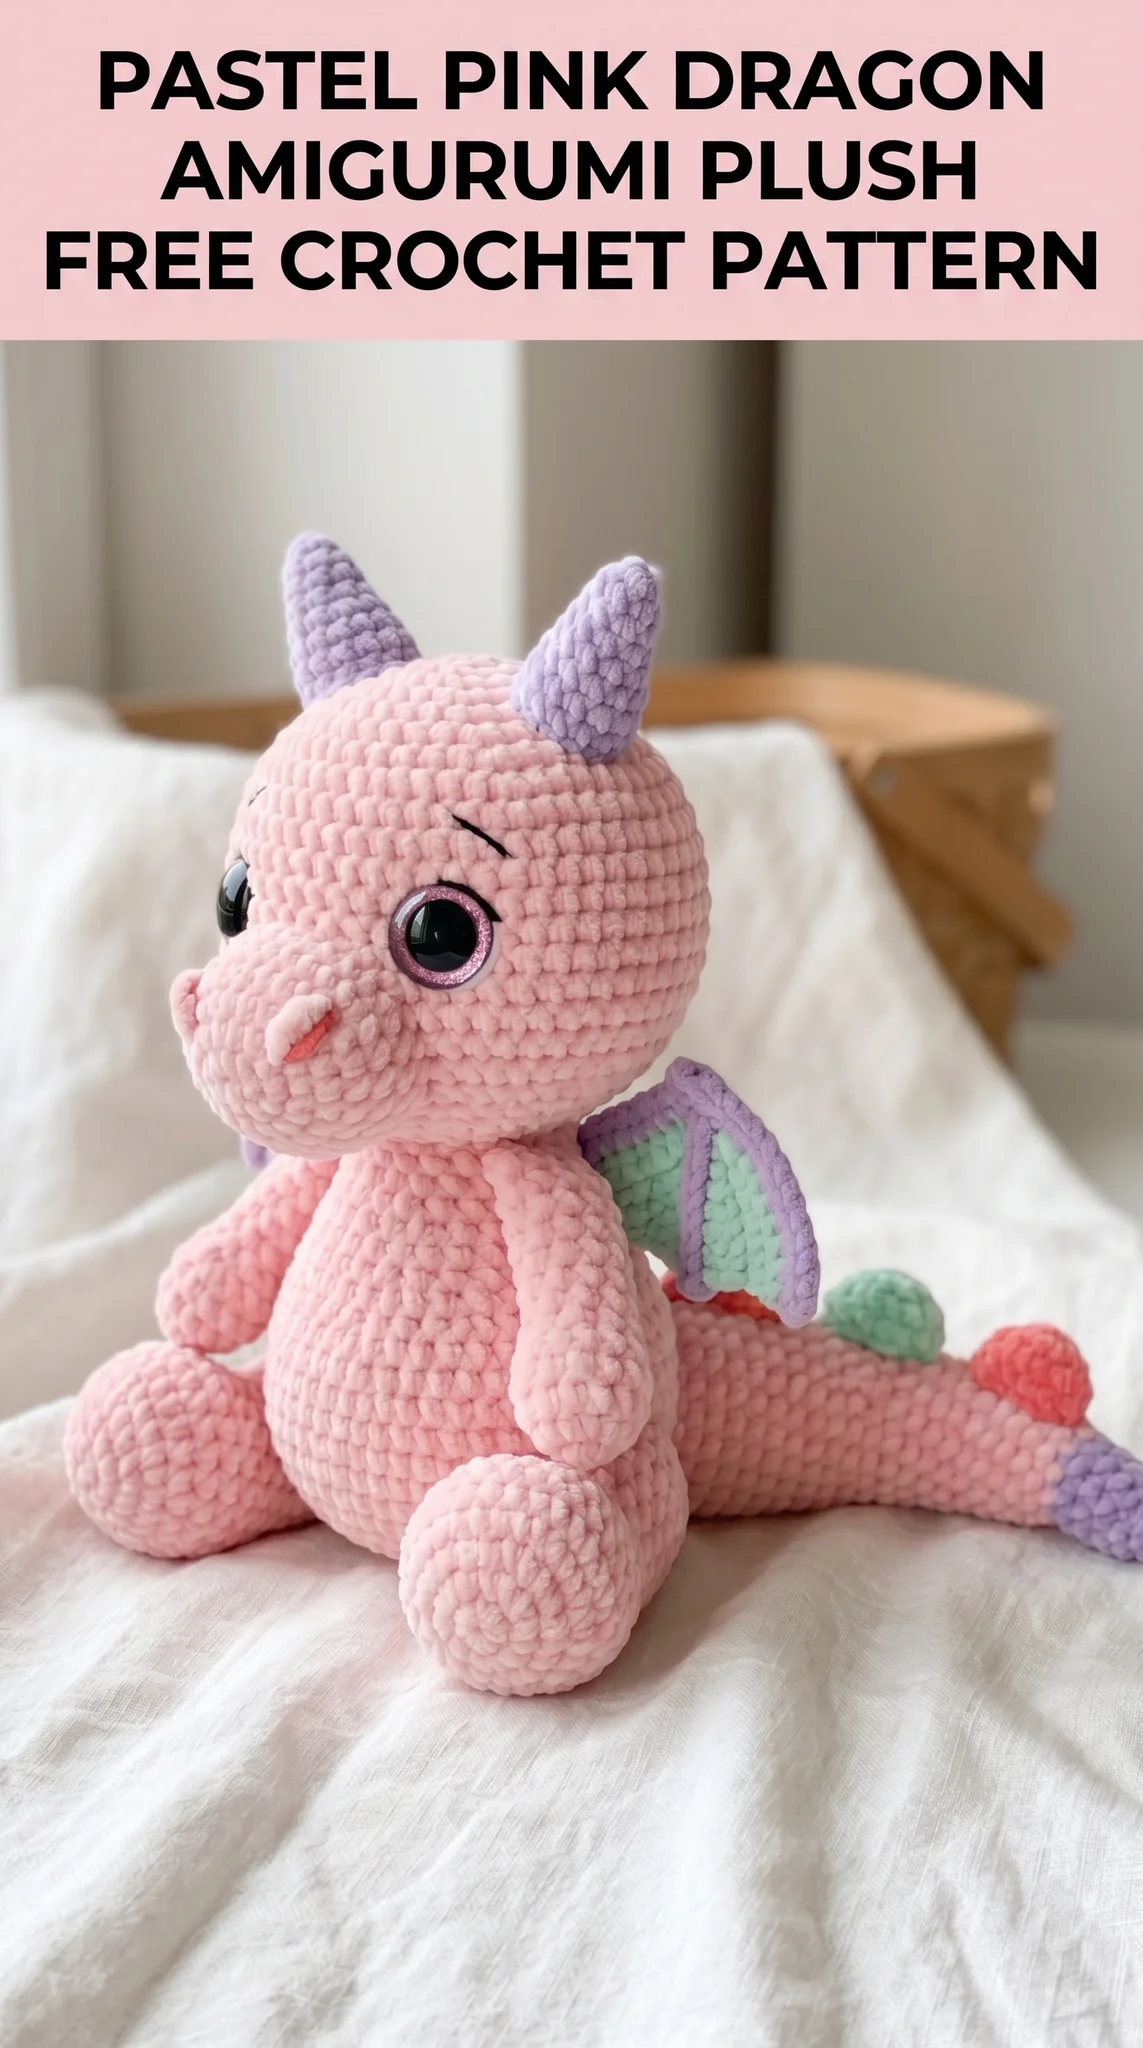
I designed this dragon crochet pattern with intermediate crocheters in mind, but adventurous beginners can absolutely tackle it. If you can single crochet in the round and you are not afraid of sewing pieces together, you have got this. Promise.
Let me walk you through everything you need to bring this cuddly dragon to life.
What Makes This Dragon Amigurumi Special
This is not your typical small amigurumi. The velvet yarn creates a plush toy that feels like a stuffed animal you would find in a fancy toy shop. The pastel color palette with soft pink, lavender, and mint green gives it a dreamy, modern nursery vibe that works beautifully as a baby gift or a decorative piece for any dragon lover.
The construction uses basic amigurumi techniques, but the chunky yarn means it works up surprisingly fast. You are looking at maybe 8 to 10 hours of work total, depending on your pace.
Materials Needed for Your Dragon Crochet Pattern
Yarn:
Hook:
Notions:
Gauge:
Exact gauge is not critical for amigurumi, but your stitches should be tight enough that stuffing does not show through. With velvet yarn and a 5.0mm hook, 4 single crochet stitches measure approximately 1 inch.
Abbreviations and Stitch Definitions
Let me break down every stitch you will use. No surprises here.
Magic Ring (MR): An adjustable loop that closes completely, perfect for starting amigurumi pieces with no hole in the center.
Chain (ch): The foundation stitch. Yarn over, pull through the loop on your hook.
Single Crochet (sc): Insert hook into stitch, yarn over and pull up a loop (2 loops on hook), yarn over and pull through both loops. This is your main stitch for the entire pattern.
Increase (inc): Work 2 single crochet stitches into the same stitch. This adds one stitch to your count.
Invisible Decrease (dec): Insert hook through front loops only of the next 2 stitches, yarn over and pull through both front loops, yarn over and pull through both loops on hook. This creates a neater decrease than the standard method.
Slip Stitch (sl st): Insert hook, yarn over, pull through stitch and loop on hook in one motion. Used for joining and finishing.
Front Loop Only (FLO): Work into only the front loop of the stitch, leaving the back loop unworked.
Back Loop Only (BLO): Work into only the back loop of the stitch.
Step by Step Dragon Amigurumi Pattern
This dragon is worked in separate pieces and sewn together at the end. I know sewing is not everyone’s favorite part, but take your time with it. Good assembly makes all the difference.
Head (MC – Pink)
The head is worked in continuous rounds. Do not join. Use a stitch marker to track the beginning of each round.
Round 1: MR, 6 sc into ring (6 sts)
Round 2: Inc in each st around (12 sts)
Round 3: [Sc 1, inc] repeat around (18 sts)
Round 4: [Sc 2, inc] repeat around (24 sts)
Round 5: [Sc 3, inc] repeat around (30 sts)
Round 6: [Sc 4, inc] repeat around (36 sts)
Round 7: [Sc 5, inc] repeat around (42 sts)
Round 8: [Sc 6, inc] repeat around (48 sts)
Rounds 9-16: Sc in each st around (48 sts) – 8 rounds even
Round 17: [Sc 6, dec] repeat around (42 sts)
Round 18: [Sc 5, dec] repeat around (36 sts)
Insert safety eyes between rounds 12 and 13, approximately 8 stitches apart. The sparkly backs go on the outside.
Round 19: [Sc 4, dec] repeat around (30 sts)
Round 20: [Sc 3, dec] repeat around (24 sts)
Begin stuffing firmly. The velvet yarn hides the stuffing well, but pack it in there.
Round 21: [Sc 2, dec] repeat around (18 sts)
Round 22: [Sc 1, dec] repeat around (12 sts)
Finish stuffing.
Round 23: Dec around (6 sts)
Fasten off, leaving a long tail. Use your yarn needle to close the hole by weaving through the front loops of the remaining stitches and pulling tight.
Snout (MC – Pink)
Round 1: MR, 6 sc into ring (6 sts)
Round 2: Inc in each st around (12 sts)
Round 3: [Sc 1, inc] repeat around (18 sts)
Round 4: [Sc 2, inc] repeat around (24 sts)
Rounds 5-7: Sc in each st around (24 sts) – 3 rounds even
Fasten off, leaving a long tail for sewing. Stuff lightly before attaching to the front of the head, centered below the eyes.
Horns (Make 2) (Color A – Lavender)
Round 1: MR, 4 sc into ring (4 sts)
Round 2: [Sc 1, inc] repeat around (6 sts)
Round 3: Sc in each st around (6 sts)
Round 4: [Sc 2, inc] repeat around (8 sts)
Round 5: Sc in each st around (8 sts)
Round 6: [Sc 3, inc] repeat around (10 sts)
Rounds 7-8: Sc in each st around (10 sts)
Fasten off, leaving a tail for sewing. Stuff lightly. These attach to the top of the head, angled slightly outward.
Body (MC – Pink)
Round 1: MR, 6 sc into ring (6 sts)
Round 2: Inc in each st around (12 sts)
Round 3: [Sc 1, inc] repeat around (18 sts)
Round 4: [Sc 2, inc] repeat around (24 sts)
Round 5: [Sc 3, inc] repeat around (30 sts)
Round 6: [Sc 4, inc] repeat around (36 sts)
Round 7: [Sc 5, inc] repeat around (42 sts)
Rounds 8-18: Sc in each st around (42 sts) – 11 rounds even
Round 19: [Sc 5, dec] repeat around (36 sts)
Round 20: Sc in each st around (36 sts)
Round 21: [Sc 4, dec] repeat around (30 sts)
Rounds 22-23: Sc in each st around (30 sts)
Round 24: [Sc 3, dec] repeat around (24 sts)
Stuff body firmly as you go.
Round 25: Sc in each st around (24 sts)
Round 26: [Sc 2, dec] repeat around (18 sts)
Fasten off, leaving a long tail. Do not close the opening. This attaches to the bottom of the head.
Arms (Make 2) (MC – Pink)
Round 1: MR, 6 sc into ring (6 sts)
Round 2: Inc in each st around (12 sts)
Round 3: [Sc 1, inc] repeat around (18 sts)
Rounds 4-6: Sc in each st around (18 sts)
Round 7: [Sc 1, dec] repeat around (12 sts)
Rounds 8-14: Sc in each st around (12 sts) – 7 rounds even
Stuff the hand portion only. Leave the arm portion lightly stuffed or flat so it can bend naturally.
Fasten off, leaving a tail for sewing.
Legs (Make 2) (MC – Pink)
Round 1: MR, 6 sc into ring (6 sts)
Round 2: Inc in each st around (12 sts)
Round 3: [Sc 1, inc] repeat around (18 sts)
Round 4: [Sc 2, inc] repeat around (24 sts)
Rounds 5-8: Sc in each st around (24 sts) – 4 rounds even
Round 9: [Sc 2, dec] repeat around (18 sts)
Rounds 10-16: Sc in each st around (18 sts) – 7 rounds even
Stuff the foot firmly. Leave upper leg portion lighter.
Fasten off, leaving a tail for sewing.
Tail (MC – Pink, with Color A and B accents)
Round 1: With Color A, MR, 4 sc into ring (4 sts)
Rounds 2-3: Sc in each st around (4 sts)
Round 4: Change to MC, [sc 1, inc] repeat around (6 sts)
Rounds 5-6: Sc in each st around (6 sts)
Round 7: [Sc 2, inc] repeat around (8 sts)
Rounds 8-10: Sc in each st around (8 sts)
Round 11: [Sc 3, inc] repeat around (10 sts)
Rounds 12-14: Sc in each st around (10 sts)
Round 15: [Sc 4, inc] repeat around (12 sts)
Rounds 16-20: Sc in each st around (12 sts)
Fasten off, leaving a tail. Stuff lightly, keeping the tail flexible.
For the tail spikes, make 3 small bobbles in Color C (coral) and 1 in Color A (lavender):
Bobble: MR, 5 sc into ring, sl st to join, fasten off. Sew along the top ridge of the tail.
Wings (Make 2) (Color A – Lavender outline, Color B – Mint center)
Wing Membrane (Color B):
Row 1: Ch 10, sc in 2nd ch from hook and each ch across (9 sts)
Row 2: Ch 1, turn, dec, sc 5, dec (7 sts)
Row 3: Ch 1, turn, dec, sc 3, dec (5 sts)
Row 4: Ch 1, turn, dec, sc 1, dec (3 sts)
Row 5: Ch 1, turn, sc3tog (1 st)
Fasten off.
Wing Border (Color A):
Join lavender yarn to any corner of the wing membrane. Sc evenly around the entire edge, working 2 sc in corners to keep it flat. Sl st to join, fasten off.
Leave a long tail for sewing. The wings attach to the upper back, angled outward.
Assembly Instructions
This is where your dragon really comes together. Take a deep breath. Work slowly.
1. Attach snout to the front of the head, centered below and between the eyes. Use a whip stitch and matching pink yarn.
2. Embroider facial details. Use pink embroidery floss to create two small curved lines for nostrils on the snout. Add a small curved smile line below. Use black floss for two short angled eyebrow lines above the eyes.
3. Sew horns to the top of the head, positioned about 3 inches apart, angling slightly backward and outward.
4. Attach head to body. Pin first to ensure good positioning. The head should sit slightly forward, giving the dragon that cute curious look.
5. Sew arms to the sides of the body, just below where the head attaches. Position them so they rest naturally in the dragon’s lap when seated.
6. Attach legs to the bottom front of the body. The feet should point forward. The dragon should be able to sit upright.
7. Sew tail to the back bottom of the body. Curve it around to one side.
8. Attach wings to the upper back, between rounds 4 and 8 of the body. Angle them outward and slightly upward.
Helpful Tips for Working with Velvet Yarn
Velvet yarn is gorgeous but can be tricky. Here are my honest tips:
Use a larger hook than you normally would. The yarn is slippery and a bigger hook helps you see your stitches.
Work in good lighting. Seriously. The stitches blend together in dim light.
Count constantly. Use a stitch marker religiously. I move mine every single round.
Do not frog. If you make a small mistake, just keep going. Ripping out velvet yarn destroys it. The fibers get fuzzy and thin.
Stuff as you go. Once pieces are closed, it is hard to get more stuffing in.
Customization Ideas
Want to make this dragon your own? Here are some variations:
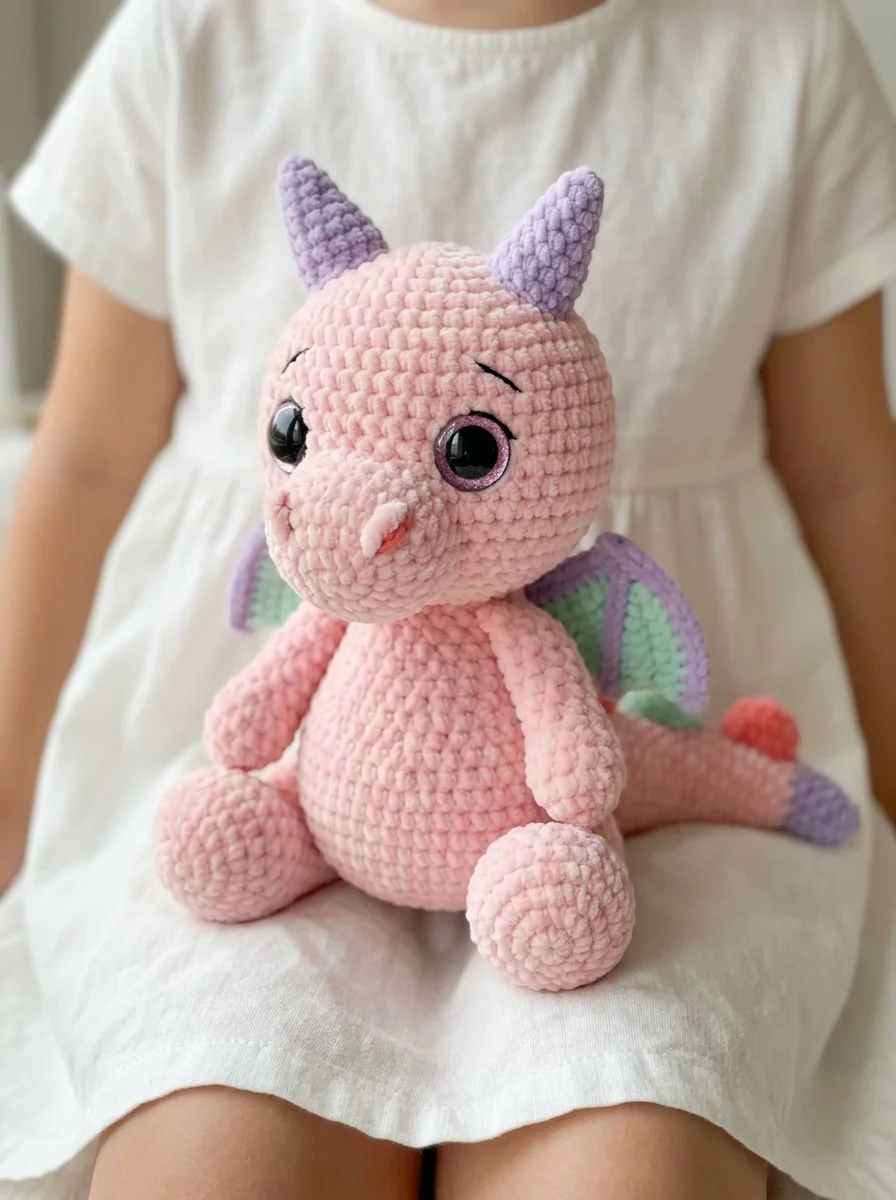
You Did It!
Thank you so much for making this dragon crochet pattern with me. I truly hope you love your finished plush as much as I loved designing it. There is something magical about creating a cuddly creature from just yarn and a hook.
I would absolutely love to see your finished dragon. Tag me on Instagram or share a photo in my Facebook group. Seeing your creations makes my whole day brighter, and it helps other crocheters see what is possible.
Now go squeeze that squishy dragon. You earned it.