
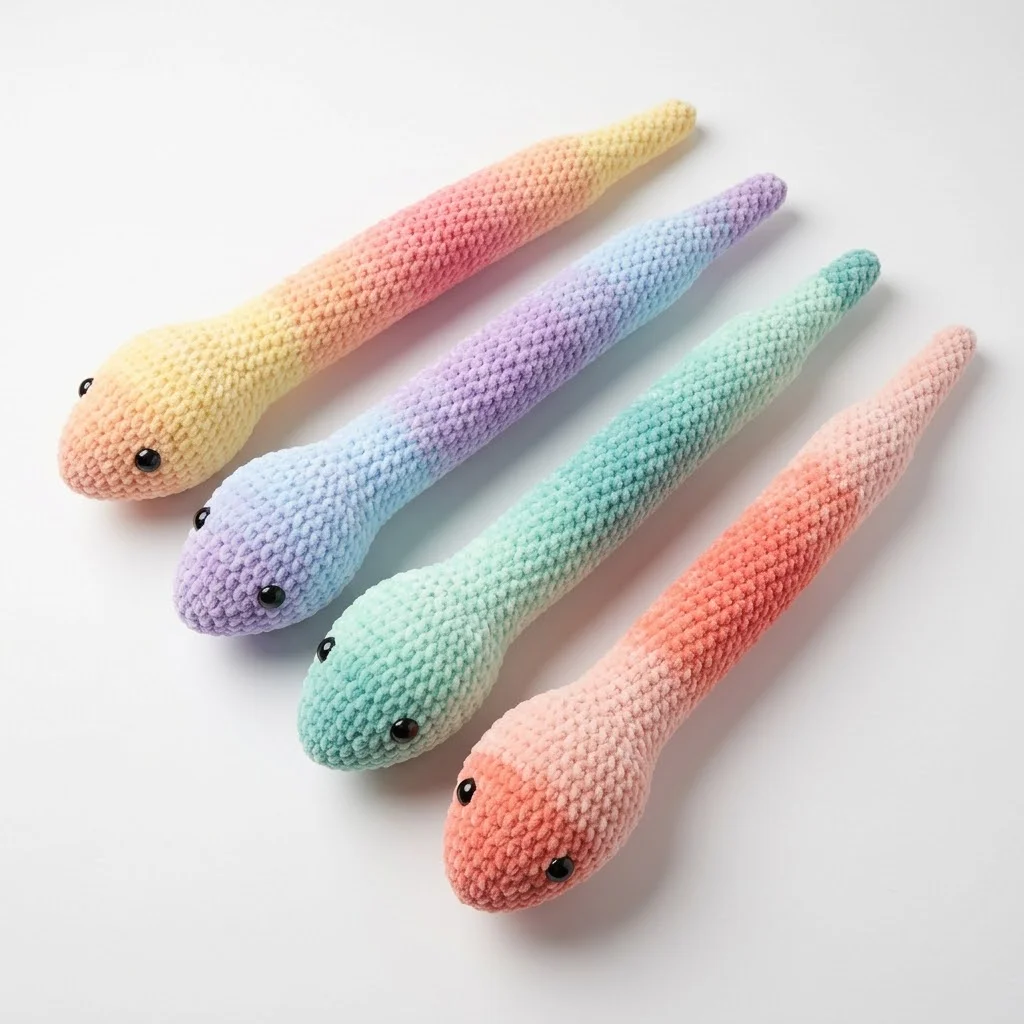
These little pastel snakes have completely stolen my heart. And honestly, they might be the perfect beginner amigurumi project.
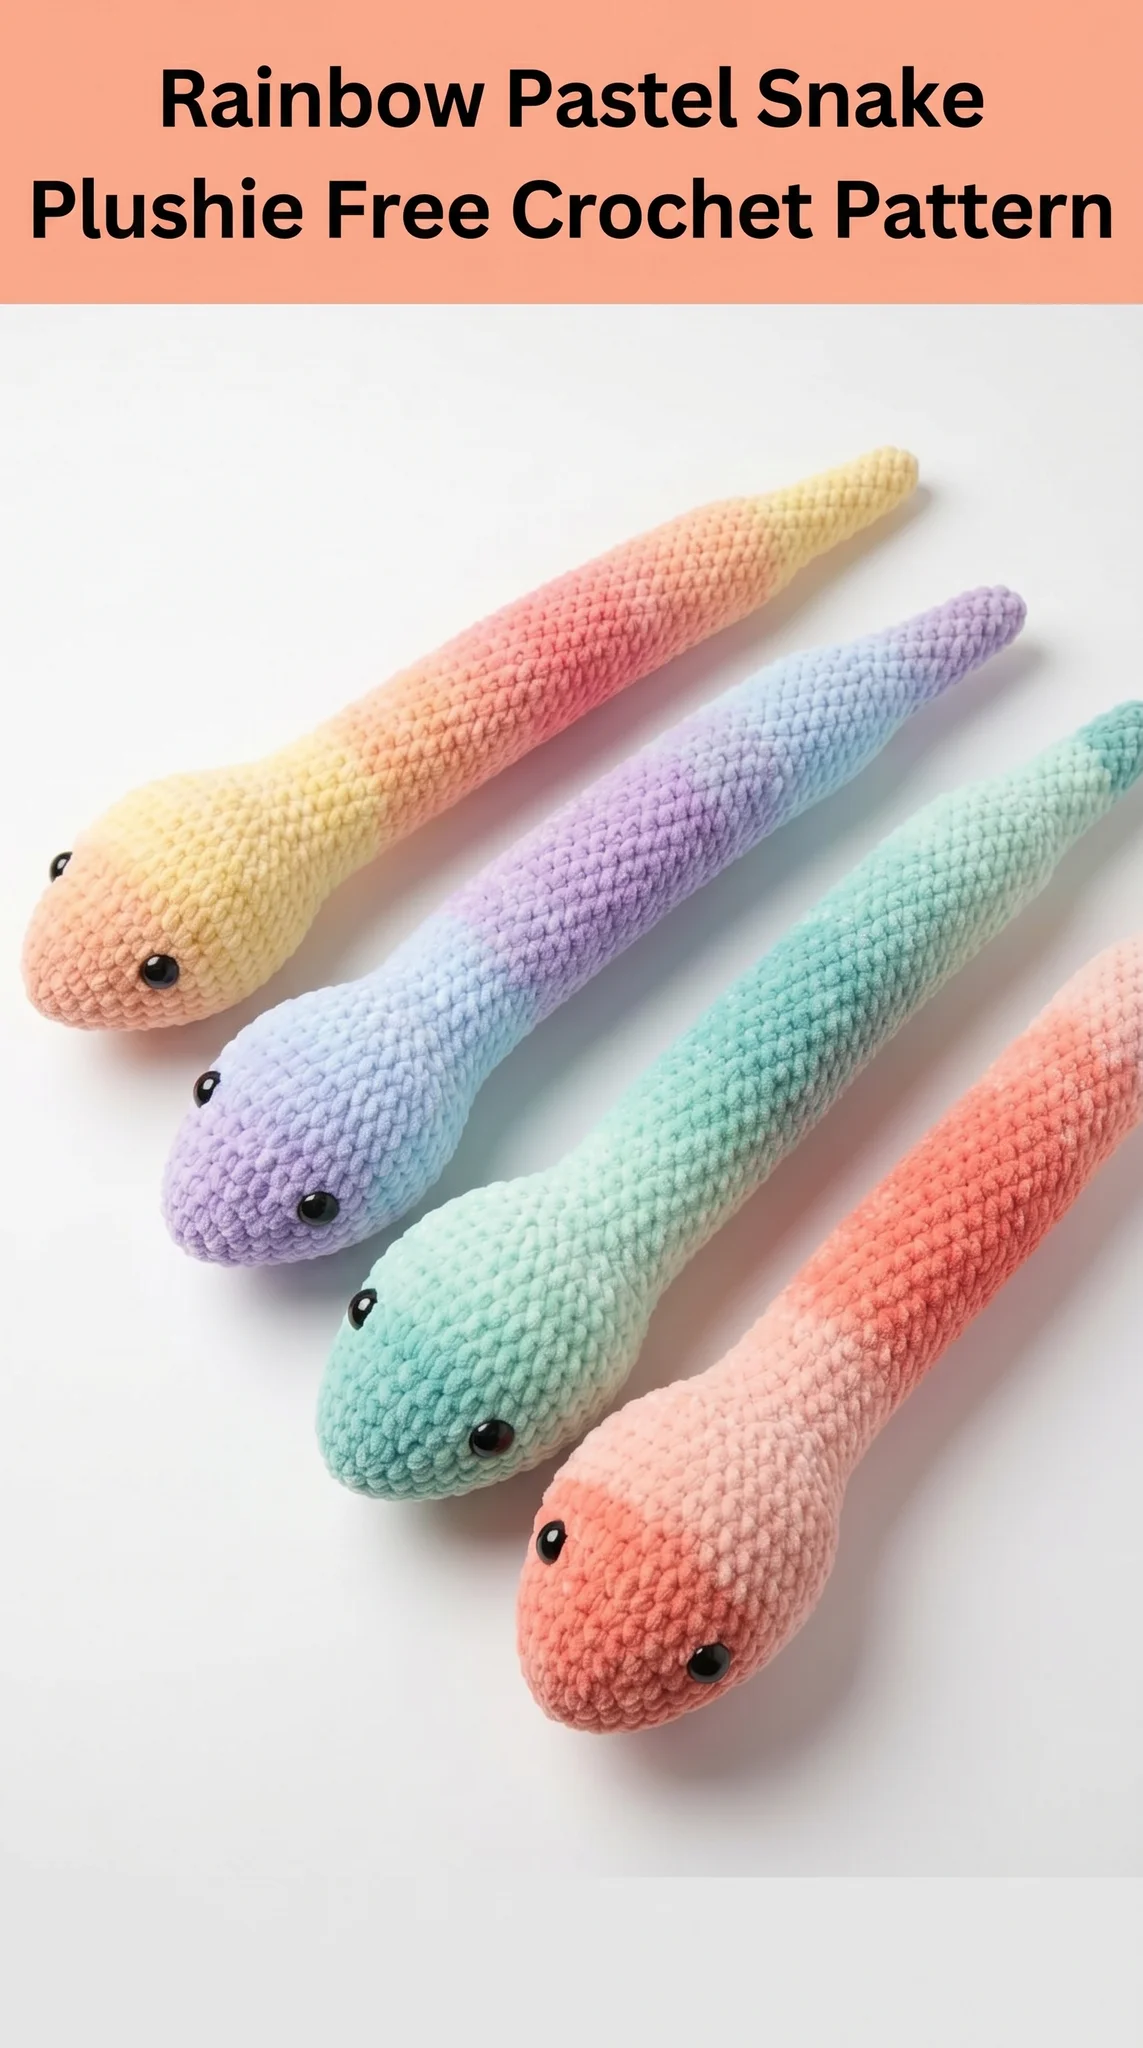
Looking at these cuties, you can see why they work so well. Simple tube construction. No fussy limbs to attach. Just smooth increases, a long body, and those sweet little safety eyes giving them personality. The gradient yarn does all the heavy lifting for that gorgeous rainbow effect.
If you have been wanting to try amigurumi but felt intimidated, this rainbow pastel snake crochet pattern is your moment. One piece. No sewing. Minimal shaping. You can absolutely do this.
Let me walk you through everything you need to make your own squishy snake friend.
Why This Snake Plushie Pattern Works for Beginners
This crochet tutorial keeps things simple on purpose. The entire snake is worked in one continuous piece from nose to tail. You start at the head with a magic ring, increase to create the rounded snout, work even for the body, then decrease down to a tapered tail.
That is it. No separate pieces. No confusing assembly. No wondering which end goes where.
The single crochet stitch creates that tight amigurumi fabric you see in the photos. Those neat, dense stitches keep the stuffing from peeking through. Working in continuous rounds rather than joined rounds gives you that seamless spiral texture.
Even if you have never made a stuffed animal before, this step by step pattern will guide you through every round.
Materials You Will Need
Before you start crocheting, gather these supplies. Having everything ready makes the process so much smoother.
Yarn:
Hook:
Notions:
Optional:
Gauge and Finished Size
Exact gauge is not critical for this project. Your snake will simply be slightly larger or smaller depending on your tension.
Approximate finished size: 14-16 inches long, about 2 inches wide at the head
If you crochet tightly, your snake will be smaller and firmer. If you crochet loosely, it will be larger and softer. Both work fine. Just make sure your stitches are tight enough that white stuffing does not show through.
Abbreviations and Stitch Definitions
Let me explain every stitch before we begin. No surprises.
MR – Magic Ring: An adjustable loop that closes completely at the center. You work your first round of stitches into this ring, then pull the tail to close the hole tight.
ch – Chain: The foundation stitch. Yarn over, pull through the loop on your hook.
sc – Single Crochet: Insert hook into stitch, yarn over and pull up a loop (two loops on hook), yarn over and pull through both loops. This is the only stitch you need for the entire pattern.
inc – Increase: Work two single crochet stitches into the same stitch. This adds one stitch to your count.
dec – Invisible Decrease: Insert hook through the front loops only of the next two stitches, yarn over and pull through both front loops, yarn over and pull through both loops on hook. This creates a neater decrease than the standard method.
sl st – Slip Stitch: Insert hook, yarn over, pull through stitch and loop on hook in one motion. Used only for closing.
(XX sts) – The number in parentheses tells you the total stitch count you should have at the end of that round.
Understanding Continuous Rounds
This pattern uses continuous rounds, which means you do not join at the end of each round. You simply keep spiraling upward.
This is why the stitch marker matters. Place it in the first stitch of each round and move it up as you go. Without it, you will lose track of where rounds begin and end. Trust me on this one.
The continuous method creates that smooth, seamless look you see on the finished snakes. No visible seam line running down the body.
Rainbow Pastel Snake Crochet Pattern Instructions
Now for the fun part. Follow these rounds exactly, and you will have an adorable snake in about two hours.
Head Section
Round 1: Make a magic ring. Work 6 sc into the ring. Pull tail to close. Place marker in first stitch. (6 sts)
Round 2: Inc in each stitch around. (12 sts)
Round 3: *Sc 1, inc* repeat 6 times. (18 sts)
Round 4: *Sc 2, inc* repeat 6 times. (24 sts)
Round 5: *Sc 3, inc* repeat 6 times. (30 sts)
Rounds 6-10: Sc in each stitch around. (30 sts) – 5 rounds even
At this point, your head should look like a rounded dome. This is where you will add the safety eyes.
Adding Safety Eyes
Stop here before continuing. Insert the safety eyes between Rounds 7 and 8, spacing them about 8-10 stitches apart. The placement is flexible. Put them where they look cute to you.
Push the post through from the outside, then secure the washer backing firmly from the inside. Once the backing is on, the eyes cannot be removed. Make sure you like the placement before committing.
The eyes in the photos sit fairly close together, giving the snakes that sweet, curious expression.
Body Section
Round 11: *Sc 3, dec* repeat 6 times. (24 sts)
Round 12: *Sc 2, dec* repeat 6 times. (18 sts)
Rounds 13-50: Sc in each stitch around. (18 sts) – 38 rounds even
This creates the long body of your snake. Yes, it is a lot of rounds. Put on a podcast. Get cozy. This is the relaxing, mindless part of the project.
Tip: Start adding stuffing when you have a few inches of body worked. It is much easier to stuff as you go than to try cramming filling down a long tube at the end.
Add stuffing firmly but not rock hard. You want the snake to be squishy and cuddly.
Tail Section
Round 51: *Sc 1, dec* repeat 6 times. (12 sts)
Rounds 52-55: Sc in each stitch around. (12 sts) – 4 rounds even
Round 56: *Sc 1, dec* repeat 4 times. (8 sts)
Rounds 57-60: Sc in each stitch around. (8 sts) – 4 rounds even
Round 61: Dec 4 times. (4 sts)
Rounds 62-64: Sc in each stitch around. (4 sts) – 3 rounds even
Add final stuffing now. Use a chopstick or stuffing tool to push filling all the way to the tail tip. Do not overstuff or the tail will look lumpy.
Finishing: Cut yarn, leaving a 6 inch tail. Thread through yarn needle. Weave through the front loops of all 4 remaining stitches. Pull tight to close the hole. Weave in the end securely by running your needle back through the body several inches. Trim close.
Tips for Getting That Gradient Look
The snakes in the photos have those beautiful pastel rainbow transitions. Here is how to achieve that effect.
Option 1: Gradient Cake Yarn
The easiest method. Yarn cakes like Lion Brand Mandala, Scheepjes Whirl, or similar gradient yarns do all the color work automatically. Just crochet and watch the colors shift.
Option 2: Self-Striping Yarn
Some yarns change colors in shorter intervals. These create a different look but still beautiful.
Option 3: Manual Color Changes
Use solid colored yarn and switch colors every 10-15 rounds. Carry the unused colors inside the body if you want to avoid cutting and rejoining.
Any worsted weight yarn works for this pattern. Solid colors are just as cute. The coral pink snake and mint green snake in the images show how lovely single colors look too.
Troubleshooting Common Issues
My snake has holes where stuffing shows through:
Your tension is too loose. Try going down another hook size, or consciously crochet tighter on your next snake.
The head looks pointy instead of round:
Make sure your magic ring pulled completely closed. A gap at the top creates a cone shape instead of a dome.
I lost count of my rounds:
This is why stitch markers save lives. If you get lost in the body section, do not panic. Just keep going until it looks long enough. Snakes come in all lengths.
The tail will not close smoothly:
Make sure you wove through the front loops only and pulled firmly. If needed, weave through a second time before pulling closed.
Ideas for Customizing Your Snake Plushie
Once you master the basic pattern, try these variations:
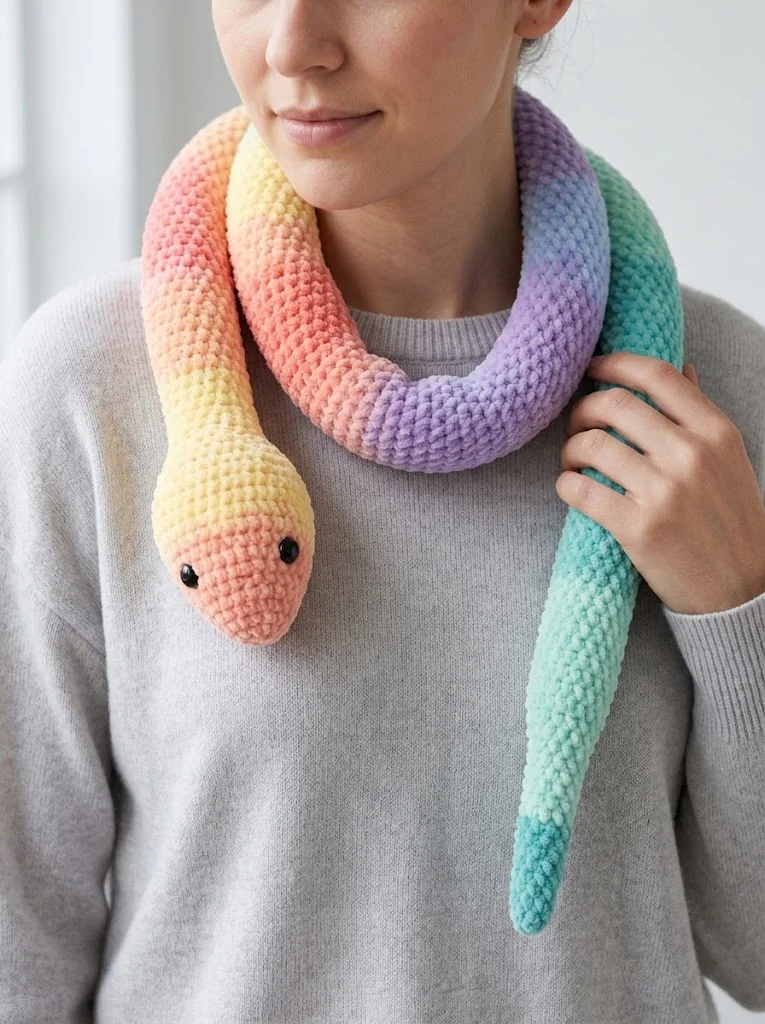
Wrapping Up Your Rainbow Snake Project
You did it. You now have everything you need to crochet your own adorable pastel snake plushie from start to finish.
This beginner friendly crochet pattern walks you through the simple amigurumi construction that makes these snakes so satisfying to create. One piece. No assembly. Just you, your hook, and that pretty gradient yarn.
These snakes make wonderful gifts for kids and adults alike. They photograph beautifully. And they come together faster than you might expect.
Thank you so much for choosing this pattern. I genuinely love seeing what you make.
When your snake is finished, snap a photo and share it with me on Instagram or Facebook. Tag me so I can see your color choices and cheer you on. Seeing your finished projects is honestly the best part of sharing patterns.
Now grab your hook and go make something cute. You have got this.