
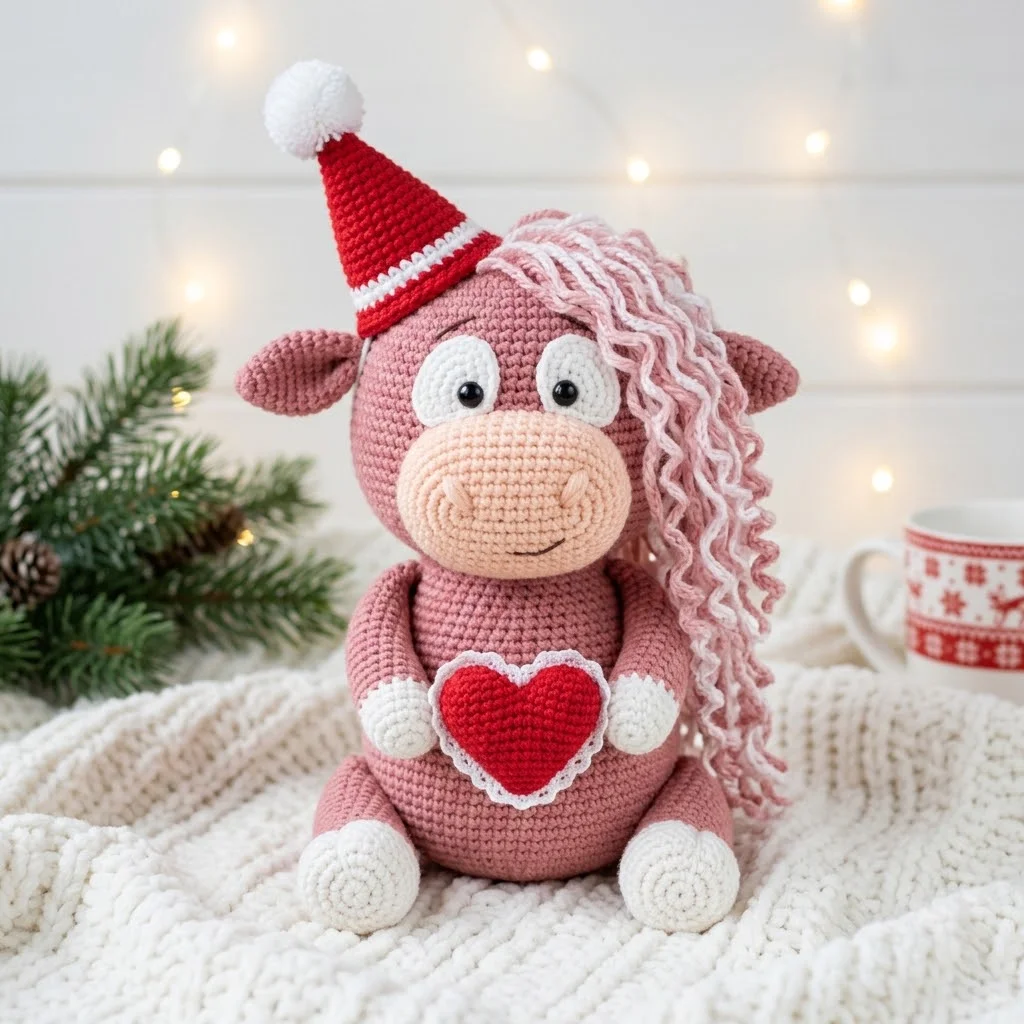
There she is. A chunky pink Highland cow wearing a Santa hat, holding a little red heart, with the most adorable curly mane cascading down one side. If you have been searching for a crochet pattern that works for both Valentine’s Day and Christmas, this sweet girl does double duty beautifully.
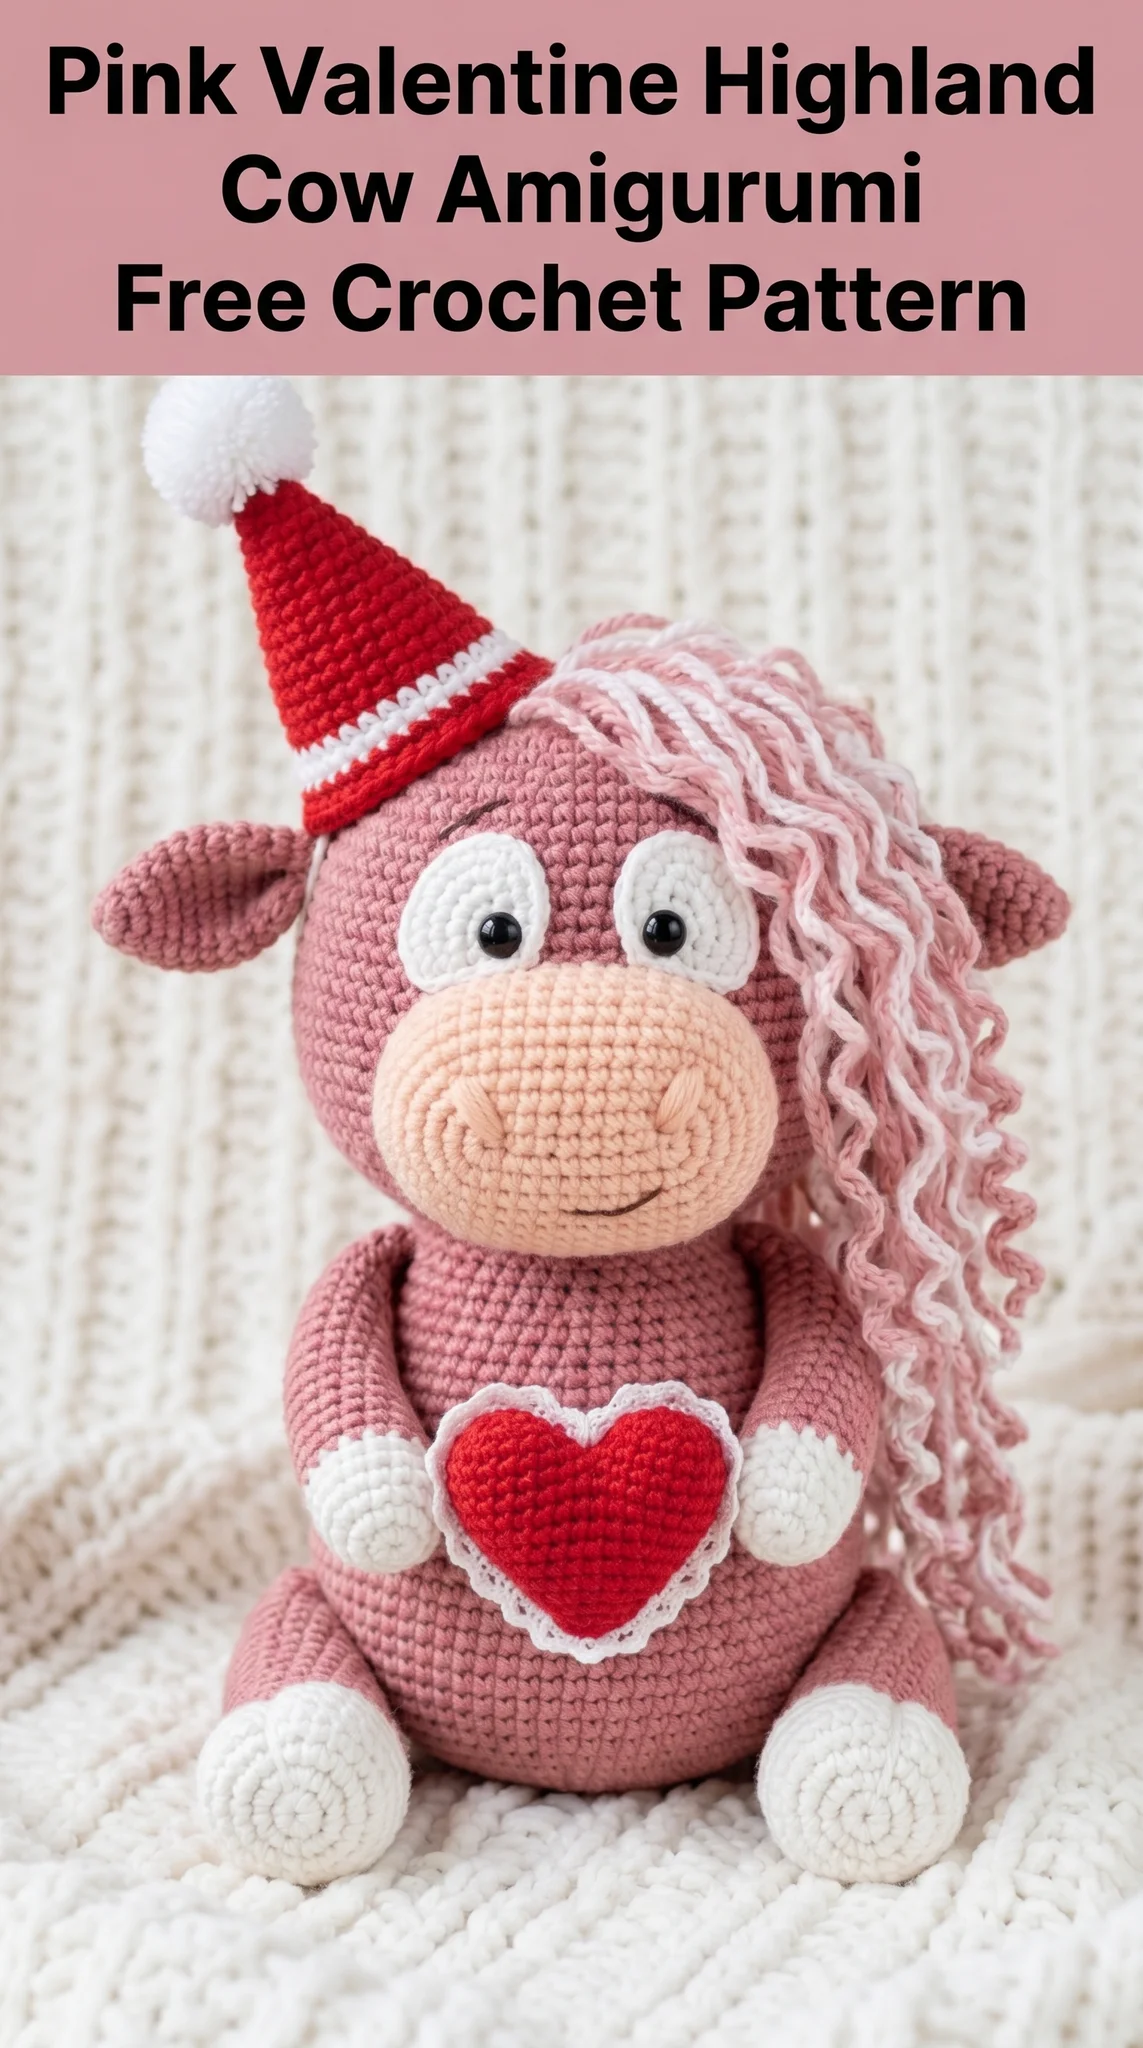
This amigurumi Highland cow crochet pattern looks complex, but I promise you can absolutely make her. If you know how to single crochet and work in the round, you have the main skills covered. The curly mane might seem intimidating, but it is just chains attached in rows. Nothing fancy. I will walk you through every single piece, step by step, so you finish with a plush cow that looks exactly like mine.
She stands about 10 inches tall when complete and uses basic amigurumi construction. We will work the body parts separately, stuff them, then sew everything together at the end. The whole project takes most crafters about 8 to 12 hours spread across a few sessions.
Let me show you how to crochet this Valentine Highland cow from start to finish.
Materials You Will Need for This Amigurumi Pattern
Gather everything before you start. Nothing worse than getting halfway through a leg and realizing you are out of stuffing.
Yarn:
I used a cotton-acrylic blend for nice stitch definition. Pure acrylic works great too and costs less. Avoid anything too fuzzy because you need to see your stitches clearly.
Tools:
Skill Level: Intermediate beginner. You should be comfortable with single crochet, increasing, decreasing, and working continuous rounds.
Abbreviations and Stitch Definitions
Let me define every stitch before we begin. Refer back here anytime you get confused.
MR — Magic Ring. An adjustable loop that closes completely to start rounds without a hole. Make a loop with your yarn tail behind the working yarn, insert hook, pull up a loop, chain one, then work your first round stitches into that loop. Pull the tail to close tight.
ch — Chain. Yarn over, pull through loop on hook. Creates foundation or decorative lengths.
sc — Single Crochet. Insert hook into stitch, yarn over and pull up a loop (two loops on hook), yarn over and pull through both loops. One stitch made.
inc — Increase. Work two single crochets into the same stitch. This adds one stitch to your count.
dec — Invisible Decrease. Insert hook through front loops only of next two stitches, yarn over and pull through both front loops, yarn over and pull through both loops on hook. This hides the decrease better than a standard decrease.
sl st — Slip Stitch. Insert hook, yarn over, pull through stitch and loop on hook in one motion. Used for joining or surface decoration.
FO — Fasten Off. Cut yarn, pull tail through last loop, weave in end.
BLO — Back Loop Only. Work into just the back loop of the stitch instead of both loops.
(XX sts) — Stitch count at end of round.
How to Crochet the Highland Cow Body
The body is one continuous piece worked from bottom to top. We start at the sitting base and work upward.
Using dusty pink yarn and 3.0mm hook:
Round 1: 6 sc in MR (6 sts)
Round 2: inc in each st around (12 sts)
Round 3: *sc 1, inc* repeat around (18 sts)
Round 4: *sc 2, inc* repeat around (24 sts)
Round 5: *sc 3, inc* repeat around (30 sts)
Round 6: *sc 4, inc* repeat around (36 sts)
Round 7: *sc 5, inc* repeat around (42 sts)
Round 8: *sc 6, inc* repeat around (48 sts)
Rounds 9-12: sc in each st around (48 sts) — 4 rounds even
Round 13: *sc 6, dec* repeat around (42 sts)
Round 14: sc in each st around (42 sts)
Round 15: *sc 5, dec* repeat around (36 sts)
Rounds 16-22: sc in each st around (36 sts) — 7 rounds even
Round 23: *sc 4, dec* repeat around (30 sts)
Rounds 24-26: sc in each st around (30 sts)
Begin stuffing firmly here. Add more as you decrease.
Round 27: *sc 3, dec* repeat around (24 sts)
Round 28: sc in each st around (24 sts)
Round 29: *sc 2, dec* repeat around (18 sts)
Round 30: *sc 1, dec* repeat around (12 sts)
Finish stuffing. Shape into a rounded sitting body.
Round 31: dec around (6 sts)
FO, sew hole closed, weave in end.
Crocheting the Highland Cow Muzzle
This creates that characteristic wide Highland cow nose. Use peach or apricot yarn.
Round 1: 6 sc in MR (6 sts)
Round 2: inc in each st around (12 sts)
Round 3: *sc 1, inc* repeat around (18 sts)
Round 4: *sc 2, inc* repeat around (24 sts)
Round 5: *sc 3, inc* repeat around (30 sts)
Rounds 6-10: sc in each st around (30 sts) — 5 rounds even
Sl st, FO, leave long tail for sewing.
Stuff lightly before attaching. Use pink yarn to embroider two small curved nostrils and a smile line.
Creating the Arms with Cream Cuffs
Make two identical arms. The cream section at the end creates that cozy sweater cuff look.
Using cream yarn:
Round 1: 6 sc in MR (6 sts)
Round 2: inc in each st around (12 sts)
Rounds 3-4: sc in each st around (12 sts)
Change to dusty pink:
Rounds 5-16: sc in each st around (12 sts) — 12 rounds even
Sl st, FO, leave tail. Stuff lightly, mostly in the hand area. Flatten the top opening before sewing to body.
Crocheting the Legs and Hooves
Make two legs. These have cream hooves at the bottom.
Using cream yarn:
Round 1: 6 sc in MR (6 sts)
Round 2: inc in each st around (12 sts)
Round 3: *sc 1, inc* repeat around (18 sts)
Rounds 4-6: sc in each st around (18 sts)
Change to dusty pink:
Rounds 7-14: sc in each st around (18 sts) — 8 rounds even
Sl st, FO, leave long tail. Stuff firmly so she sits upright.
Making the Ears
Make two ears in dusty pink.
Round 1: 6 sc in MR (6 sts)
Round 2: inc in each st around (12 sts)
Rounds 3-5: sc in each st around (12 sts)
Round 6: *sc 1, dec* repeat around (8 sts)
Sl st, FO. Do not stuff. Fold flat and pinch the base slightly before sewing to head.
Creating the Curly Mane
This is the signature Highland cow feature. It looks complicated but uses a simple technique repeated many times.
Using light pink yarn (and some white strands for highlights):
For each curl strand:
Ch 25, starting in second ch from hook: work 2 sc in each ch across.
The doubled stitches cause the chain to spiral and curl naturally. Make approximately 25 to 30 curl strands. Mix in some white strands for dimension.
Attach curls in rows along one side of the head, from the top down to below the ear. Use your yarn needle to sew each strand base securely. Cluster them close together for fullness.
The Santa Hat Pattern
This festive hat makes her perfect for Christmas gifting too.
Using red yarn:
Round 1: 4 sc in MR (4 sts)
Round 2: *sc 1, inc* repeat around (6 sts)
Round 3: sc in each st around (6 sts)
Round 4: *sc 1, inc* repeat around (9 sts)
Round 5: sc in each st around (9 sts)
Round 6: *sc 2, inc* repeat around (12 sts)
Rounds 7-8: sc in each st around (12 sts)
Round 9: *sc 3, inc* repeat around (15 sts)
Rounds 10-11: sc in each st around (15 sts)
Round 12: *sc 4, inc* repeat around (18 sts)
Rounds 13-14: sc in each st around (18 sts)
Round 15: *sc 5, inc* repeat around (21 sts)
Round 16: sc in each st around (21 sts)
Change to white yarn:
Rounds 17-19: sc in each st around (21 sts)
Sl st, FO.
Pompom: Make a small white pompom or crochet a tiny ball (6 sc in MR, inc around to 12, dec around to 6, stuff, close). Attach to hat tip.
Crocheting the Heart Applique
This sweet red heart sits in her arms.
Using red yarn:
Work two heart halves:
First half:
Ch 2, 4 sc in second ch from hook, turn.
Row 2: ch 1, inc, sc 2, inc (6 sts)
Row 3: ch 1, sc across (6 sts)
FO, do not cut yarn on second half.
Second half:
Repeat rows 1-3, but do not fasten off.
Joining round:
Sc around both halves together, working 3 sc in the bottom point to create the heart shape. Join with sl st.
White ruffle border: Join white yarn, *sc 1, ch 2, sl st in same st* around entire heart edge for lace effect.
Eye Patches and Face Details
White eye patches (make 2):
Round 1: 5 sc in MR (5 sts)
Round 2: inc in each st around (10 sts)
Sl st, FO.
Grey eyelids (make 2):
Ch 6, sc in second ch from hook, hdc, dc, hdc, sc. FO.
Position white patches on face where eyes will go. Insert safety eyes through center of white patches and into head. Secure backings inside. Sew curved grey eyelids above each eye, slightly overlapping the white for that sweet sleepy expression.
Assembly Instructions
Time to bring her together. I recommend pinning all pieces before sewing so you can adjust placement.
1. Attach muzzle to lower front of head area, centered
2. Sew legs to bottom front of body, angled outward slightly so she sits naturally
3. Attach arms at shoulder level, angled to hold the heart
4. Sew ears on sides of head, just below where the hat will sit
5. Attach curly mane along one side, starting near the hat line and cascading down past the ear
6. Position hat slightly tilted on head, sew in place
7. Place heart between arms, tack in place with a few stitches
Step back and check her proportions. Adjust anything that looks off before finishing your seams.
Pattern Tips for Best Results
Tension matters. Keep your stitches tight so stuffing does not show through. If you see white fiberfill peeking out, go down a hook size.
Use stitch markers. Amigurumi rounds blend together. Mark the first stitch of each round to stay on track.
Stuff as you go. Do not wait until a piece is finished. Add stuffing in small amounts while you can still reach inside.
Safety eyes placement. Insert these before closing the head. Once the backs are on, they are permanent. Test positioning by pinning felt circles first.
Make Her Your Own
This Valentine Highland cow amigurumi pattern works beautifully as written, but feel free to customize. Skip the Santa hat for a year-round version. Change the heart color for different holidays. Use brown yarn instead of pink for a more traditional Highland cow look.
She makes a wonderful handmade gift for anyone who loves cows, farm animals, or cozy plush toys. The combination of Valentine heart and Christmas hat means you can gift her for multiple occasions.
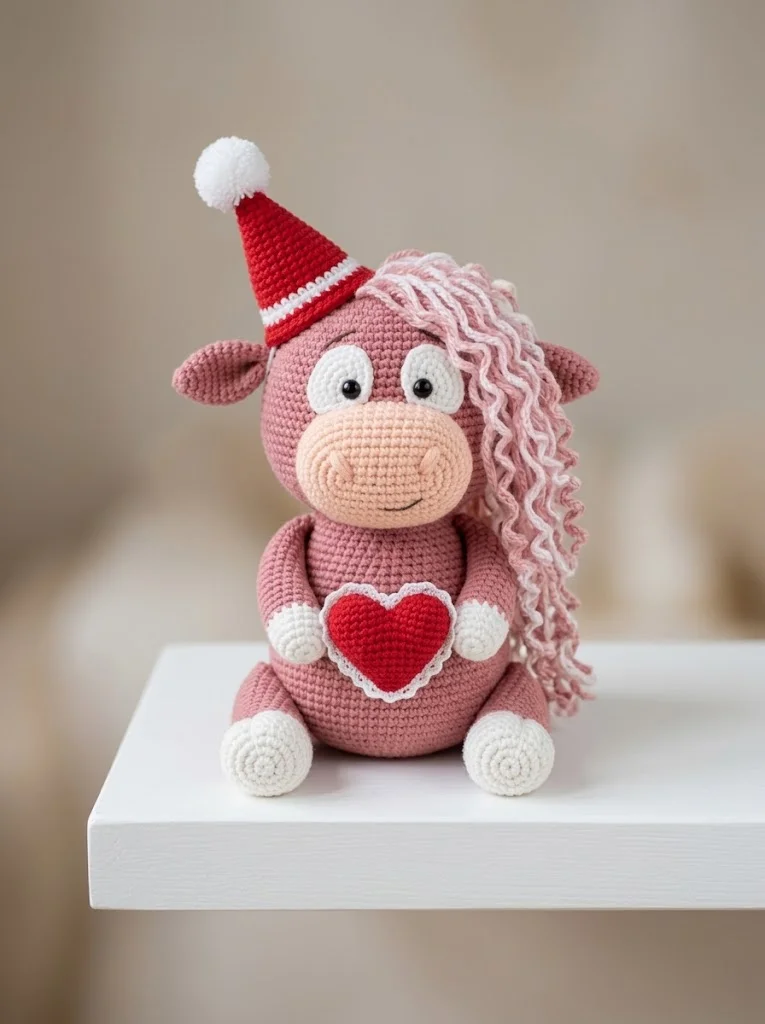
You Did It
Thank you so much for choosing this Highland cow amigurumi crochet pattern for your next project. I genuinely hope the instructions were clear and that your finished cow turned out as cuddly as mine.
I would absolutely love to see your version. Tag me on Instagram or share in my Facebook group when she is finished. Seeing your makes is honestly the best part of designing these patterns.
Happy crocheting, friend. You have got this.