
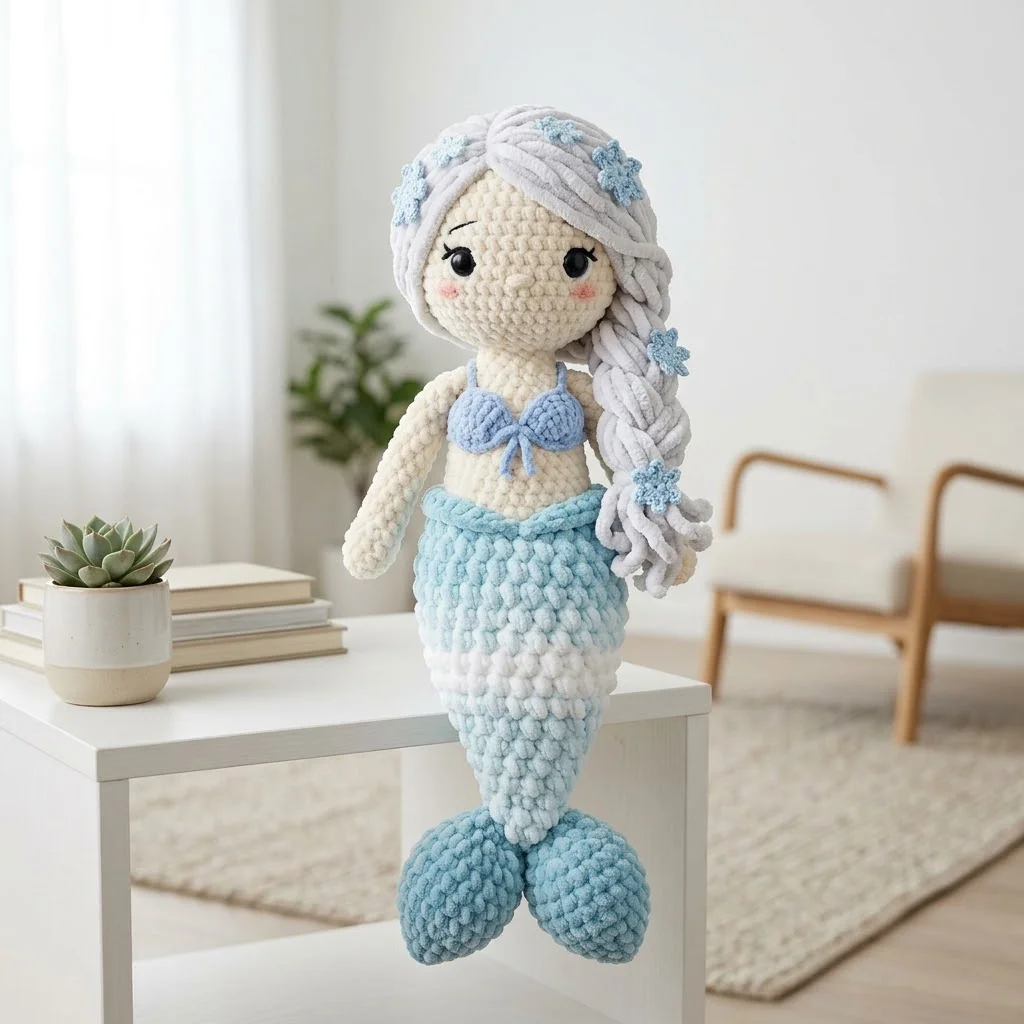
She is absolutely magical. This Arctic Ice Mermaid plush doll combines soft chenille yarn, dreamy silver-white hair, and an ombre tail that looks like it belongs in a frozen underwater kingdom. I fell in love making her, and I know you will too.
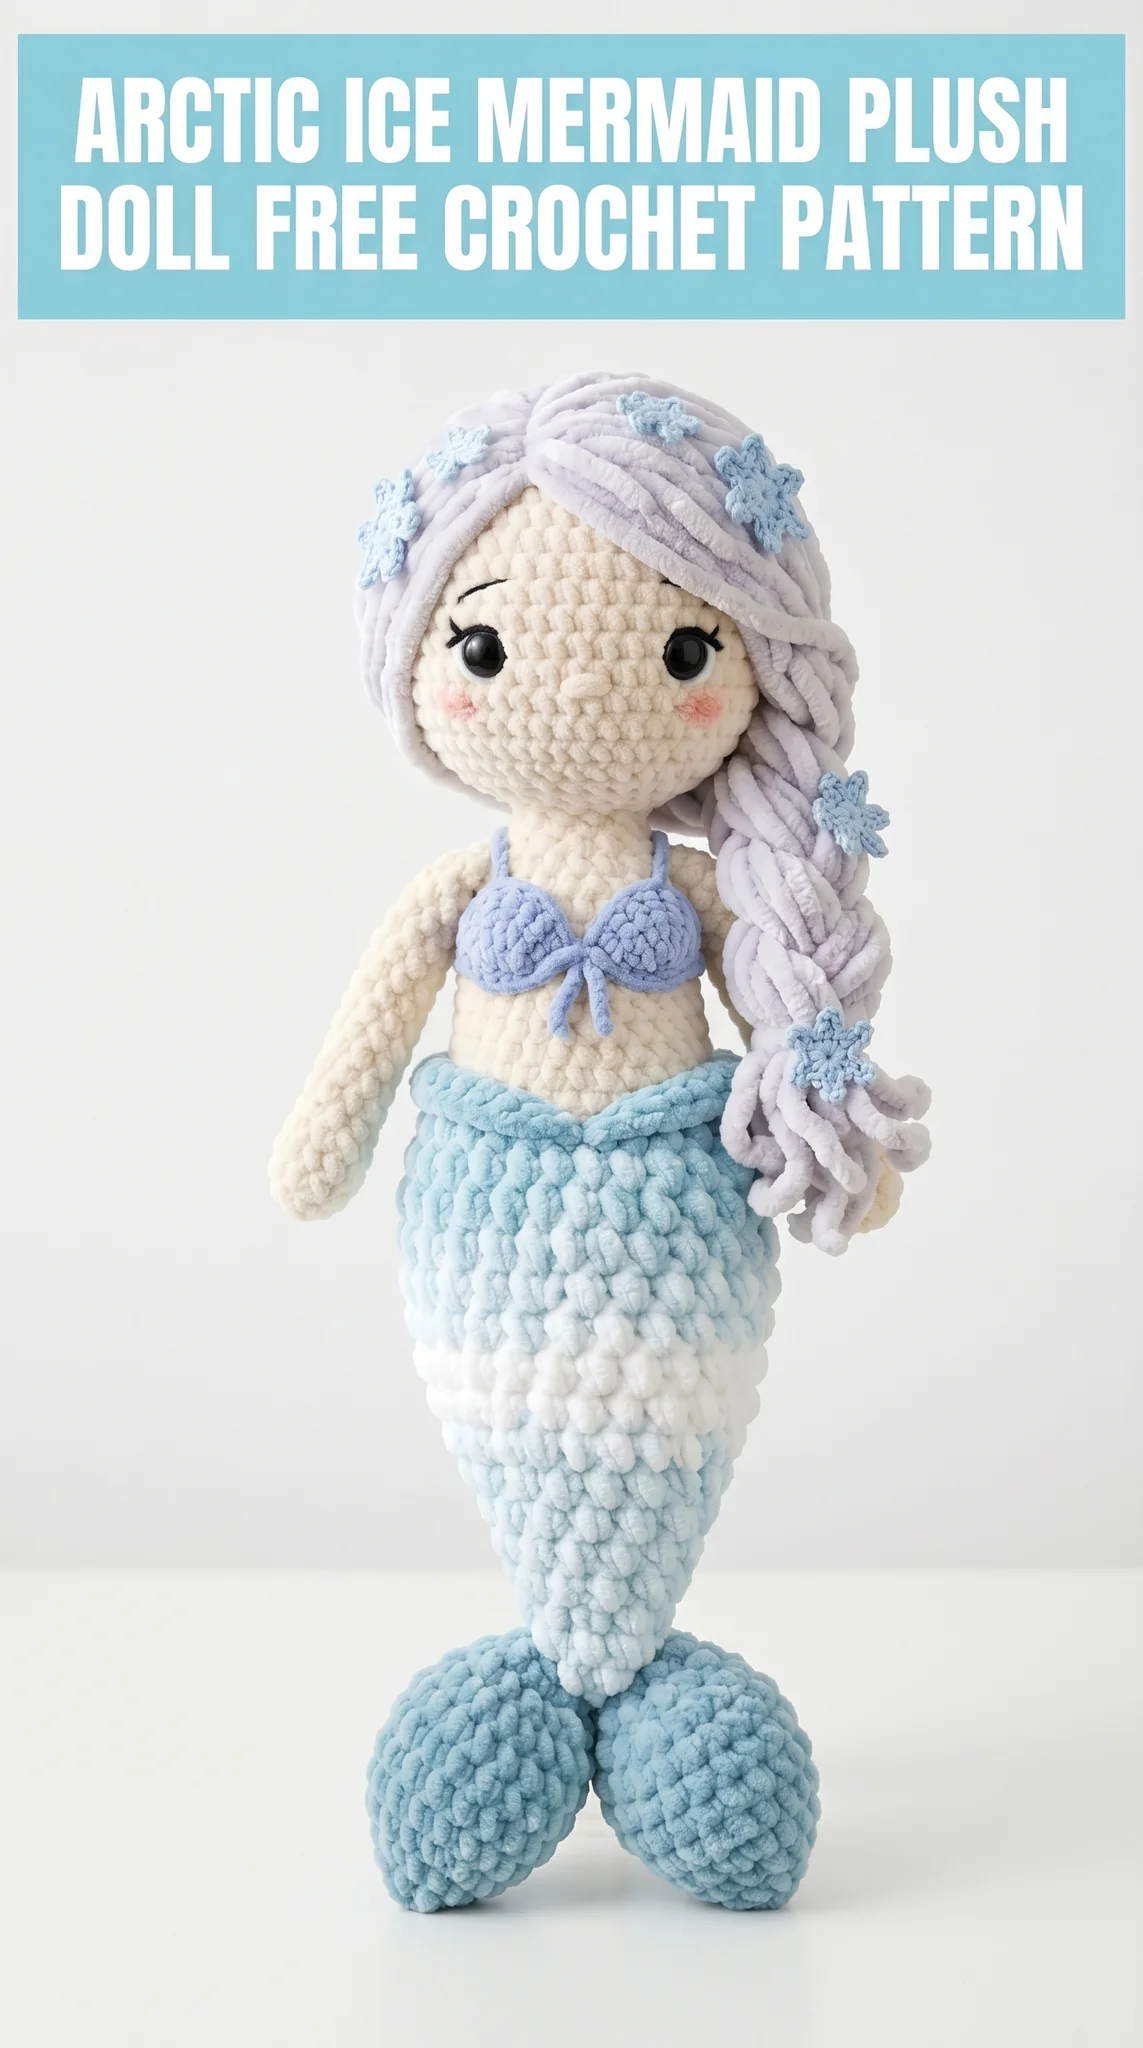
This crochet pattern walks you through every piece of this enchanting mermaid doll. The construction uses basic amigurumi techniques. If you can single crochet in the round and increase and decrease, you have the skills for this project. I will guide you through every detail.
The finished mermaid stands approximately 18 inches tall when made with the recommended yarn. She makes a stunning gift for mermaid lovers of any age. The chunky chenille yarn creates that irresistibly squishy texture you see in the photos.
Let me show you exactly how to bring this ice princess to life.
Materials You Will Need for This Mermaid Doll Crochet Pattern
Gathering your supplies before starting makes the whole process smoother. Here is everything you need.
Yarn:
I used Bernat Blanket yarn and similar chenille-style yarns. Any bulky weight (5) chenille works beautifully.
Hook:
Notions:
Abbreviations and Stitch Definitions
Let me define every stitch before we begin. Refer back here anytime you need a refresher.
MR – Magic Ring: An adjustable loop that closes tightly. You wrap yarn around your fingers, pull up a loop, then work stitches into that ring.
ch – Chain: Yarn over, pull through the loop on your hook. This creates one chain stitch.
sc – Single Crochet: Insert hook, yarn over, pull up a loop (2 loops on hook), yarn over, pull through both loops.
inc – Increase: Work 2 single crochet stitches into the same stitch. This adds one stitch to your count.
dec – Invisible Decrease: Insert hook through front loops only of the next 2 stitches, yarn over, pull through both front loops, yarn over, pull through both loops on hook. This decreases by one stitch and looks cleaner than a standard decrease.
sl st – Slip Stitch: Insert hook, yarn over, pull through both the stitch and the loop on your hook in one motion.
FO – Fasten Off: Cut yarn, pull tail through final loop, pull tight to secure.
BLO – Back Loop Only: Work into just the back loop of the stitch instead of both loops.
Skill Level and Tips Before You Start
I rate this mermaid doll pattern as intermediate. The individual pieces use beginner stitches. The challenge comes from assembling multiple components and creating consistent shaping.
A few things that will help:
Work in continuous rounds without joining unless instructed. Use a stitch marker to track your first stitch of each round. Move it up as you go.
Stuff as you work. Do not wait until a piece is finished. Add small amounts of fiberfill every few rounds for even, firm stuffing.
Count your stitches at the end of every round. Chenille yarn can be tricky to see into. Counting saves frustration.
Take breaks. This doll has several pieces. Enjoy the process.
Crochet Pattern: Head
Using cream yarn and 5.0mm hook.
Round 1: 6 sc in MR (6 sts)
Round 2: Inc in each st around (12 sts)
Round 3: [Sc 1, inc] 6 times (18 sts)
Round 4: [Sc 2, inc] 6 times (24 sts)
Round 5: [Sc 3, inc] 6 times (30 sts)
Round 6: [Sc 4, inc] 6 times (36 sts)
Round 7: [Sc 5, inc] 6 times (42 sts)
Rounds 8-15: Sc in each st around (42 sts) – 8 rounds total
Insert safety eyes between Rounds 10 and 11, approximately 8 stitches apart. Add them now before closing the head.
Round 16: [Sc 5, dec] 6 times (36 sts)
Round 17: [Sc 4, dec] 6 times (30 sts)
Round 18: [Sc 3, dec] 6 times (24 sts)
Stuff the head firmly now.
Round 19: [Sc 2, dec] 6 times (18 sts)
Round 20: [Sc 1, dec] 6 times (12 sts)
Add more stuffing as needed. Do not close completely. Leave open to attach to body.
FO, leaving a long tail for sewing.
Crochet Pattern: Body
Using cream yarn and 5.0mm hook.
Round 1: 6 sc in MR (6 sts)
Round 2: Inc in each st around (12 sts)
Round 3: [Sc 1, inc] 6 times (18 sts)
Round 4: [Sc 2, inc] 6 times (24 sts)
Rounds 5-8: Sc in each st around (24 sts) – 4 rounds
Round 9: [Sc 2, dec] 6 times (18 sts)
Rounds 10-14: Sc in each st around (18 sts) – 5 rounds
Stuff body firmly. FO, leaving long tail. Sew head to body with yarn needle.
Crochet Pattern: Arms (Make 2)
Using cream yarn and 5.0mm hook.
Round 1: 5 sc in MR (5 sts)
Round 2: Inc in each st around (10 sts)
Rounds 3-5: Sc in each st around (10 sts) – 3 rounds
Round 6: Dec, sc 8 (9 sts)
Rounds 7-18: Sc in each st around (9 sts) – 12 rounds
Stuff lightly, mainly in the hand area. The arm should be slightly floppy.
FO, leaving tail for sewing. Attach arms at Round 9 of body, at the sides.
Crochet Pattern: Mermaid Tail
This is where the magic happens. You will create an ombre effect by changing colors as you work down the tail.
Using light blue yarn and 5.0mm hook.
Round 1: 6 sc in MR (6 sts)
Round 2: Inc in each st around (12 sts)
Round 3: [Sc 1, inc] 6 times (18 sts)
Round 4: [Sc 2, inc] 6 times (24 sts)
Rounds 5-10: Sc in each st around (24 sts) – 6 rounds in light blue
Change to white yarn.
Rounds 11-16: Sc in each st around (24 sts) – 6 rounds in white
You will notice the beautiful gradient starting to form. The ombre creates that icy, underwater shimmer.
Round 17: [Sc 6, dec] 3 times (21 sts)
Rounds 18-20: Sc in each st around (21 sts) – 3 rounds
Round 21: [Sc 5, dec] 3 times (18 sts)
Rounds 22-24: Sc in each st around (18 sts) – 3 rounds
Round 25: [Sc 4, dec] 3 times (15 sts)
Rounds 26-28: Sc in each st around (15 sts) – 3 rounds
Stuff the tail firmly as you go. The shaping needs support.
FO, leaving long tail. The top of the tail attaches to the bottom of the body.
Crochet Pattern: Tail Fins (Make 2)
Using aqua/teal yarn and 5.0mm hook.
Round 1: 6 sc in MR (6 sts)
Round 2: Inc in each st around (12 sts)
Round 3: [Sc 1, inc] 6 times (18 sts)
Round 4: [Sc 2, inc] 6 times (24 sts)
Rounds 5-8: Sc in each st around (24 sts) – 4 rounds
Round 9: [Sc 2, dec] 6 times (18 sts)
Round 10: [Sc 1, dec] 6 times (12 sts)
Stuff lightly. The fins should have some body but remain slightly flat.
Round 11: Dec 6 times (6 sts)
FO, leaving long tail. Close the opening. Attach both fins to the bottom of the tail, angled outward like a fish tail.
Crochet Pattern: Bikini Top
Using periwinkle blue yarn and 4.0mm hook.
Shell 1 (Make 2):
Round 1: 4 sc in MR (4 sts)
Round 2: Inc in each st around (8 sts)
Round 3: [Sc 1, inc] 4 times (12 sts)
Rounds 4-5: Sc in each st around (12 sts) – 2 rounds
FO, leaving tail for one shell. For the second shell, ch 25 before fastening off. This chain becomes the tie.
Sew shells to the front of the body at chest height. Wrap chain tie around back and secure.
Bow detail: Ch 10, sl st to form loop, ch 10, sl st into same spot. FO. Attach bow between the two shells.
Creating the Hair
The hair on this Arctic Ice Mermaid uses a simple but effective technique. Cut chenille yarn into 24-inch lengths. You will need approximately 40-50 strands.
Fold each strand in half. Use your hook to pull the folded loop through a stitch on the head. Pull the yarn ends through the loop and tighten. This is called a lark’s head knot.
Work across the top of the head from ear to ear. Create a center part by attaching strands along a line from forehead to back of head.
For the braided look in the photos, gather hair into sections and loosely braid. Secure the end with a small piece of matching yarn.
The flowing, slightly messy style adds to her ethereal ice princess appearance.
Tiny Flower Decorations
Using light blue yarn and 3.5mm hook.
Ch 2. Work 5 sc into the second ch from hook. Sl st to join. FO.
Make 5-6 tiny flowers. Attach them throughout the hair using your yarn needle. These delicate details transform the doll from cute to absolutely stunning.
Finishing Touches for Your Mermaid Doll
Cheek blush: Using pink embroidery floss, create small circles of satin stitch below each eye. Just 3-4 tiny stitches create that adorable rosy glow.
Eyelashes: If desired, use black embroidery floss to add 2-3 small straight stitches above each eye.
Assembly order:
1. Sew head to body
2. Attach arms at shoulder level
3. Sew tail to bottom of body
4. Attach fins to tail bottom
5. Sew on bikini top
6. Add hair
7. Attach flowers
8. Embroider face details
Take your time with assembly. This is where your mermaid becomes a personality.
Pattern Notes and Customization Ideas
This crochet tutorial gives you the foundation for endless variations. Change the tail colors for a tropical mermaid in coral and pink. Use rainbow yarn for a pride mermaid. Go dark with deep purple and black for a gothic sea witch.
The hair offers so much room for creativity. Try yarn in sunset orange, seafoam green, or classic redhead copper. Add beads or tiny shells for extra sparkle.
For a smaller doll, use worsted weight yarn and a 4.0mm hook throughout. Your finished mermaid will be approximately 12 inches tall.
For safety with young children, embroider eyes instead of using safety eyes. This makes the doll appropriate for babies and toddlers.
Wrapping Up Your Arctic Ice Mermaid Plush Doll
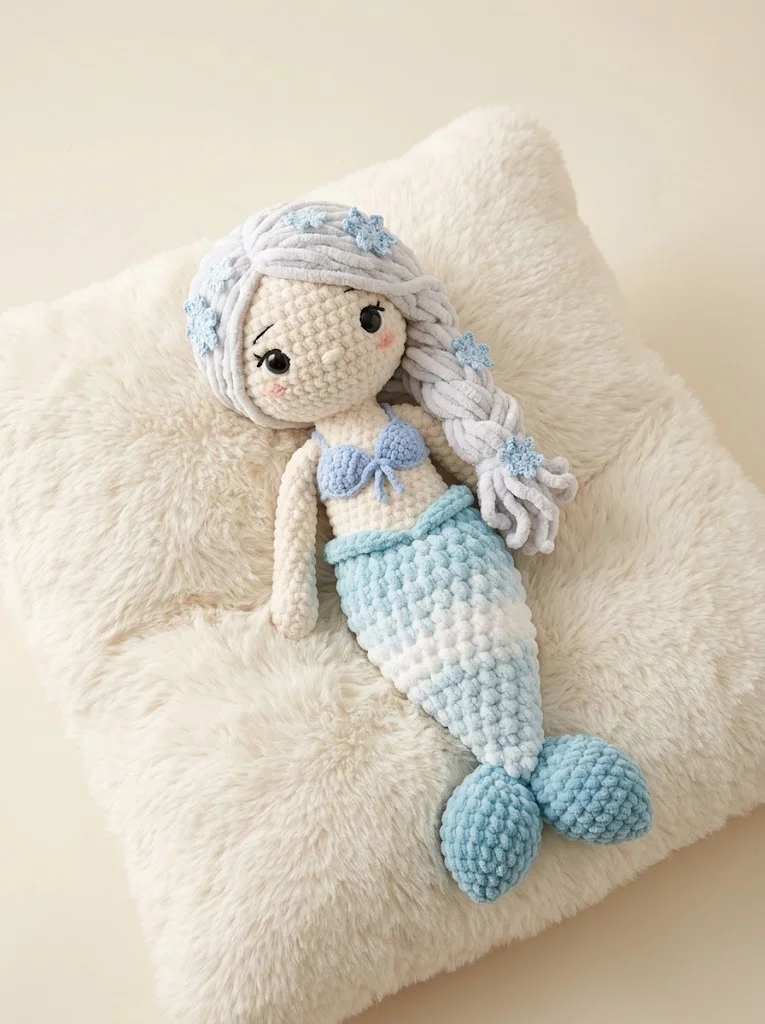
You did it. You now have every instruction needed to create this gorgeous Arctic Ice Mermaid crochet pattern from start to finish. She is going to be absolutely beautiful.
I hope this step by step crochet tutorial made the process feel approachable. Amigurumi dolls like this one look complicated, but they are really just simple shapes stitched together with love.
Thank you so much for choosing this pattern. It means the world to me that you are here, making something magical with your own hands.
When your mermaid is finished, I would absolutely love to see her. Share your photos on Instagram or Facebook and tag me. Seeing your creations is honestly the best part of sharing patterns.
Happy crocheting, friend. Go make some mermaid magic.