
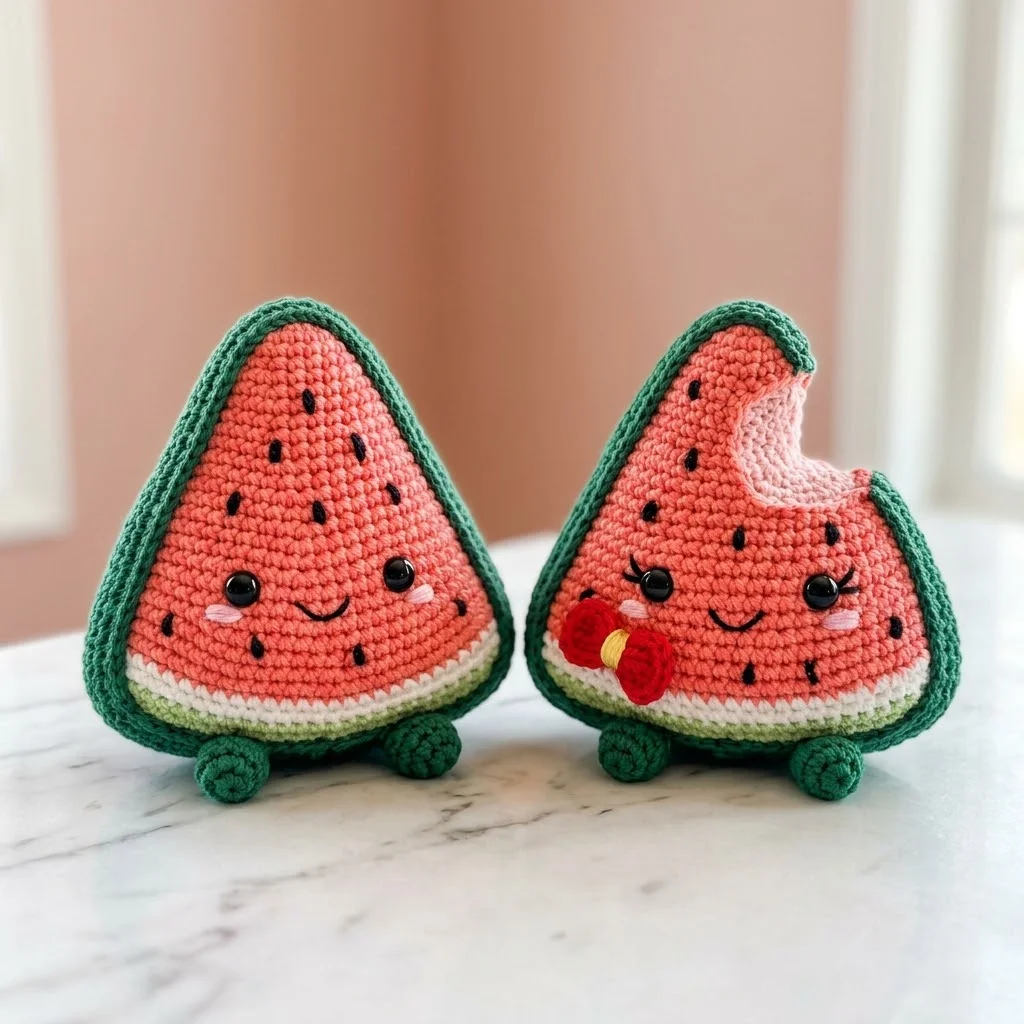
These two little watermelon slice characters might just be the cutest summer project you will ever make. I absolutely fell in love with them the moment I finished stitching on their tiny smiles. One has a bite taken out of the corner, and the other has the sweetest little rose embellishment. They sit on their own little rind feet and look like they belong together on a sunny windowsill.
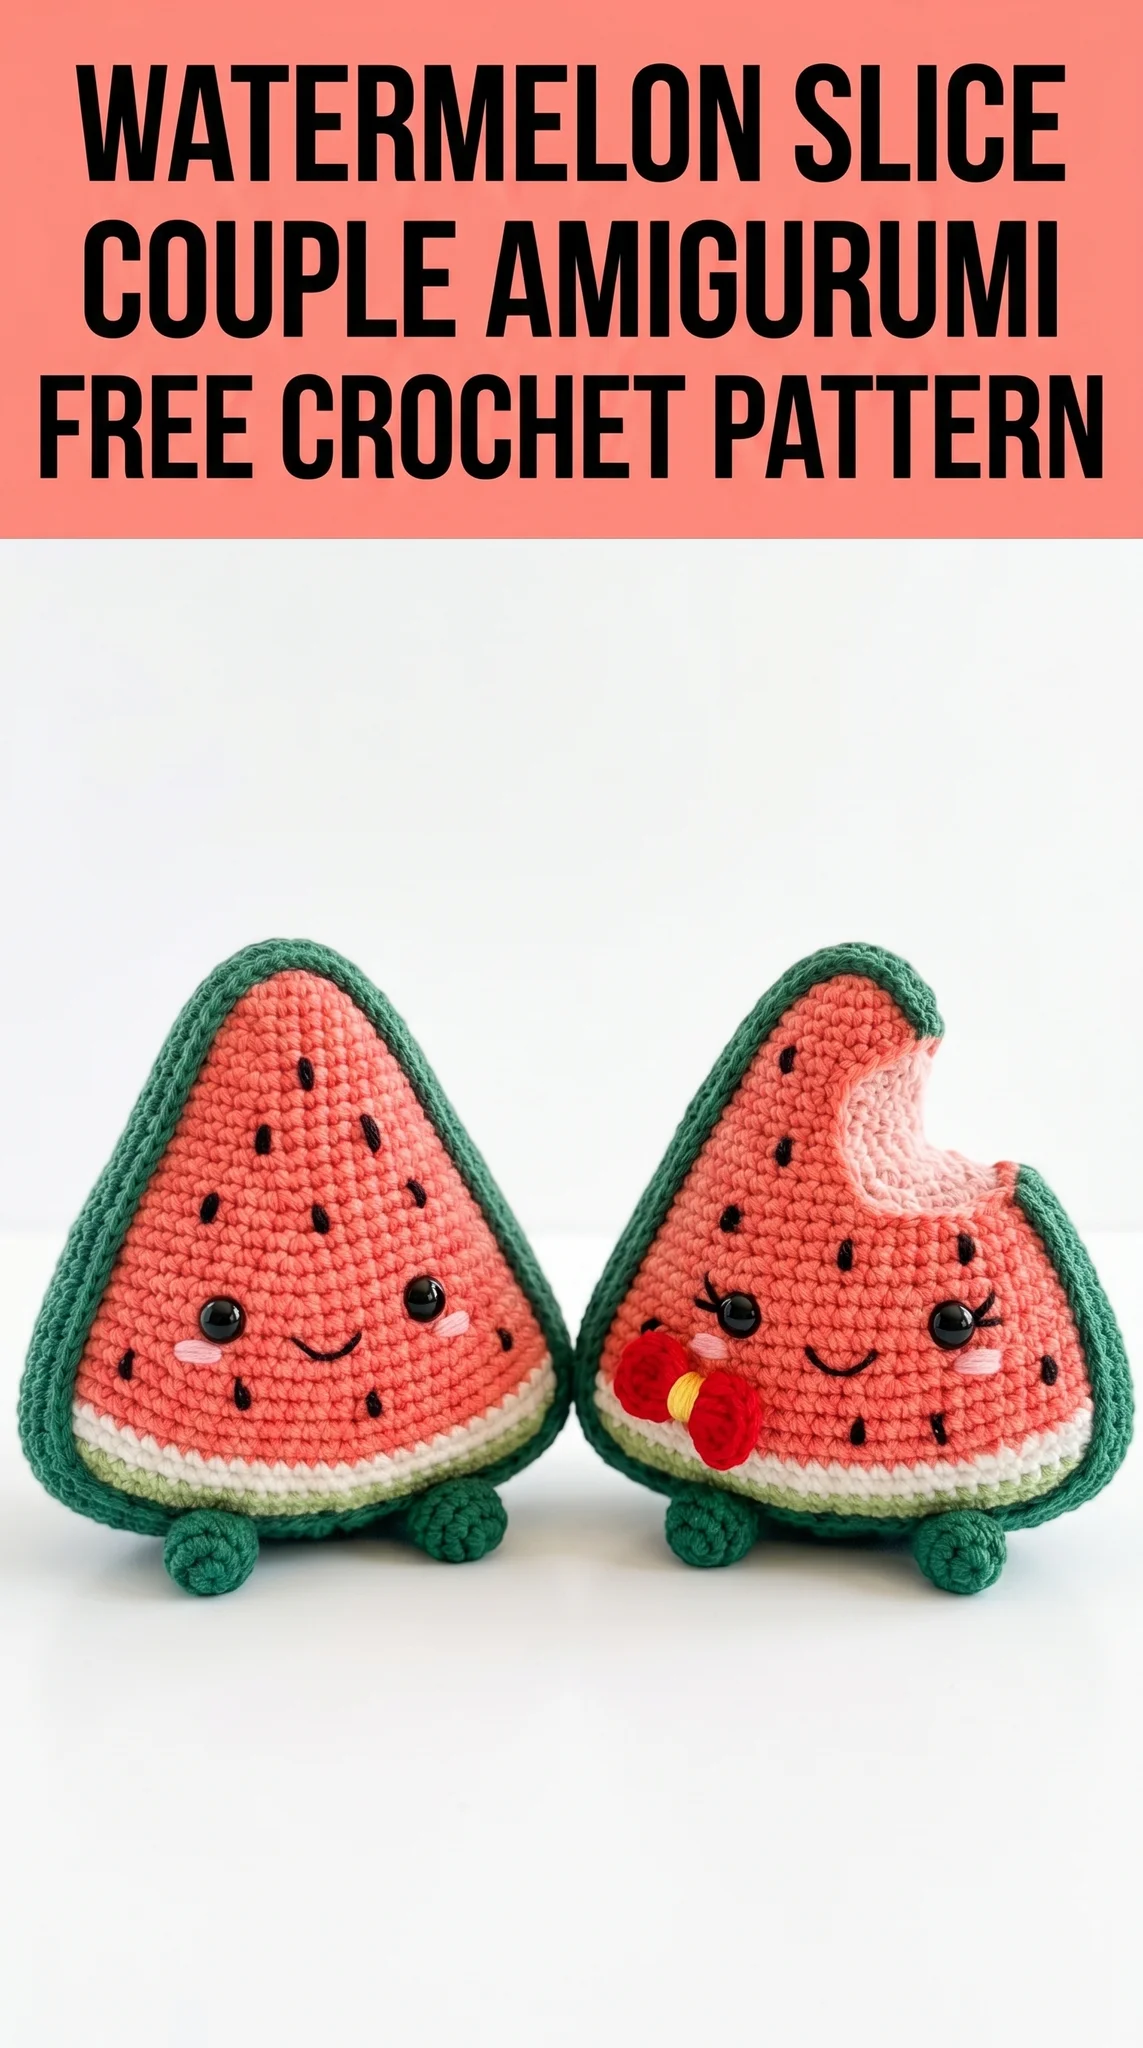
If you can crochet in the round and know how to increase and decrease, you can make these. I promise. The construction looks more complex than it actually is. We are essentially making flat triangular panels, joining them, and adding details. Take your time, follow along, and you will have your own adorable watermelon couple before you know it.
Why You Will Love This Watermelon Slice Crochet Pattern
This crochet pattern hits all the right notes for a satisfying project. It is small enough to finish in a weekend but detailed enough to feel like a real accomplishment. The finished pieces stand about 5 inches tall and 4.5 inches wide at the base, making them perfect for desk decor, nursery shelves, or gifts.
The amigurumi technique used here means we work in continuous rounds with tight stitches to create a firm fabric that holds stuffing beautifully. If you have never tried amigurumi before, this is a wonderful introduction because the flat panel construction is more forgiving than working complex 3D shapes.
Plus, these make an adorable couple set. One looks freshly sliced. The other has that charming bite mark, like someone just could not resist. You can personalize them however you like with different facial expressions, add a bow tie, or give one little rosy cheeks with pink embroidery floss.
Materials You Will Need
Gather these supplies before you start. Having everything ready makes the process so much smoother.
Yarn:
– Coral pink (main watermelon flesh) — approximately 50 grams
– Cream or off-white (rind inner layer) — approximately 10 grams
– Light green (rind gradient) — approximately 10 grams
– Dark green (outer rind and feet) — approximately 25 grams
– Black (seeds) — small amount
– Light pink (blush cheeks) — small amount
– Red and yellow (optional, for rose embellishment) — small amounts
Hook:
Notions:
Abbreviations and Stitch Definitions
Let me walk you through every stitch we will use. Even if you know these, a quick refresher never hurts.
ch — Chain: Wrap yarn over hook, pull through loop on hook. This creates the foundation or adds height.
sl st — Slip stitch: Insert hook, yarn over, pull through both loops at once. Used for joining or invisible movement.
sc — Single crochet: Insert hook into stitch, yarn over, pull up a loop (2 loops on hook), yarn over, pull through both loops. This is your main stitch throughout.
inc — Increase: Work 2 single crochet stitches into the same stitch. This adds one stitch to your count. For example, if you have 10 stitches and work an increase in each one, you end with 20 stitches.
dec — Decrease (invisible decrease): Insert hook through front loops only of the next 2 stitches, yarn over, pull through both front loops, yarn over, pull through remaining 2 loops. This removes one stitch while keeping the fabric smooth.
FLO — Front loop only: Work into just the front loop of the stitch instead of both loops.
BLO — Back loop only: Work into just the back loop.
Understanding the Construction
Before we dive into the step by step instructions, let me explain how these watermelon slices come together. This will help everything make sense as you work.
Each watermelon slice consists of:
1. Two flat triangular panels (front and back)
2. Color changes to create the flesh, white rind, and green rind layers
3. A dark green border crocheted around the edges
4. Two small feet to help it stand
5. Embroidered seeds, safety eyes, and a stitched smile
For the bitten watermelon variation, you will create a small scalloped indent on one panel and line it with cream yarn to show the inner bite.
We work the panels from the bottom up, starting wide and decreasing toward the point of the triangle.
Watermelon Slice Panel Pattern (Make 2 Per Slice)
This crochet tutorial walks you through creating one panel. You will need two identical panels for each watermelon character.
Rind Section (Dark Green)
Row 1: With dark green yarn, ch 22. Sc in 2nd ch from hook and in each ch across. (21 sts)
Row 2: Ch 1, turn. Sc in each st across. (21 sts)
Change to light green yarn.
Light Green Gradient
Row 3: Ch 1, turn. Sc in each st across. (21 sts)
Row 4: Ch 1, turn. Sc2tog (decrease at the start), sc across to last 2 sts, sc2tog. (19 sts)
Change to cream yarn.
White Rind Layer
Row 5: Ch 1, turn. Sc in each st across. (19 sts)
Row 6: Ch 1, turn. Sc2tog, sc across to last 2 sts, sc2tog. (17 sts)
Change to coral pink yarn.
Pink Flesh Section
Now we continue decreasing on each side to form the triangle shape.
Row 7: Ch 1, turn. Sc in each st across. (17 sts)
Row 8: Ch 1, turn. Sc2tog, sc across to last 2 sts, sc2tog. (15 sts)
Rows 9-10: Repeat Row 7 and Row 8. (13 sts after Row 10)
Rows 11-12: Repeat the pattern. (11 sts after Row 12)
Rows 13-14: Continue. (9 sts after Row 14)
Rows 15-16: Continue. (7 sts after Row 16)
Rows 17-18: Continue. (5 sts after Row 18)
Row 19: Ch 1, turn. Sc in each st across. (5 sts)
Row 20: Ch 1, turn. Sc2tog, sc 1, sc2tog. (3 sts)
Row 21: Ch 1, turn. Sc3tog (insert hook in first st, pull up loop, insert in second, pull up loop, insert in third, pull up loop, yarn over, pull through all 4 loops). (1 st)
Fasten off, leaving a long tail for sewing.
Joining the Panels
Place your two completed panels with wrong sides together (right sides facing out). The color bands should align perfectly.
Using dark green yarn and your hook, work a single crochet border around the entire edge to join the panels:
1. Insert hook through both layers at the bottom corner.
2. Sc evenly around, working through both panels together.
3. Work approximately 3 sc per 2 rows along the sides for smooth edges.
4. When you reach the final edge, stop about 2 inches before completing the round.
5. Stuff the slice firmly with fiberfill. Shape it gently so it sits flat.
6. Continue the sc border to close the opening.
7. Sl st to join. Fasten off and weave in ends.
The border creates that lovely dark green rind outline you see in the finished piece.
Little Feet (Make 2 Per Slice)
These adorable curled feet help your watermelon stand upright.
With dark green yarn:
Round 1: Create a magic ring. Work 6 sc into the ring. Pull tight. (6 sts)
Round 2: Inc in each st around. (12 sts)
Rounds 3-5: Sc in each st around. (12 sts)
Sl st to next st. Fasten off, leaving a long tail.
Stuff the feet lightly. They should be small rounded balls. Sew them to the bottom corners of your watermelon slice, positioning them so the slice can stand on its own.
Bitten Corner Variation
For the watermelon with the bite taken out, you will modify one panel.
Work the panel pattern as written until Row 14. Then, on one side of the triangle, work a scalloped decrease:
Creating the bite indent:
At the upper right corner of the panel (around rows 12-16), skip working the decrease on that side for one row. Instead, work a series of 3 sc, ch 1, skip 1, creating a small curved indent.
On the next row, work into the chain space and continue decreasing as normal.
This creates a subtle curved bite shape. After joining the panels, use cream yarn to single crochet a small crescent along the bite edge, giving it that fresh bitten look showing the inner fruit.
Embroidering the Seeds
Using black yarn and your yarn needle, embroider small oval seeds scattered across the pink flesh area. Each seed is simply a straight stitch worked twice in the same spot for thickness.
Place 8 to 12 seeds randomly across the front panel. Avoid the area where you will attach the eyes and mouth. Step back and look at the placement before securing. You want them to look naturally scattered, not in a pattern.
Adding the Face
Safety eyes: Position your 8mm safety eyes about 3-4 rows up from the white rind section, spaced approximately 5-6 stitches apart. Push the posts through the fabric and secure the backs inside before stuffing.
For the bitten slice, place eyes slightly off-center to accommodate the bite.
Smile: Using black yarn, embroider a small curved smile below the eyes using a backstitch. Keep it simple and sweet.
Rosy cheeks: With light pink yarn, make two small straight stitches below and to the outside of each eye.
Eyelashes (optional): For the slice with the rose, add three small straight stitches above each eye for feminine lashes.
Rose Embellishment (Optional)
This tiny rose adds such charm to one of the slices.
With red yarn, ch 12. Work 2 sc in 2nd ch from hook, 2 hdc in next ch, 2 dc in each of the next 7 chs, 2 hdc in next ch, 2 sc in last ch. Fasten off.
The strip will naturally curl into a rose shape. Roll it from one end, using the tail to stitch through the bottom and secure the spiral. Add two small leaves using yellow or green yarn with simple chain loops.
Sew the rose to the front of one watermelon slice, just below the face.
Finishing Touches
Weave in all remaining yarn tails securely. Use your yarn needle to tuck any loose ends inside the stuffed body where they will not show.
Give your watermelon slices a gentle squeeze to distribute the stuffing evenly. Adjust the feet so they sit flat and support the weight of the slice.
If your slice tips forward, add a few more stitches securing the feet slightly toward the back.
Tips for Success
Tight tension matters. Amigurumi works best when your stitches are snug. If you can see stuffing through your fabric, try a smaller hook.
Count your stitches. Place a stitch marker at the start of each row. Triangle shaping depends on accurate decreases.
Block your panels. Before joining, you can lightly steam block the flat panels to help them lay perfectly aligned.
Stuff as you go. When closing the border, pause to stuff before it becomes too difficult to reach inside.
You Did It!
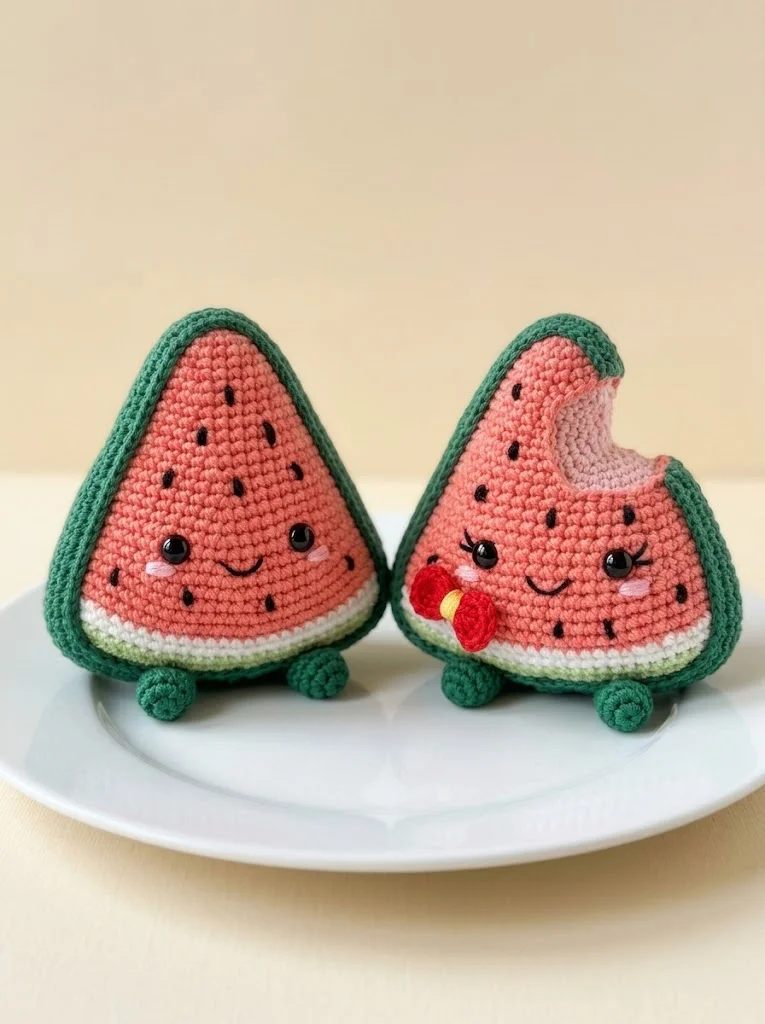
I am so excited for you to make your own watermelon slice couple. These little cuties bring so much joy, and they make the most thoughtful handmade gifts. Imagine giving these to a friend for their summer birthday or using them as quirky kitchen decor.
Thank you so much for choosing this pattern and trusting me to guide you through it. It truly means the world when you take the time to create something with your own hands.
I would absolutely love to see your finished watermelon slices! Tag me on Instagram or share in my Facebook group. Seeing your creations is the best part of sharing these patterns.
Happy crocheting, friend. Now go make something sweet.