
Last spring, my best friend called me in a mild panic. She was three weeks away from a baby shower, had already bought every practical gift on the registry, and wanted something handmade to add to the pile. Something special. Something that would make everyone at the party coo and reach for their phones to snap a picture.
I stayed up that weekend sketching ideas, swatching different yarn combinations, and frogging more starts than I care to admit. By Sunday night, I had a floppy-eared bunny hat, a matching diaper cover with a sweet button detail, and the tiniest pair of booties sitting on my kitchen table. My friend cried when she saw them. The mom-to-be cried harder.
That set became this pattern. I have made it a dozen times since, tweaking the ear length and perfecting the cuff fold on those little booties. Now I am sharing it with you, because every new baby deserves something this cute, and every crocheter deserves a pattern that actually works.
What You Will Be Making
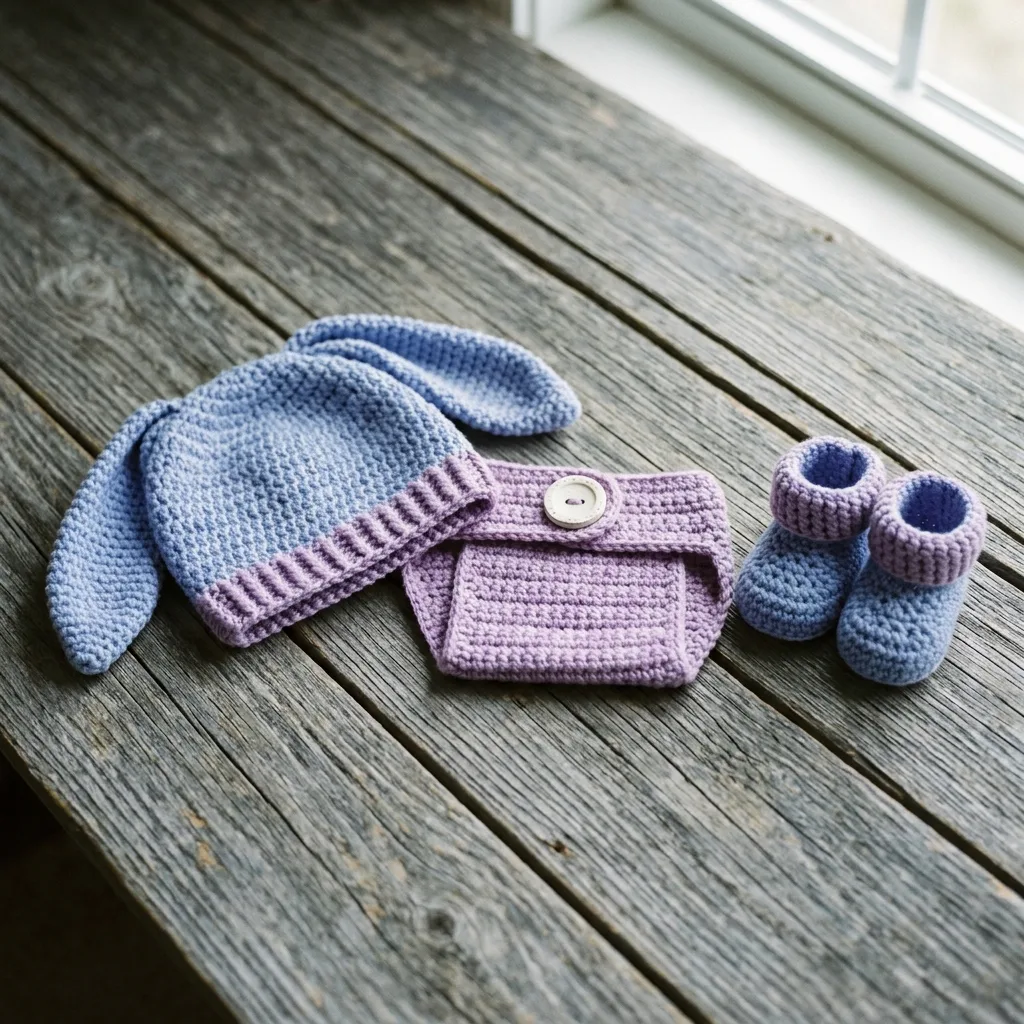
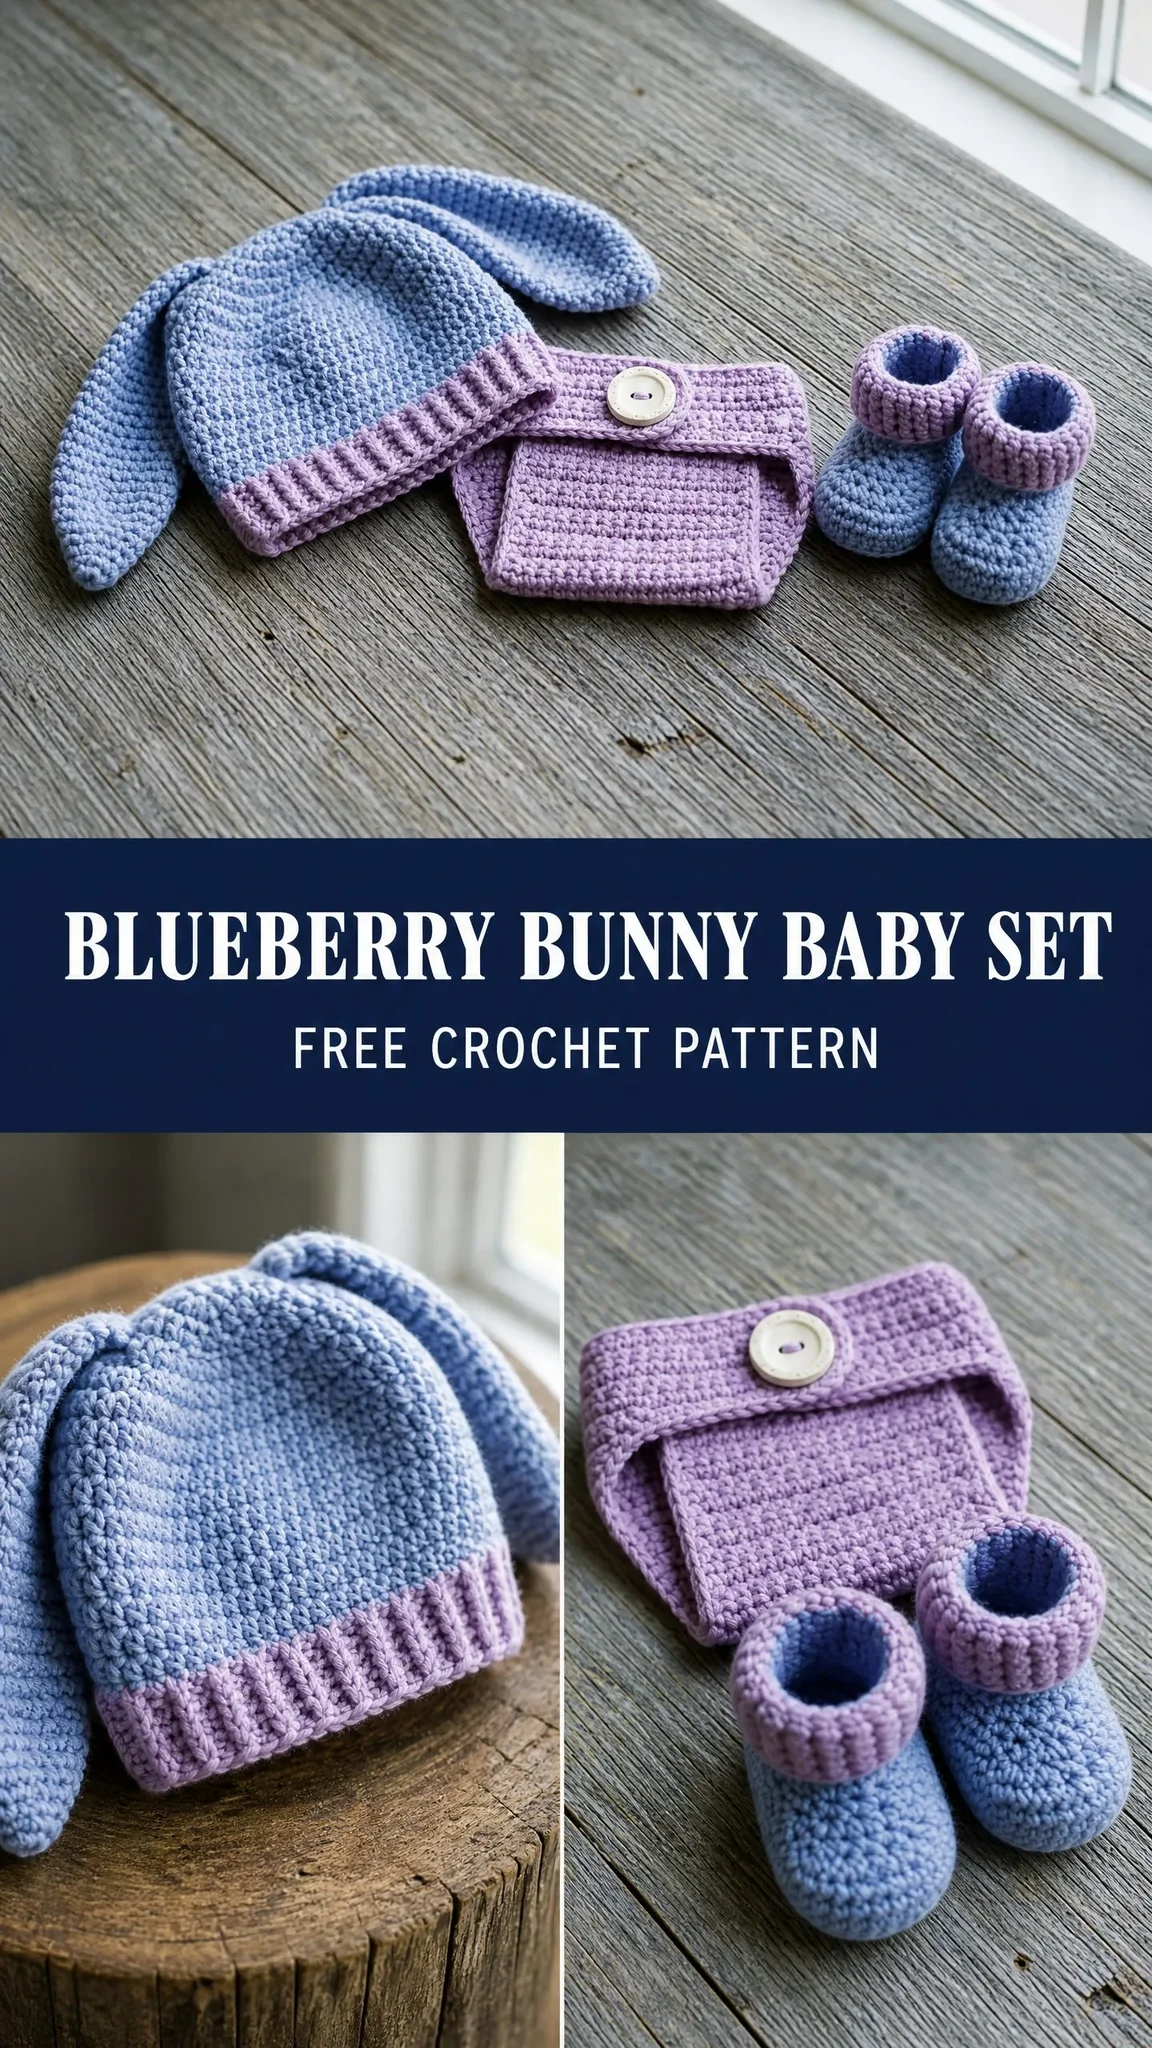
This three-piece newborn set includes a bunny ear hat, a diaper cover, and a pair of booties. All three pieces work up in basic stitches with a dense, warm fabric that photographs beautifully and feels soft against delicate skin.
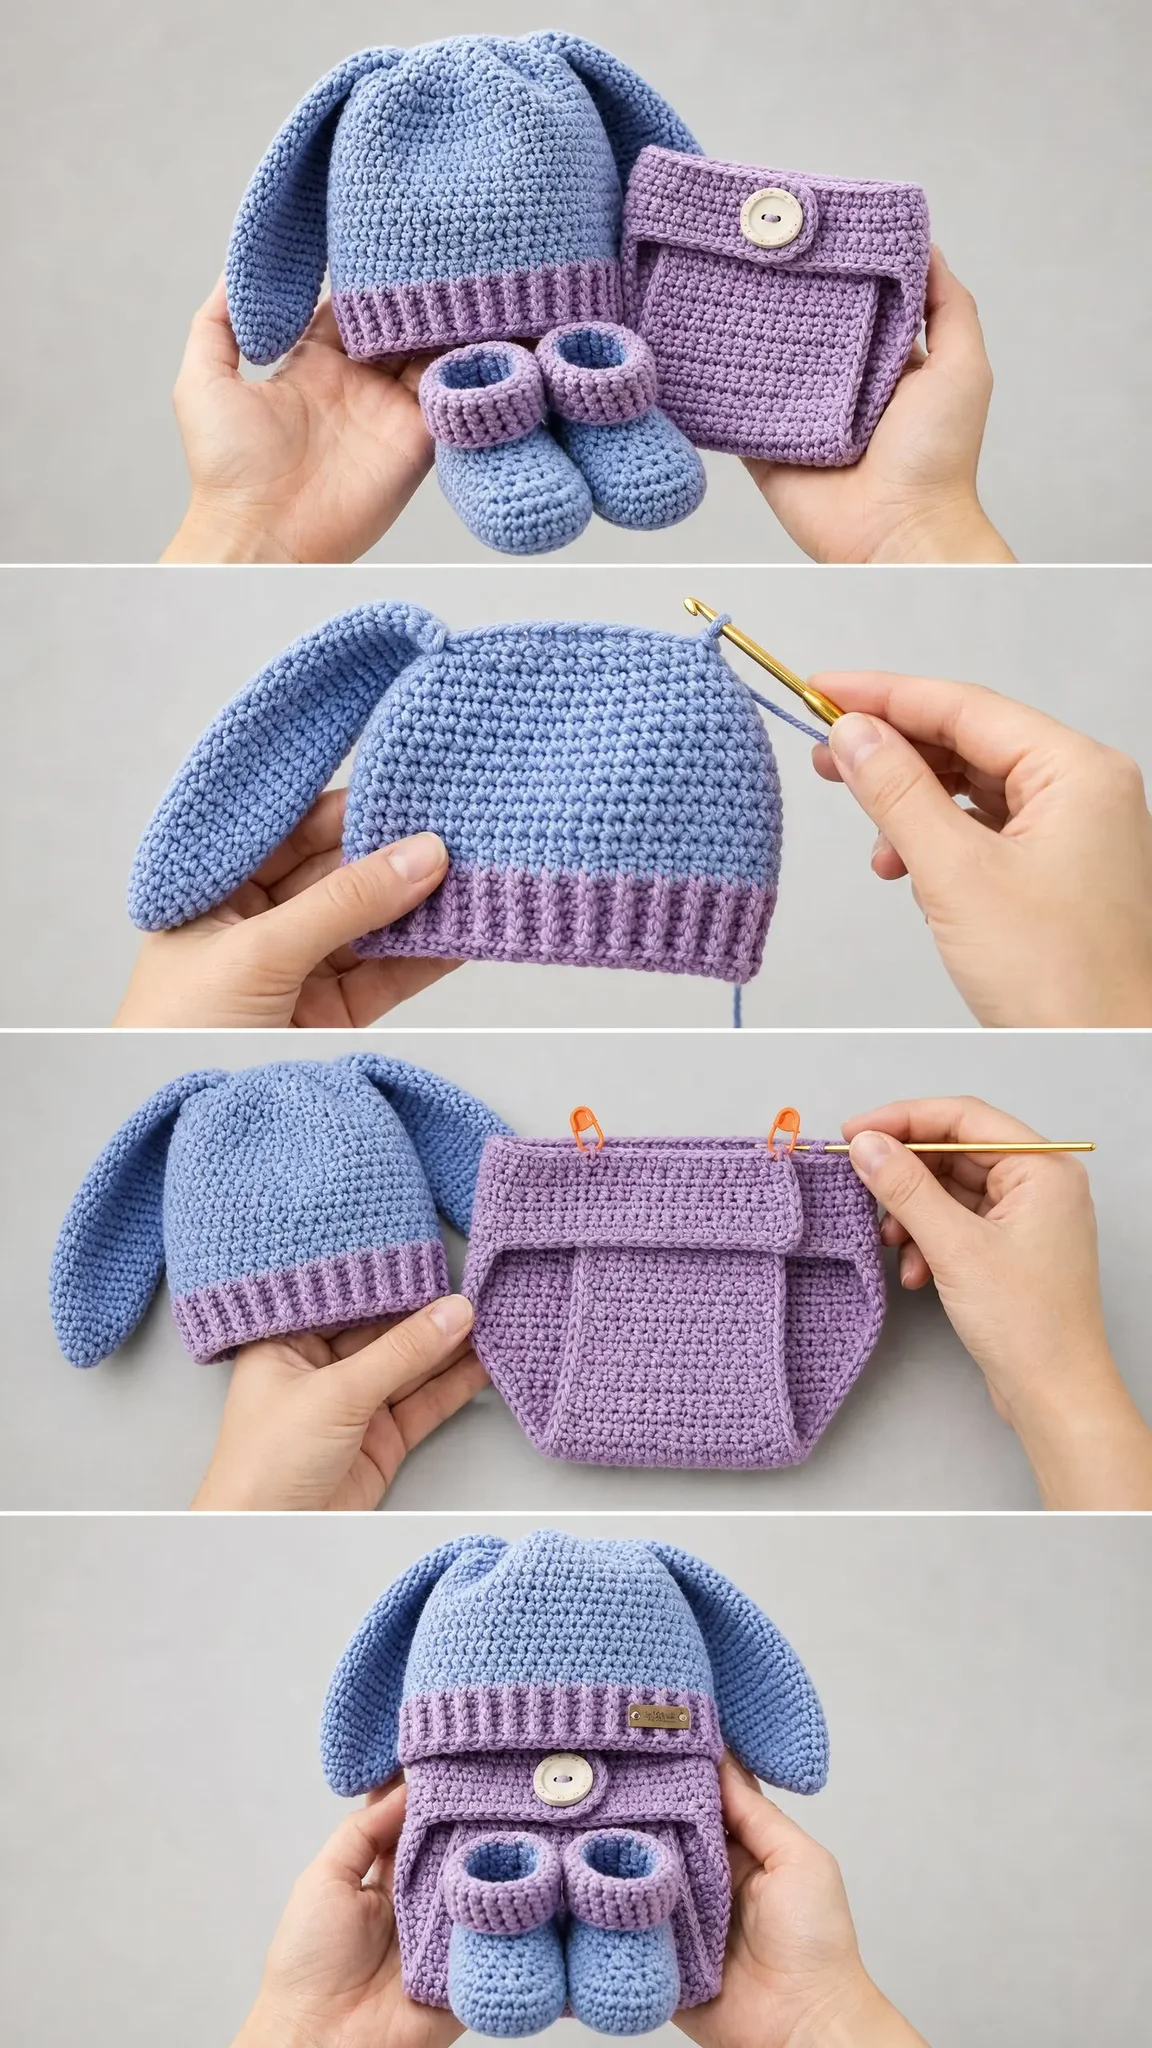
The hat features two long floppy bunny ears attached at the crown and a contrast-color ribbed brim that stretches to fit comfortably. The diaper cover is worked flat from front to back with a ribbed waistband and closes with a single large button at the front center. The booties are worked in the round from the toe up with a contrast-color cuffed top that folds down.
Throughout the set, two colors create visual interest. A periwinkle blue (Color A) forms the main body of the hat and the outer layer of the booties. A soft lavender purple (Color B) forms the hat brim, the entire diaper cover, and the bootie cuffs.
The finished set fits newborn through three months and makes an ideal photo prop or baby shower gift.
Skill Level
I would call this intermediate level. The individual stitches are basic, just single crochet (sc) and half double crochet (hdc), but the pattern requires working in the round, seaming pieces together, making clean color changes, shaping with increases and decreases, and reading stitch counts carefully across multiple pieces.
If you are a beginner who has completed a few small projects like dishcloths or simple hats, you can absolutely attempt this crochet pattern with patience. Take your time, count your stitches at the end of each round, and trust the process.
Time Estimate
Plan for approximately 6 to 9 hours for the complete set. The hat takes roughly 2.5 to 3 hours, the diaper cover takes 2 to 2.5 hours, and the pair of booties takes 1.5 to 2 hours. This is perfect for a weekend project or a few evenings of stitching while watching your favorite show.
Finished Measurements
Hat: approximately 13 inches / 33 cm circumference, 5.5 inches / 14 cm tall at the body (not including ears), ears measure 4 inches / 10 cm long each.
Diaper Cover: approximately 14 inches / 35.5 cm waist circumference (unstretched), 6 inches / 15 cm rise.
Booties: approximately 3.5 inches / 9 cm sole length, fits newborn to 3 months.
Materials Needed
Yarn:
Hook: US size G-6 / 4.00 mm crochet hook
Notions:
Yarn Suggestions
Option 1: Lion Brand Pound of Love (worsted weight, 100% acrylic) offers excellent durability, machine washability, and a wide color range including periwinkle and lavender tones. One skein of each color covers all three pieces.
Option 2: Paintbox Yarns Simply DK used doubled gives a softer hand while maintaining the dense stitch definition shown. Double-strand the yarn throughout if using DK weight.
Option 3: Cascade 220 Superwash (worsted weight, 100% superwash merino wool) feels luxuriously soft against newborn skin and is machine washable. It costs more but is worth it for a special gift set.
Substitution note: Choose any worsted weight yarn that achieves the gauge below. The fabric should be dense and firm, not drapey. Do not substitute a loose or slippery fiber like bamboo or tencel without adjusting your hook size down. Always crochet a gauge swatch before beginning.
Gauge
17 single crochet and 20 rows = 4 inches / 10 cm, worked in continuous rounds with a US G-6 / 4.00 mm hook, blocked.
Gauge is critical for the hat circumference and diaper cover fit. If your swatch is too big, go down a hook size. If your swatch is too small, go up a hook size.
Abbreviations (US Terms)
Before we dive in, let me define every stitch abbreviation you will see in this crochet tutorial:
Special Stitches and Techniques
Ribbing Row (used for hat brim and diaper cover waistband)
This technique creates a stretchy, ribbed texture that mimics knitted ribbing. The piece is worked sideways and then seamed or attached to the main body.
Chain the required number of stitches plus 1 for the turning chain.
Row 1 (foundation): Sc in second ch from hook and in each ch across. Turn.
All subsequent rows: Ch 1, sc in BLO of each st across. Turn.
Invisible Decrease (dec)
This creates a nearly invisible decrease on the right side of the fabric. Insert hook into the front loop only of the next stitch, then insert hook into the front loop only of the following stitch (two front loops on hook at once). Yarn over and pull through both front loops (2 loops on hook). Yarn over and pull through remaining 2 loops.
Joining Round
At the end of a round worked in a continuous spiral, to close a section neatly: slip stitch into the first stitch of the round, cut yarn, pull tail through, and weave in. This creates an invisible join.
Pattern Notes Before You Begin
1. The hat body is worked in a continuous spiral (no joining, no turning chain at the end of each round) unless otherwise stated. Use a stitch marker in the first stitch of each round and move it up as you work.
2. The diaper cover is worked flat (back and forth in rows) and seamed at the sides.
3. The booties are worked in a continuous spiral for the foot section, then joined rounds for the cuff.
4. When changing colors, complete the last yarn over of the final stitch before the color change with the new color. Cut the old color leaving a 6-inch tail and weave in ends securely. Baby items must withstand washing.
5. All stitch counts are given in parentheses at the end of each row or round, for example (24 sc).
6. The button on the diaper cover is decorative. If the diaper cover will be used functionally and not just as a photo prop, sew the button on top of the buttonhole securely and use a snap underneath.
7. This pattern is written for newborn to 3-month size only. See the size customization tips at the end for adjustments.
Bunny Hat Instructions
Hat Brim (Color B, worked sideways as a rectangle)
Foundation ch: With Color B, ch 9.
Row 1: Sc in second ch from hook and in each ch across. Turn. (8 sc)
Rows 2 through 56: Ch 1, sc in BLO of each st across. Turn. (8 sc each row)
After Row 56, do not fasten off. You will have a long ribbed strip approximately 13 inches / 33 cm long.
Seam the brim: Fold the strip so the short ends meet. Sl st through both layers of the corresponding stitches to join into a ring. Fasten off, weave in ends.
Checkpoint: The joined brim ring should measure approximately 13 inches / 33 cm in circumference and 1.75 inches / 4.5 cm wide.
Hat Body (Color A)
With Color A, join yarn to any stitch along one long edge of the brim ring (the top edge). Work into the row-end edge of the brim.
Rnd 1: Sc evenly around the top edge of the brim, working 1 sc per row end. (56 sc)
Place marker in first stitch and work in a continuous spiral from here.
Rnds 2 through 20: Sc in each st around. (56 sc)
Checkpoint: The hat body should now measure approximately 4 inches / 10 cm tall from the top of the brim. You should have 56 stitches in the round.
Begin crown shaping:
Rnd 21: (Sc in next 5 sts, dec) rep 8 times. (48 sc)
Rnd 22: Sc in each st around. (48 sc)
Rnd 23: (Sc in next 4 sts, dec) rep 8 times. (40 sc)
Rnd 24: Sc in each st around. (40 sc)
Rnd 25: (Sc in next 3 sts, dec) rep 8 times. (32 sc)
Rnd 26: Sc in each st around. (32 sc)
Rnd 27: (Sc in next 2 sts, dec) rep 8 times. (24 sc)
Rnd 28: (Sc in next st, dec) rep 8 times. (16 sc)
Rnd 29: (Dec) rep 8 times. (8 sc)
Fasten off, leaving a 12-inch tail. Thread the tail onto the yarn needle and weave through the remaining 8 front loops. Pull snug to close the top. Weave in end securely on the inside.
Checkpoint: The completed hat body should measure approximately 5.5 inches / 14 cm from the bottom edge of the brim to the crown tip.
Hat Ears (make 2, Color A)
Each ear is an elongated rectangle with a rounded top, worked flat then seamed.
With Color A, ch 5.
Row 1: Sc in second ch from hook and in next 3 chs. Turn. (4 sc)
Rows 2 through 18: Ch 1, sc in each st across. Turn. (4 sc each row)
Row 19 (shape top): Ch 1, dec, dec. Turn. (2 sc)
Row 20: Ch 1, dec. (1 sc)
Fasten off, leaving a 10-inch tail.
Make a second ear identical to the first.
Joining ears: Fold each ear in half lengthwise (wrong sides together) so it is 2 stitches wide. Using the tail or a separate strand of Color A, whip stitch the long side edges together to create a narrow tube that is closed at the top.
Attaching ears: Position both ears on the top of the hat crown, centered and spaced approximately 2 inches / 5 cm apart. The ears should stand or flop naturally. Using Color A yarn and a yarn needle, stitch the base of each ear firmly to the crown stitches over approximately 4 stitches wide at the base. Weave in all ends.
The finished ears measure approximately 4 inches / 10 cm in height.
Diaper Cover Instructions
Diaper Cover Back Panel (Color B)
Foundation ch: With Color B, ch 31.
Row 1 (RS): Sc in second ch from hook and in each ch across. Turn. (30 sc)
Rows 2 through 10: Ch 1, sc in each st across. Turn. (30 sc)
Checkpoint: The back panel should measure approximately 2 inches / 5 cm tall and 7 inches / 18 cm wide after Row 10.
Begin leg shaping (decrease on both ends to form the crotch):
Row 11: Ch 1, dec, sc in each st across to last 2 sts, dec. Turn. (28 sc)
Row 12: Ch 1, dec, sc in each st across to last 2 sts, dec. Turn. (26 sc)
Row 13: Ch 1, dec, sc in each st across to last 2 sts, dec. Turn. (24 sc)
Row 14: Ch 1, dec, sc in each st across to last 2 sts, dec. Turn. (22 sc)
Row 15: Ch 1, dec, sc in each st across to last 2 sts, dec. Turn. (20 sc)
Rows 16 through 18: Ch 1, sc in each st across. Turn. (20 sc)
Checkpoint: The crotch section should measure approximately 1.5 inches / 4 cm wide at the narrowest point.
Begin front rise (increase on both ends to shape the front):
Row 19: Ch 1, inc, sc in each st across to last st, inc. Turn. (22 sc)
Row 20: Ch 1, inc, sc in each st across to last st, inc. Turn. (24 sc)
Row 21: Ch 1, inc, sc in each st across to last st, inc. Turn. (26 sc)
Row 22: Ch 1, inc, sc in each st across to last st, inc. Turn. (28 sc)
Row 23: Ch 1, inc, sc in each st across to last st, inc. Turn. (30 sc)
Rows 24 through 29: Ch 1, sc in each st across. Turn. (30 sc)
Do not fasten off.
Diaper Cover Front Flap
Continue working on the 30 stitches from Row 29.
Rows 30 through 32: Ch 1, sc in each st across. Turn. (30 sc)
Row 33 (buttonhole row): Ch 1, sc in first 14 sts, ch 2, skip 2 sts, sc in rem 14 sts. Turn. (28 sc + 2 ch sp = 30 sts total)
Row 34: Ch 1, sc in first 14 sts, 2 sc in ch-2 sp, sc in rem 14 sts. Turn. (30 sc)
Row 35: Ch 1, sc in each st across. Turn. (30 sc)
Fasten off, weave in ends.
Checkpoint: The full diaper cover piece should measure approximately 6 inches / 15 cm in total rise when laid flat.
Diaper Cover Waistband (Color B, worked sideways)
Foundation ch: With Color B, ch 7.
Row 1: Sc in second ch from hook and in each ch across. Turn. (6 sc)
Rows 2 through 60: Ch 1, sc in BLO of each st across. Turn. (6 sc each row)
After Row 60, the waistband strip should measure approximately 14 inches / 35.5 cm long and 1.25 inches / 3 cm wide.
Fasten off, leaving a 20-inch tail for seaming.
Seam the waistband: Align the long edge of the waistband with the top edge of the back panel (Row 1 edge) and the top edge of the front panel (Row 29 through 30 region, on the non-flap side). Using the long tail and a yarn needle, whip stitch the waistband to the top edges of the diaper cover body. The waistband short ends meet at the center front, on either side of the flap. Seam the short ends of the waistband to the top corners of the front panel.
Side Seams
With Color B yarn and a yarn needle, align the side edges of the back panel and front panel. The leg opening shaping should match symmetrically. Whip stitch the side seams from the waistband down approximately 2 inches / 5 cm on each side, leaving the remaining leg opening free.
Button: Sew the button to the center of the front flap approximately 0.5 inches / 1.25 cm below the top edge of the flap, centered over the buttonhole. The flap folds down over the front body.
Booties Instructions (make 2)
Bootie Sole and Toe (Color A)
Work in a continuous spiral. Place marker in first stitch of each round.
Foundation: With Color A, make a magic ring (adjustable loop).
Rnd 1: 6 sc in magic ring. Pull tail to close ring. (6 sc)
Rnd 2: Inc in each st around. (12 sc)
Rnd 3: (Sc in next st, inc) rep 6 times. (18 sc)
Rnd 4: (Sc in next 2 sts, inc) rep 6 times. (24 sc)
Checkpoint: After Rnd 4, the oval sole should measure approximately 3.5 inches / 9 cm in length and 2 inches / 5 cm in width.
Rnds 5 through 7: Sc in each st around. (24 sc)
Rnd 8 (BLO only): Working in BLO only: sc in each st around. (24 sc)
This creates the fold ridge at the toe.
Rnd 9 (toe decrease round): Sc in first 8 sts, (dec) 4 times, sc in rem 8 sts. (20 sc)
Rnd 10: Sc in first 7 sts, dec, dec, dec, sc in rem 7 sts. (17 sc)
Rnds 11 through 16: Sc in each st around. (17 sc)
Checkpoint: The foot of the bootie should measure approximately 3.5 inches / 9 cm in total length.
Bootie Cuff (Color B)
At the end of Rnd 16, join Color B with a sl st to the first stitch of the round.
Rnd 17: With Color B, ch 1 (does not count as a st), sc in each st around. Sl st to first sc to join. (17 sc)
From this point the cuff is worked in joined rounds with a turning chain so the cuff can be folded down and show the right side on both faces.
Rnds 18 through 23: Ch 1, turn. Sc in each st around. Sl st to first sc to join. (17 sc)
Fasten off. Weave in all ends.
Fold the Color B cuff down over the Color A ankle section so the right side of the cuff faces outward. The cuff should be approximately 0.75 to 1 inch / 2 to 2.5 cm deep when folded.
Checkpoint: Each completed bootie should measure approximately 3.5 inches / 9 cm from heel to toe and approximately 2.75 inches / 7 cm tall from sole to top of cuff.
Size Customization Tips
To size up to 3 to 6 months: Use a US I-9 / 5.5 mm hook with the same worsted weight yarn. This will increase all finished dimensions by approximately 10 to 15 percent without changing any stitch counts.
To size down to premature newborn: Use a US E-4 / 3.5 mm hook. The denser, smaller gauge will reduce all dimensions by approximately 15 percent.
To adjust hat circumference: Add or remove stitches from the hat body in multiples of 8 (to preserve the decrease pattern at the crown). Each group of 8 stitches at the stated gauge adds or removes approximately 1.9 inches / 4.8 cm of circumference.
To adjust bootie length: Add or remove rounds in the even sc rounds (Rnds 5 through 7 and Rnds 11 through 16) before shaping.
To adjust diaper cover rise: Add or remove rows in the flat sections of the back and front panels (Rows 2 through 10 and Rows 24 through 29).
Finishing and Blocking Your Blueberry Bunny Set
After completing all three pieces, weave in all ends securely. Pull tails through multiple stitches in different directions to prevent unraveling during washing.
Wet blocking: Submerge all pieces in cool water and gently press out excess water with a clean towel. Do not wring. Pin or shape each piece to the finished dimensions on a foam blocking mat. Allow to dry fully before removing pins.
Wet blocking will open up the stitch texture slightly, relax any tension irregularities, and help the hat brim and diaper cover waistband lay flat.
Do not steam block acrylic yarns. If using superwash wool, gentle steam blocking is appropriate.
Care Instructions
If worked in acrylic yarn: Machine wash cold on a gentle cycle, lay flat to dry.
If worked in superwash wool: Hand wash in cool water with wool wash, lay flat to dry.
Do not tumble dry. Do not bleach. Do not iron directly on the crochet fabric. Store away from direct sunlight to prevent color fading.
You Did It!
Thank you so much for choosing this pattern for your next baby gift project. I hope the step by step instructions made this crochet tutorial feel approachable, even with three separate pieces to complete. Every time I make this set, I fall in love with those floppy bunny ears all over again.
If you make this Blueberry Bunny Baby Set, I would love to see your finished project. Tag me on Instagram or share a photo in my Facebook group. Seeing your color combinations and creative touches is honestly the best part of sharing patterns.
If you loved this pattern, go ahead and save it to your Pinterest boards so you can find it again when the next baby shower invitation lands in your mailbox. And if you have any questions or just want to share how yours turned out, drop a comment below. I read every single one and love hearing from you. Happy hooking!
You Might Also Like
- Galaxy Purple Chameleon Amigurumi Free Crochet Pattern
- Dusty Rose Spiral Flap Backpack Free Crochet Pattern
- Ocean Blue Daisy Granny Square Blanket Free Crochet Pattern
- Coral Reef Charm Bracelet Free Crochet Pattern