
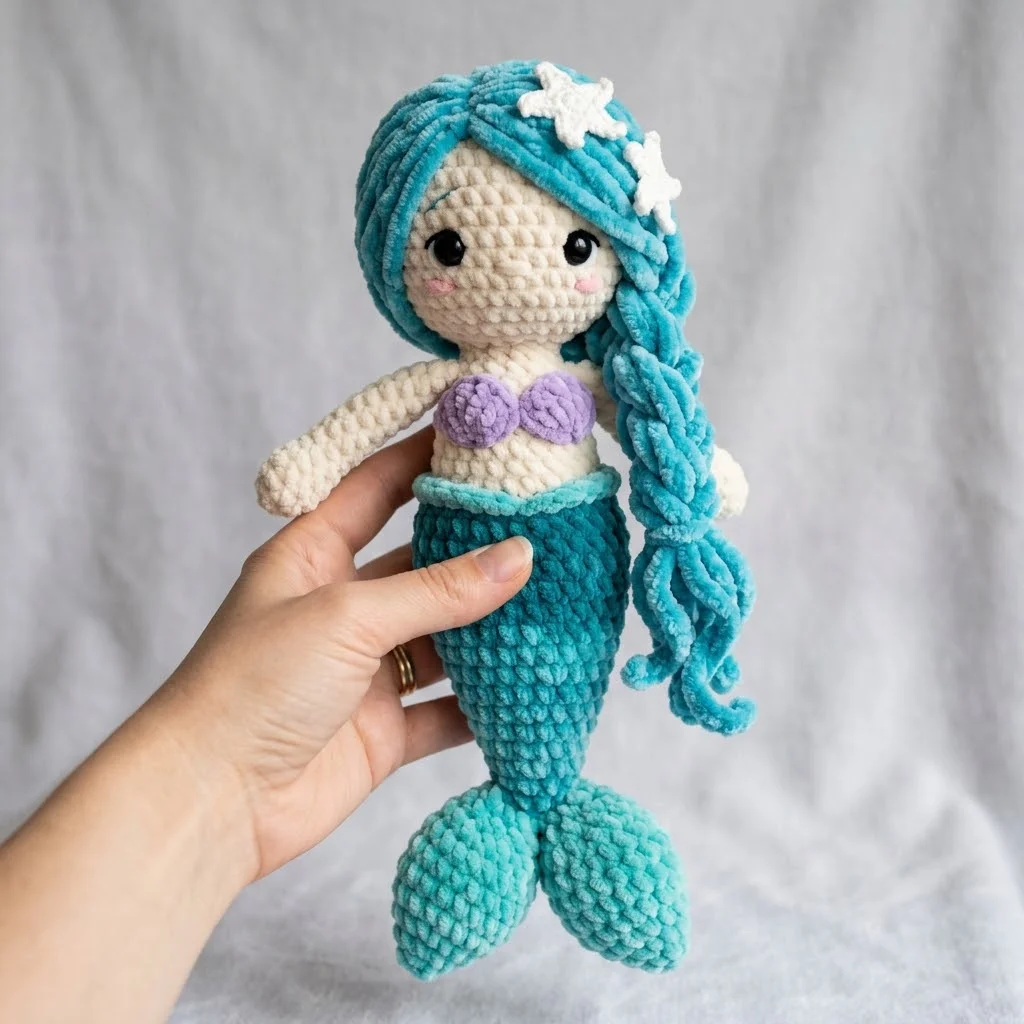
There she is. A sweet little mermaid doll with flowing teal hair, a shimmery tail, and the cutest purple seashell top. This amigurumi mermaid crochet pattern creates a huggable plush doll that measures approximately 12 inches tall. Perfect for little ones who dream of underwater adventures.
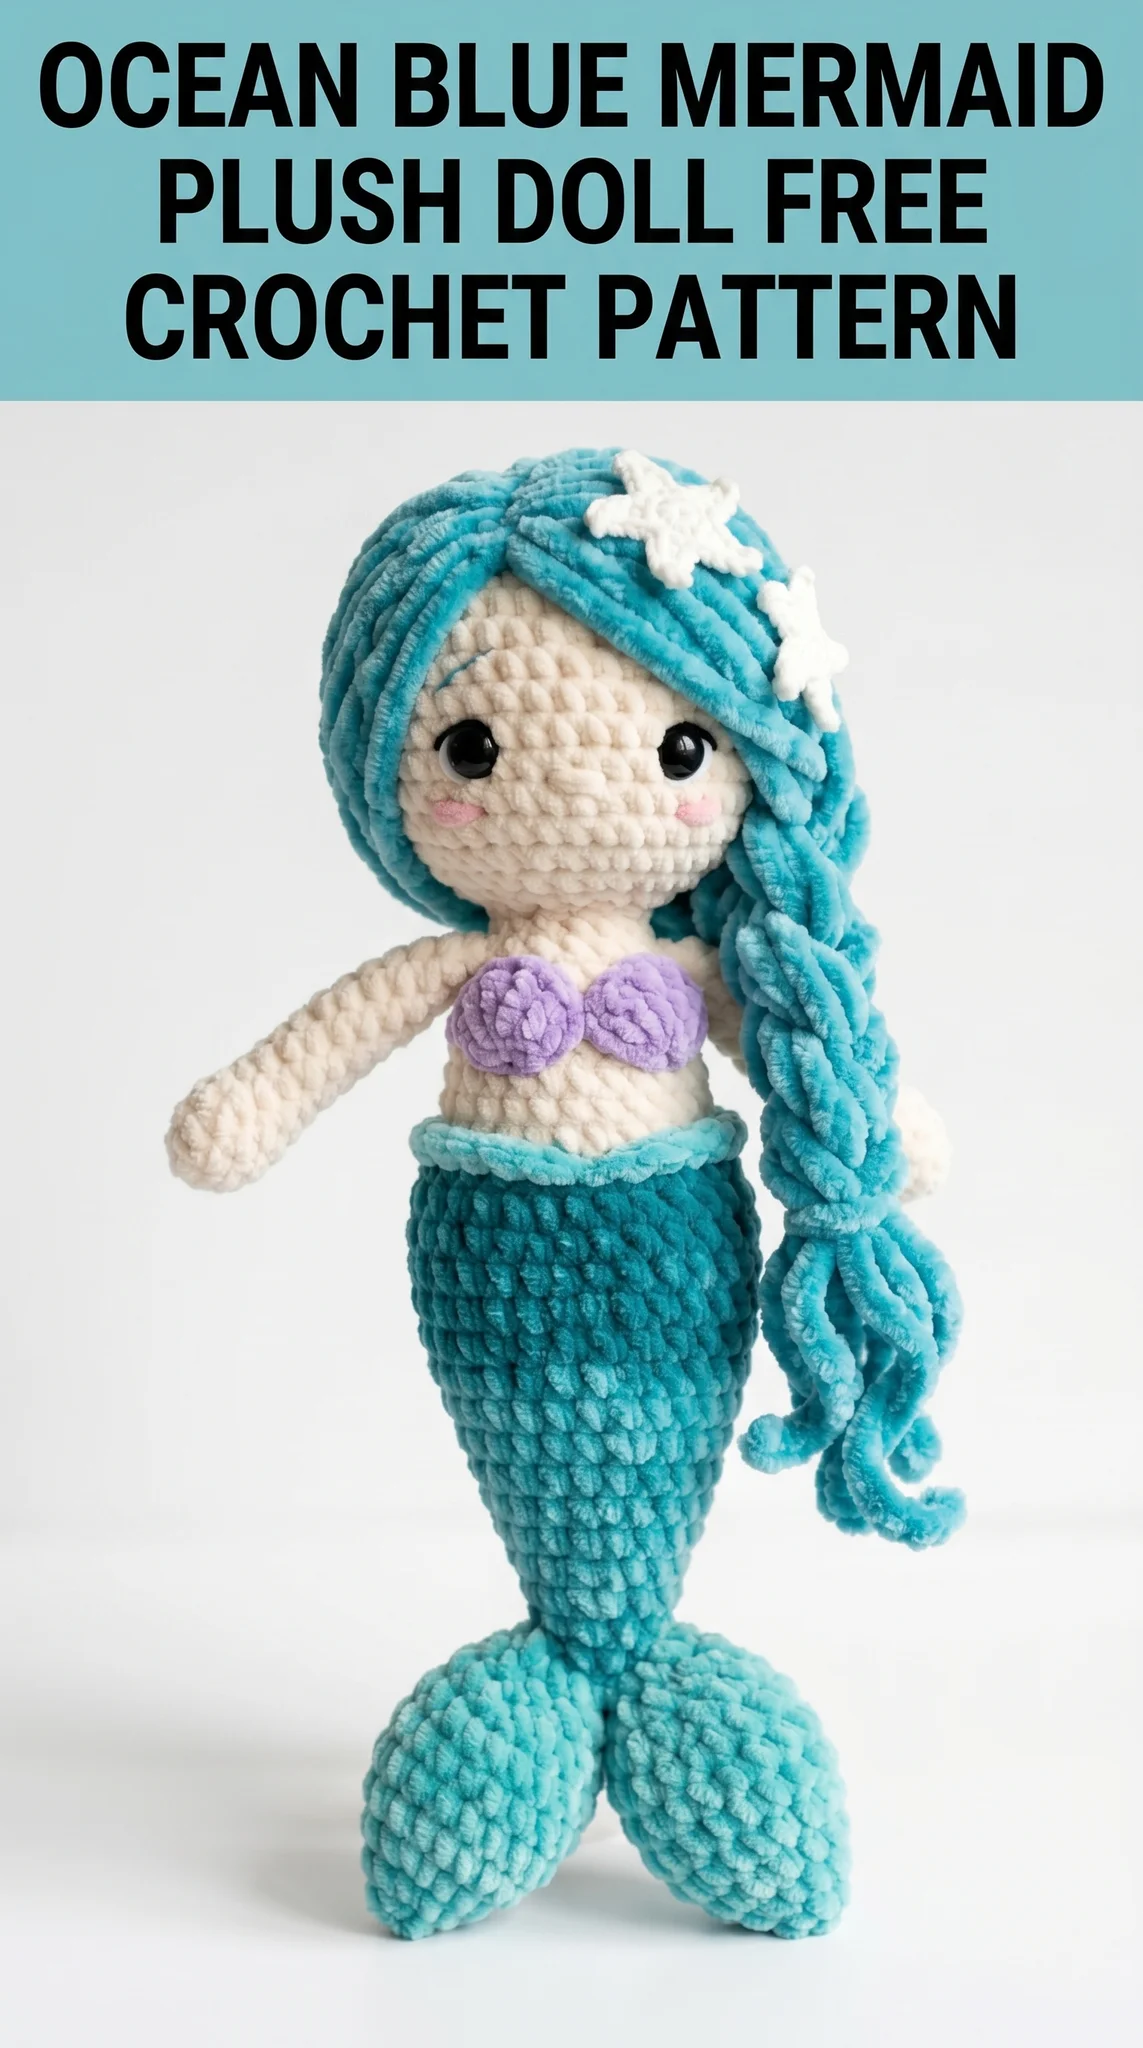
I designed this ocean blue mermaid plush doll crochet pattern with intermediate crocheters in mind. If you have made a few amigurumi projects before, you can absolutely handle this one. The construction uses basic single crochet worked in continuous rounds. Nothing scary here. Just patience and attention to detail.
Let me walk you through every piece of this magical project.
Why You Will Love This Mermaid Doll Crochet Tutorial
This mermaid stands out because of her luxuriously soft texture. The pattern uses velvet or chenille yarn for the hair and tail. This gives her that squishy, plush quality that makes handmade toys so special. Kids cannot resist touching her.
The design features several adorable details. A braided hairstyle cascading down her back. Tiny white starfish accessories tucked into her hair. Sweet rosy cheeks. And those big safety eyes that give her so much personality.
Each body part is crocheted separately and assembled at the end. This modular approach makes the project manageable. You can work on one piece during a lunch break. Another while watching your favorite show. Before you know it, all the pieces are ready to join.
Materials Needed for Your Mermaid Plush Doll
Gather these supplies before you begin. Having everything ready makes the process so much smoother.
Yarn:
Tools:
A note about the yarn: Chenille yarn is tricky to work with. It splits easily and can be hard to see your stitches. Use a slightly larger hook than you normally would. Take your time. Good lighting helps enormously.
Abbreviations and Stitch Definitions
Let me explain every stitch abbreviation before we dive in. No confusion allowed.
Magic ring (MR): An adjustable loop that creates a tight center. You chain 2, work your stitches into the ring, then pull the tail to close the hole completely. Essential for amigurumi.
Chain (ch): The foundation stitch. Yarn over, pull through the loop on your hook. That is one chain.
Single crochet (sc): Insert hook into the stitch, yarn over and pull up a loop (2 loops on hook), yarn over and pull through both loops. The most common amigurumi stitch.
Increase (inc): Work 2 single crochet stitches into the same stitch. This adds one stitch to your count.
Invisible decrease (dec): Insert hook through the front loops only of the next 2 stitches, yarn over and pull through both front loops, yarn over and pull through both loops on hook. Creates a neater decrease than the standard method.
Slip stitch (sl st): Insert hook, yarn over, pull through the stitch and the loop on your hook in one motion. Used for joining or creating a flat finish.
Front loop only (FLO): Work into only the front loop of the stitch, leaving the back loop untouched.
Back loop only (BLO): Work into only the back loop of the stitch.
Step by Step Crochet Pattern for the Mermaid Doll
This pattern is worked in continuous rounds unless otherwise noted. Do not join rounds. Use a stitch marker to track the first stitch of each round.
The Head
Use cream worsted weight yarn and 3.5mm hook.
Round 1: MR, 6 sc into ring (6 sts)
Round 2: Inc in each st around (12 sts)
Round 3: *Sc 1, inc* repeat around (18 sts)
Round 4: *Sc 2, inc* repeat around (24 sts)
Round 5: *Sc 3, inc* repeat around (30 sts)
Round 6: *Sc 4, inc* repeat around (36 sts)
Round 7: *Sc 5, inc* repeat around (42 sts)
Rounds 8 through 16: Sc in each st around (42 sts) — 9 rounds total
Insert safety eyes between rounds 11 and 12, approximately 8 stitches apart. Make sure they are secure before continuing.
Round 17: *Sc 5, dec* repeat around (36 sts)
Round 18: *Sc 4, dec* repeat around (30 sts)
Round 19: *Sc 3, dec* repeat around (24 sts)
Begin stuffing the head firmly. Add more stuffing as you continue decreasing.
Round 20: *Sc 2, dec* repeat around (18 sts)
Round 21: *Sc 1, dec* repeat around (12 sts)
Round 22: Dec around (6 sts)
Fasten off. Use your tapestry needle to weave through the remaining 6 stitches. Pull tight to close. Weave in the end.
The Body
Use cream worsted weight yarn and 3.5mm hook.
Round 1: MR, 6 sc into ring (6 sts)
Round 2: Inc in each st around (12 sts)
Round 3: *Sc 1, inc* repeat around (18 sts)
Round 4: *Sc 2, inc* repeat around (24 sts)
Rounds 5 through 12: Sc in each st around (24 sts) — 8 rounds total
Round 13: *Sc 2, dec* repeat around (18 sts)
Stuff the body firmly.
Round 14: Sc in each st around (18 sts)
Fasten off, leaving a long tail for sewing to the head.
The Arms (Make 2)
Use cream worsted weight yarn and 3.5mm hook.
Round 1: MR, 6 sc into ring (6 sts)
Round 2: Inc in each st around (12 sts)
Rounds 3 through 14: Sc in each st around (12 sts) — 12 rounds total
Do not stuff the arms, or stuff very lightly at the hand area only. This allows them to hang naturally.
Flatten the opening and sc across to close (6 sc through both layers).
Fasten off, leaving a long tail for sewing.
The Mermaid Tail
Switch to teal chenille yarn and 4.0mm hook. The larger hook accommodates the bulkier yarn.
Round 1: MR, 6 sc into ring (6 sts)
Round 2: Inc in each st around (12 sts)
Round 3: *Sc 1, inc* repeat around (18 sts)
Round 4: *Sc 2, inc* repeat around (24 sts)
Rounds 5 through 8: Sc in each st around (24 sts) — 4 rounds total
Round 9: *Sc 3, inc* repeat around (30 sts)
Rounds 10 through 20: Sc in each st around (30 sts) — 11 rounds total
Round 21: *Sc 3, dec* repeat around (24 sts)
Round 22: Sc in each st around (24 sts)
Round 23: *Sc 2, dec* repeat around (18 sts)
Stuff the tail firmly as you work.
Round 24: Sc in each st around (18 sts)
Fasten off, leaving a long tail for sewing to the body.
The Tail Fins (Make 2)
Continue with teal chenille yarn and 4.0mm hook.
Round 1: MR, 6 sc into ring (6 sts)
Round 2: Inc in each st around (12 sts)
Round 3: *Sc 1, inc* repeat around (18 sts)
Rounds 4 through 6: Sc in each st around (18 sts) — 3 rounds total
Round 7: *Sc 1, dec* repeat around (12 sts)
Stuff lightly.
Round 8: Dec around (6 sts)
Fasten off. Close the hole. Leave a tail for sewing to the bottom of the main tail piece.
The Seashell Top
Use light purple yarn and 3.5mm hook.
Shell piece (Make 2):
Round 1: MR, 6 sc into ring (6 sts)
Round 2: Inc in each st around (12 sts)
Round 3: Working in BLO only, sc in each st around (12 sts)
Round 4: *Sc 1, dec* repeat around (8 sts)
Fasten off, leaving a long tail.
Flatten slightly to create a shell shape. The back loop round creates a ridged texture that resembles seashell lines.
The Hair
This is where the magic happens. Use teal chenille yarn throughout.
Hair cap:
Work the hair cap directly onto the head or create it separately and sew on.
Round 1: MR, 6 sc into ring (6 sts)
Round 2: Inc in each st around (12 sts)
Round 3: *Sc 1, inc* repeat around (18 sts)
Round 4: *Sc 2, inc* repeat around (24 sts)
Round 5: *Sc 3, inc* repeat around (30 sts)
Round 6: *Sc 4, inc* repeat around (36 sts)
Round 7: *Sc 5, inc* repeat around (42 sts)
Rounds 8 through 12: Sc in each st around (42 sts) — 5 rounds total
Fasten off. Position on the head covering the back and top, leaving the face exposed.
Hair strands:
Cut approximately 40 to 50 strands of chenille yarn, each about 16 inches long. Fold each strand in half and use your hook to pull the folded loop through a stitch on the hair cap. Pull the ends through the loop and tighten. This creates a lark’s head knot.
Attach strands densely across the back of the hair cap. Concentrate more strands on one side to create the side-swept look visible in the design.
Braid:
Gather a large section of strands and create a simple three-strand braid. Secure the end with a small piece of matching yarn tied tightly. Trim any uneven ends.
The Starfish (Make 2)
Use white worsted weight yarn and 3.5mm hook.
Row 1: Ch 2, 5 sc in second ch from hook (5 sts)
For each point of the star, pick up in one of the 5 stitches:
*Ch 3, sl st in second ch from hook, sc in next ch, sl st in the original sc.*
Repeat for all 5 points.
Fasten off. Leave a tail for sewing into the hair.
Assembly Instructions
Take your time with assembly. This is where your mermaid truly comes to life.
Step 1: Sew the head to the body. Position them so the face looks forward and the body is centered. Use a whip stitch and matching cream yarn. Sew completely around for security.
Step 2: Sew the tail to the bottom of the body. Overlap slightly where the cream body meets the teal tail. This creates a seamless transition.
Step 3: Sew both tail fins to the bottom of the main tail, angled outward.
Step 4: Sew the arms to either side of the body, just below where the head attaches. Position them so they hang naturally at her sides.
Step 5: Attach the hair cap to the head. Sew around the edge where it meets the face, leaving the hairline looking natural.
Step 6: Sew the seashell top pieces to the chest area of the body.
Step 7: Tuck the starfish accessories into the hair near the top. Sew them in place with white yarn.
Step 8: Embroider rosy cheeks using pink yarn or embroidery floss. Create small circles with satin stitch below and slightly outside each eye.
Tips for Crochet Beginners Tackling This Pattern
Feeling nervous? Here are some thoughts that might help.
Work one piece at a time. Do not overwhelm yourself by thinking about the whole doll. Just focus on the current piece.
Chenille yarn is forgiving. Yes, it is tricky to work with. But the fluffy texture hides minor imperfections beautifully.
Count your stitches. Seriously. Count after every round. It saves so much frustration.
Use safety eyes correctly. Insert them before you close up the head. Once the backing is on, they cannot be removed. Triple check placement.
Stuffing matters. Stuff firmly for the head and body. Stuff lightly for the tail fins and arms. This affects how she sits and feels.
Wrapping Up Your Mermaid Plush Doll Crochet Pattern
You did it. You created something magical with your own hands.
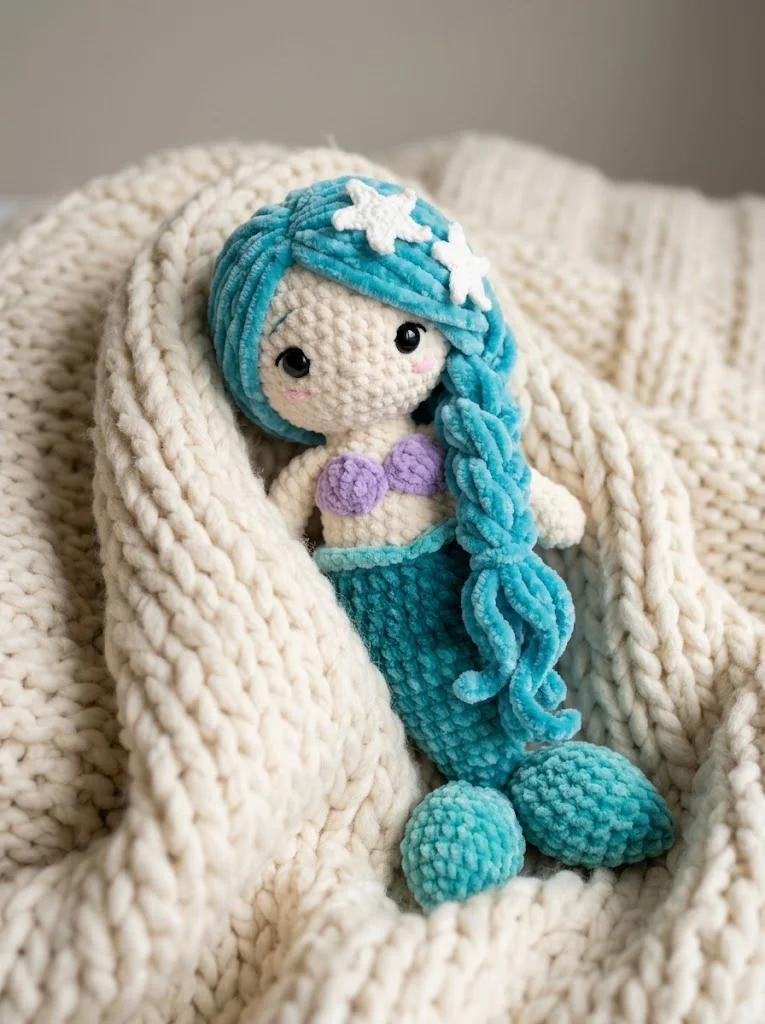
This ocean blue mermaid plush doll makes a treasured gift for children and mermaid lovers of all ages. She is soft enough to cuddle and detailed enough to display. Every stitch you put into her shows.
Thank you so much for choosing this pattern. I genuinely hope you enjoyed the process as much as I enjoyed designing her.
I would absolutely love to see your finished mermaid. Share your photos on Instagram or Facebook and tag me. Seeing your creations brings me so much joy. Each one is unique and special.
Happy crocheting, friend. May your stitches be even and your yarn never tangle.