
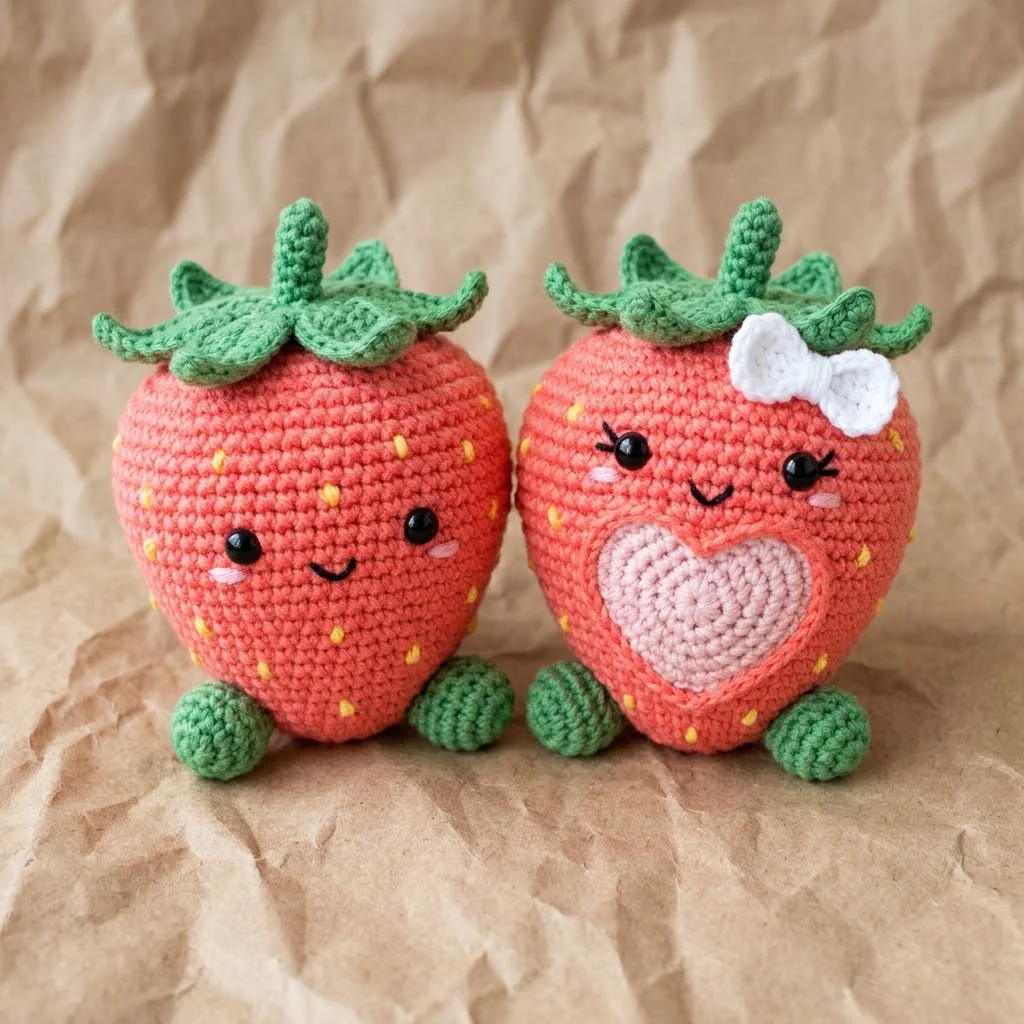
These adorable little strawberry sweethearts might just be the cutest things I have ever crocheted. Looking at this charming pair sitting side by side with their rosy cheeks and tiny feet, I knew I had to share this pattern with you. One strawberry keeps things simple and sweet. The other wears a dainty bow and holds a pale pink heart on her belly. Together they make the perfect couple for Valentine’s Day, anniversaries, or just because you need something cheerful on your shelf.
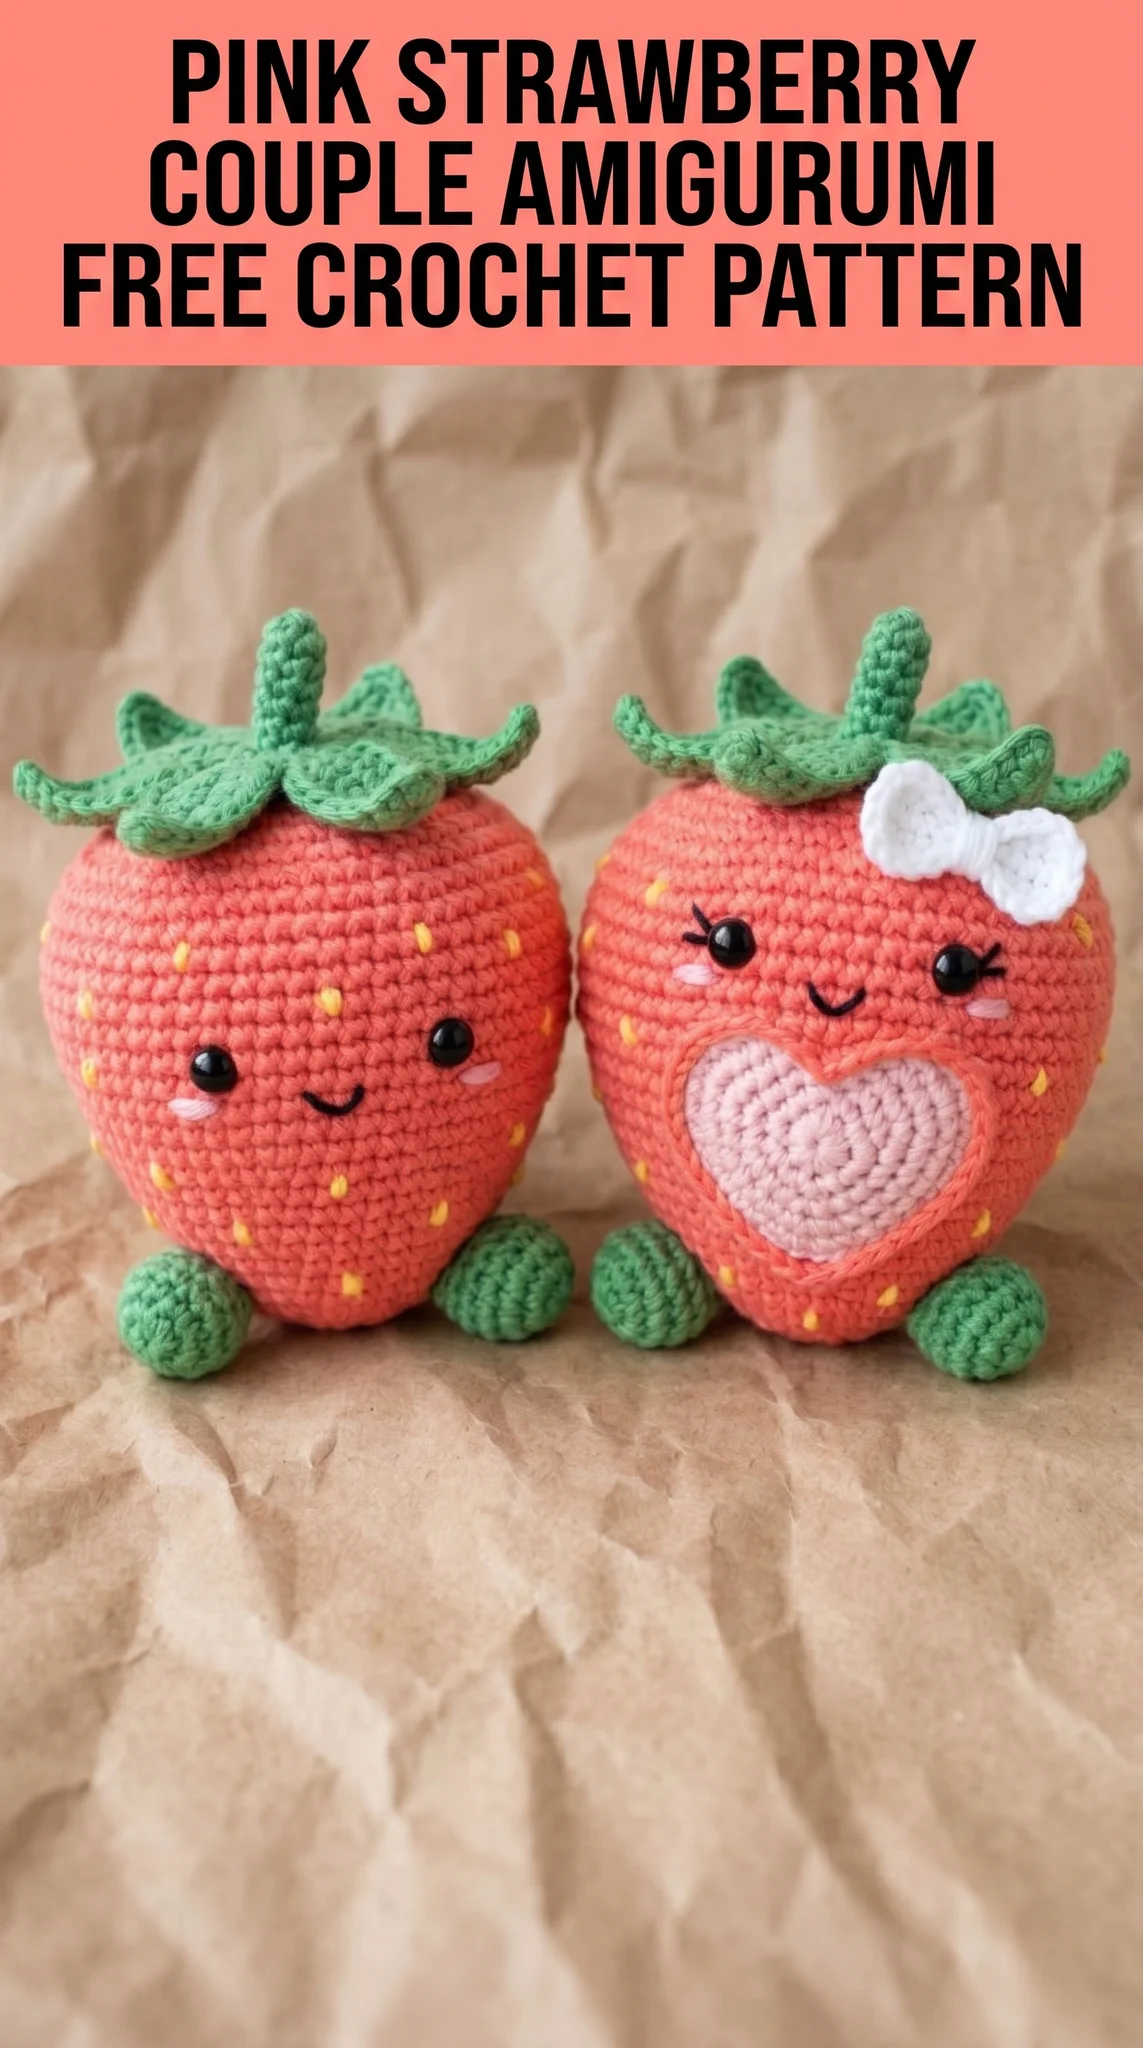
This amigurumi crochet pattern works up surprisingly fast once you get the rhythm going. If you can crochet in continuous rounds and know how to increase and decrease, you can absolutely make these. I would call this an easy to intermediate skill level project. The strawberry bodies are straightforward. The leaves, feet, bow, and heart add a few extra pieces but nothing scary. I will walk you through every single step.
Let me show you exactly how to crochet this pink strawberry couple from start to finish.
What Makes This Strawberry Couple Pattern Special
Most fruit amigurumi patterns give you one basic shape and call it done. This crochet strawberry pattern gives you two distinct personalities. The first strawberry has that classic kawaii look with embroidered blush marks and a sweet smile. The second strawberry gets dressed up with a white crocheted bow and a layered heart appliqué in pale pink with a darker pink border.
The yellow seed details really bring these to life. Those little French knots scattered across the coral pink body make them instantly recognizable as strawberries. The green leafy tops curl naturally and add so much character. And those chunky little feet? They help the strawberries sit upright without any wobbling.
Each finished strawberry measures approximately 4.5 inches tall and 3.5 inches wide at the widest point. This is based on using worsted weight yarn and a 3.5mm hook. Your finished size may vary depending on your tension.
Materials You Will Need
Gather everything before you start. Nothing interrupts your crochet flow like hunting for supplies mid-project.
Yarn:
Tools:
Abbreviations and Stitch Definitions
Let me explain every abbreviation before we begin. If you are newer to amigurumi, read through this section carefully.
Magic ring (MR): An adjustable loop that creates a tight center with no hole. You chain into the loop, work your stitches, then pull the tail to close.
Chain (ch): Yarn over, pull through the loop on your hook. Creates foundation stitches or adds height.
Single crochet (sc): Insert hook into stitch, yarn over and pull up a loop (2 loops on hook), yarn over and pull through both loops. This is your main stitch for amigurumi.
Increase (inc): Work 2 single crochet stitches into the same stitch. This makes your piece grow wider.
Invisible decrease (dec): Insert hook through front loops only of next 2 stitches, yarn over and pull through both front loops, yarn over and pull through both loops on hook. Creates a neater decrease than standard method.
Slip stitch (sl st): Insert hook, yarn over, pull through stitch and loop on hook in one motion. Used for joining or finishing.
Fasten off (FO): Cut yarn leaving a tail, pull through final loop to secure.
Half double crochet (hdc): Yarn over, insert hook into stitch, yarn over and pull up a loop (3 loops on hook), yarn over and pull through all 3 loops.
Double crochet (dc): Yarn over, insert hook into stitch, yarn over and pull up a loop, yarn over and pull through 2 loops, yarn over and pull through remaining 2 loops.
Strawberry Body Pattern
This is the main piece. You will make two identical bodies, then customize them differently.
Work in continuous rounds. Do not join rounds. Use a stitch marker to track the beginning of each round. Move the marker up as you go.
Round 1: With coral pink yarn, make a magic ring. Work 6 sc into the ring. Pull tail to close. (6 sts)
Round 2: Inc in each st around. (12 sts)
Round 3: *Sc 1, inc* repeat around. (18 sts)
Round 4: *Sc 2, inc* repeat around. (24 sts)
Round 5: *Sc 3, inc* repeat around. (30 sts)
Round 6: *Sc 4, inc* repeat around. (36 sts)
Round 7: *Sc 5, inc* repeat around. (42 sts)
Round 8: *Sc 6, inc* repeat around. (48 sts)
Rounds 9 to 16: Sc in each st around. (48 sts) This creates the rounded belly of the strawberry.
Round 17: *Sc 6, dec* repeat around. (42 sts)
Round 18: Sc in each st around. (42 sts)
Round 19: *Sc 5, dec* repeat around. (36 sts)
Round 20: Sc in each st around. (36 sts)
Round 21: *Sc 4, dec* repeat around. (30 sts)
Round 22: *Sc 3, dec* repeat around. (24 sts)
Insert safety eyes between Rounds 14 and 15, approximately 8 stitches apart. Make sure they are secure before continuing.
Round 23: *Sc 2, dec* repeat around. (18 sts)
Begin stuffing firmly now. Add more as you close.
Round 24: *Sc 1, dec* repeat around. (12 sts)
Round 25: Dec around. (6 sts)
Fasten off. Use your yarn needle to weave through the front loops of remaining 6 stitches. Pull tight to close. Weave in end.
Strawberry Feet Pattern
Make 4 feet total (2 per strawberry).
Round 1: With green yarn, make a magic ring. Work 6 sc into the ring. (6 sts)
Round 2: Inc in each st around. (12 sts)
Rounds 3 to 5: Sc in each st around. (12 sts)
Stuff lightly. Flatten the opening and work 6 sc through both layers to close. Leave a long tail for sewing.
Position feet at the bottom front of each strawberry body. The strawberry should lean back slightly and rest stable. Pin first, then sew securely.
Leaf Top Pattern
This creates the green calyx with curling leaves. Make one per strawberry.
Base Circle:
Round 1: With green yarn, make a magic ring. Work 6 sc into the ring. (6 sts)
Round 2: Inc in each st around. (12 sts)
Round 3: *Sc 1, inc* repeat around. (18 sts)
Round 4: Working in back loops only, sc in each st around. (18 sts)
This creates a ridge that helps the leaves sit nicely.
Leaves (make 5 attached):
After Round 4, you will create 5 leaves directly off the base.
*First Leaf:*
Ch 7. Starting in 2nd ch from hook: sl st, sc, hdc, dc, hdc, sc. Do not fasten off. Sl st into next st on base circle.
*Second Leaf:*
Ch 8. Starting in 2nd ch from hook: sl st, sc, hdc, dc, dc, hdc, sc. Sl st into next st on base circle.
Repeat this pattern, alternating between 7-chain leaves and 8-chain leaves, until you have 5 leaves total evenly spaced around the base.
Fasten off with a long tail. The leaves will naturally curl and twist. This is perfect and gives a realistic look.
Position the leaf top on the strawberry body and sew around the base circle.
Heart Appliqué Pattern (For One Strawberry)
This layered heart has a pale pink center and a darker pink border.
Outer Heart (Darker Pink):
Ch 2.
Row 1: Work 3 sc in 2nd ch from hook. Ch 1, turn. (3 sts)
Row 2: Inc in first st, sc 1, inc in last st. Ch 1, turn. (5 sts)
Row 3: Inc in first st, sc 3, inc in last st. Ch 1, turn. (7 sts)
Row 4: Inc in first st, sc 5, inc in last st. Ch 1, turn. (9 sts)
Rows 5 to 6: Sc across. Ch 1, turn. (9 sts)
First Lobe:
Sc 4. Ch 1, turn.
Dec, sc 2. Ch 1, turn.
Dec, sc 1. Ch 1, turn.
Dec. Fasten off.
Rejoin yarn to remaining stitches for second lobe and repeat.
Inner Heart (Pale Pink):
Work the same pattern but stop after Row 4. Create smaller lobes by working only 3 stitches per side. This gives you a smaller heart that fits inside the outer heart.
Layer the pale pink heart on top of the darker pink heart. Sew together. Then sew the completed heart onto the front of one strawberry body, centered below the face.
Bow Pattern (For One Strawberry)
Center:
With white yarn, ch 5. Sc in 2nd ch from hook and across. (4 sts)
Rows 2 to 3: Ch 1, turn. Sc across. (4 sts)
Fasten off.
Bow Loops:
Ch 10. Sl st in first ch to form a ring. Work 12 sc into the ring. Sl st to join. Fasten off leaving a long tail.
Pinch the ring in the center to create a bow shape. Wrap the small rectangle around the center and sew to secure.
Sew the completed bow onto the leaf top of one strawberry, slightly off center.
Adding Details and Finishing Touches
Yellow Seeds:
Using yellow yarn or embroidery floss, create small French knots or straight stitches scattered randomly across each strawberry body. Space them 3 to 4 rows apart. About 15 to 20 seeds per strawberry looks natural.
Cheek Blush:
With pink embroidery floss, create 2 or 3 small horizontal straight stitches under each eye. This adds that kawaii sweetness.
Smile:
With black embroidery floss, embroider a small curved line below and between the eyes. Keep it simple and slightly upturned at the corners.
Eyelashes (For Bow Strawberry):
Add 2 or 3 small straight stitches angling upward from the outer corner of each eye.
Weave in all remaining yarn tails. Give your strawberries a gentle squeeze to even out the stuffing.
Tips for Success With This Pattern
Tension matters. Amigurumi requires tighter tension than regular crochet. If you can see stuffing through your stitches, go down a hook size.
Count every round. Losing track of your stitch count is the fastest way to end up with a wonky strawberry. Trust your stitch marker.
Stuff as you go. Once the opening gets small, adding stuffing becomes difficult. Pack it in firmly before decreasing too much.
Safety eyes must be secure. If this is a gift for a child, consider embroidering the eyes instead.
You Did It
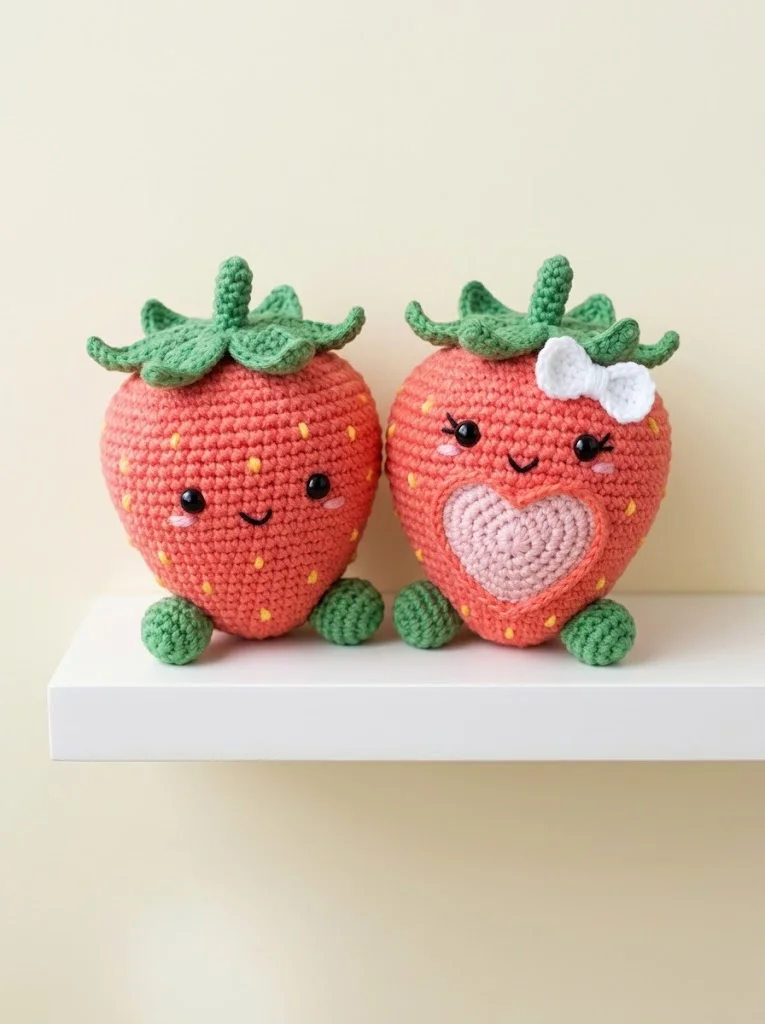
Look at you with your very own pink strawberry couple amigurumi. Whether you made both or just one, you should feel proud. These little sweethearts take patience and attention to detail. Every French knot seed and curling leaf shows the care you put into your craft.
I would absolutely love to see your finished strawberries. Tag me on Instagram or share in my Facebook group. Seeing your creations genuinely makes my day.
Thank you for trusting me with your time and your yarn stash. Now go find a sunny spot for these two to sit together. They have earned it. And so have you.
Happy crocheting.